So I recently had some holidays. Weird, I know. I took two whole weeks off and only had to go into the office twice during that time. My first week had unseasonably nice weather, so I spent some time on my bike making the most of it.
In the second week, the weather soured, so I took the opportunity to learn something of Ruby on Rails with the great Rails tutorial. I am not generally a big fan of tutorials but this particular one covered a lot of bases, and was well organised. Equally excellent were Railscasts.
OH: ruby is for people who think their programming language should make them happy. Python is for ppl who don't understand what that means
— Joel Spolsky (@spolsky) October 20, 2013
After working through the first few chapters of the tutorial, I was comfortable enough to start on my own project to test my newly acquired knowledge.
Enter Mesmeride. With this project, I had two objectives:
- Get a functional and “useful” Ruby on Rails site live in a week.
- Get my Strava gradient rendering code running again with the new v3 Strava API.
Mesmeride allows you to take any Strava activity or segment, and graph it out in a number of different styles. You can add waypoints and control the length, height and size of the presentation, making it suitable for print or web. After tweaking the style of the graph to perfection, you can share the result on Twitter or Facebook, embed the image on your blog, or save it for printing or offline sharing.
Waypoints
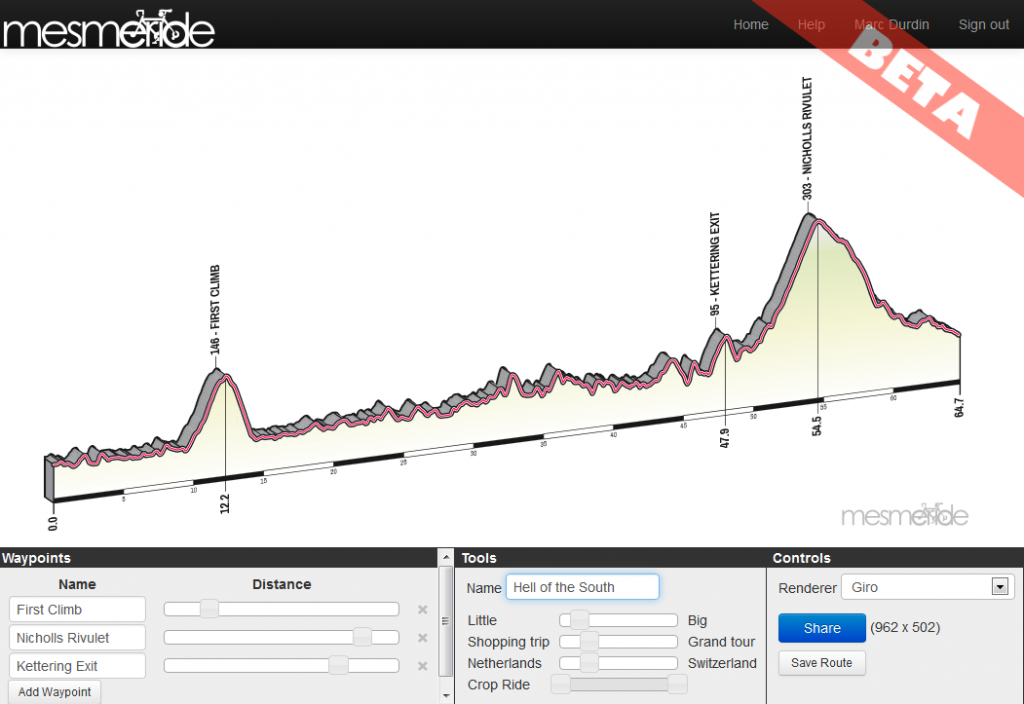
Any ride of a reasonable length will have points of interest. The Giro renderer will draw these onto the profile. You can add and delete waypoints, move them along the ride, and change their names in the left hand box in the controls section.
Mountains or Molehills?
The most popular or remarked-upon feature is the ability to make any of your rides, even the most flat and featureless, look like a day attacking the biggest climbs of the Alps. You can control the mountainosity of your ride with the Netherlands-Switzerlands slider (also called the Molehills-Mountain slider).
Size and Length
To help you adjust the dimensions of the graphic, for print or for web, you can rescale the entire ride graphic with the “Teensy – Ginormous slider”, or make the ride appear longer or shorter with the “Shopping Trip – Grand Tour” slider.
Sharing
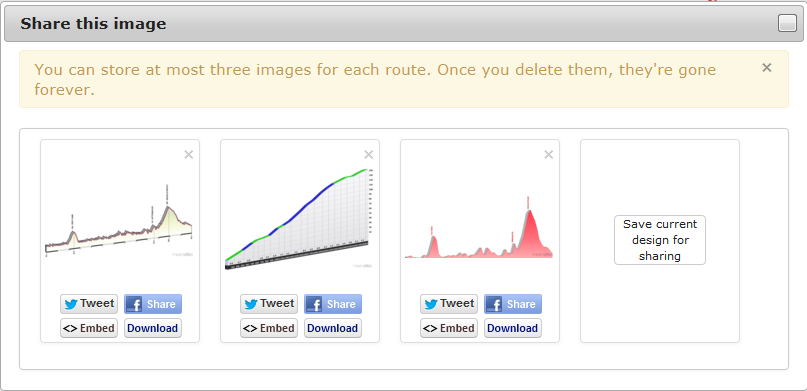
What good is a graphic without eyes to look at it? Mesmeride has tools to share any of the graphics you create on Twitter, Facebook or even by embedding them in your blog. Or of course you can save the image and download it. The images are stored on Amazon S3, and you can save up to 3 for any given route.
I even drew the logo myself. Can you tell?
Mesmeride will save the design you create as well, and you can come back later and change it round into many other styles.
In the future I may add mapping, additional gradient styles, and more controls and waypoint types to existing styles.
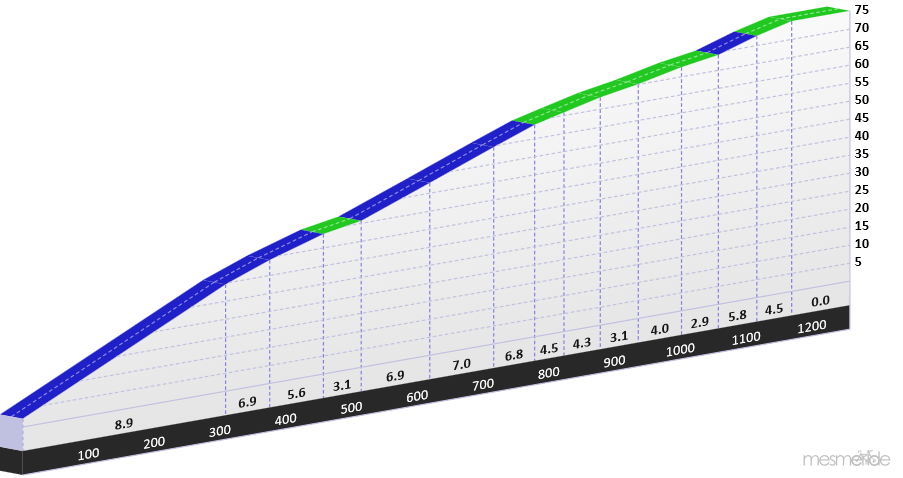
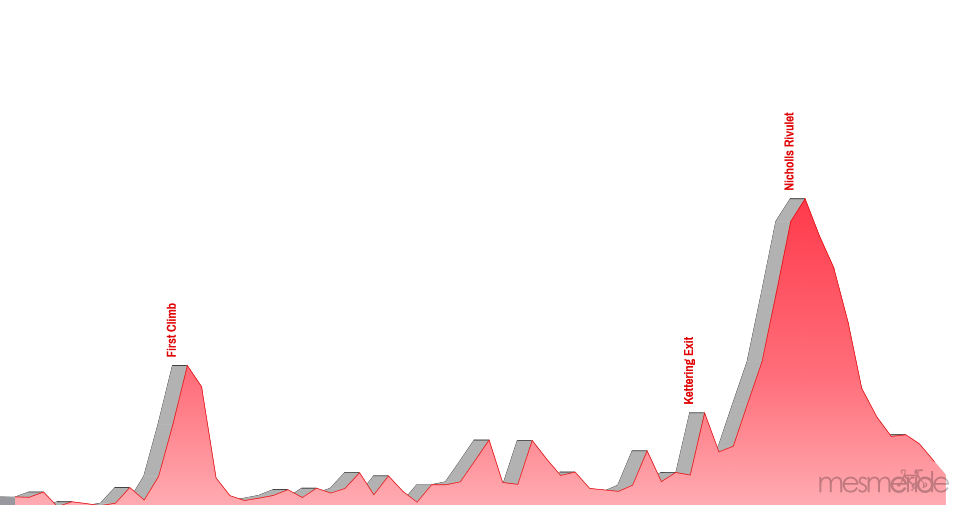
Here are a few examples from my race last weekend, via Strava. No, I didn’t do well, but never mind 😉 The screenshots above show the editor in action; what you see below are the resulting files. I even fixed a bug in Mesmeride when preparing this…

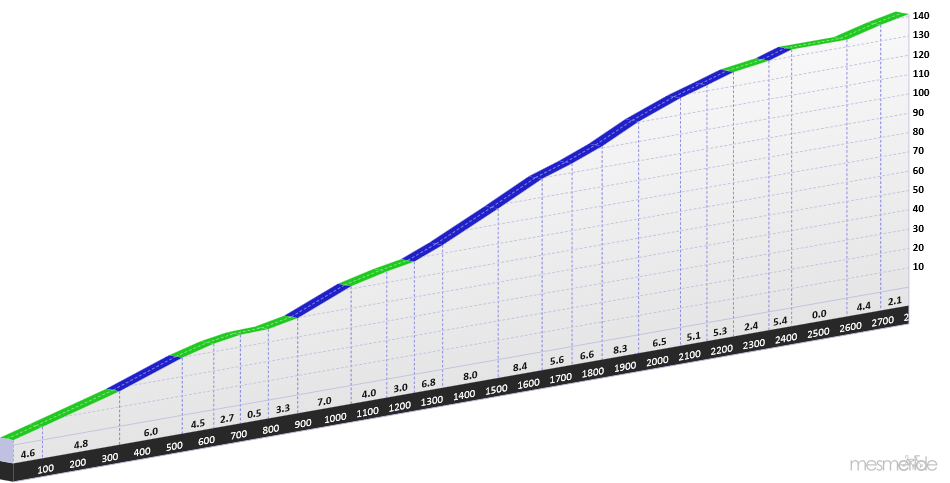
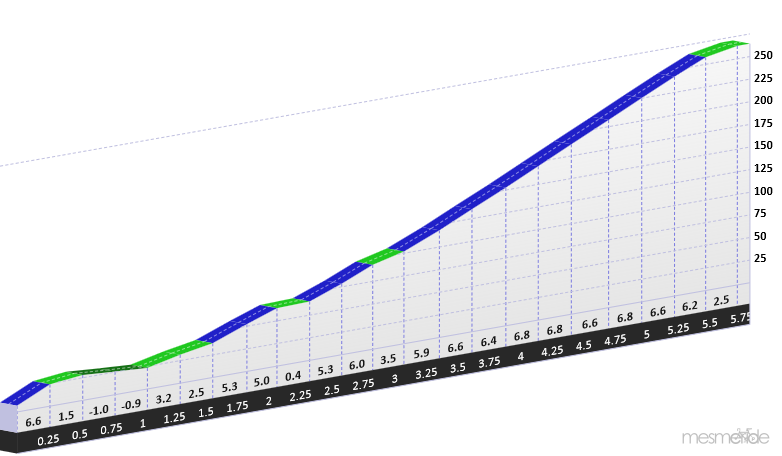
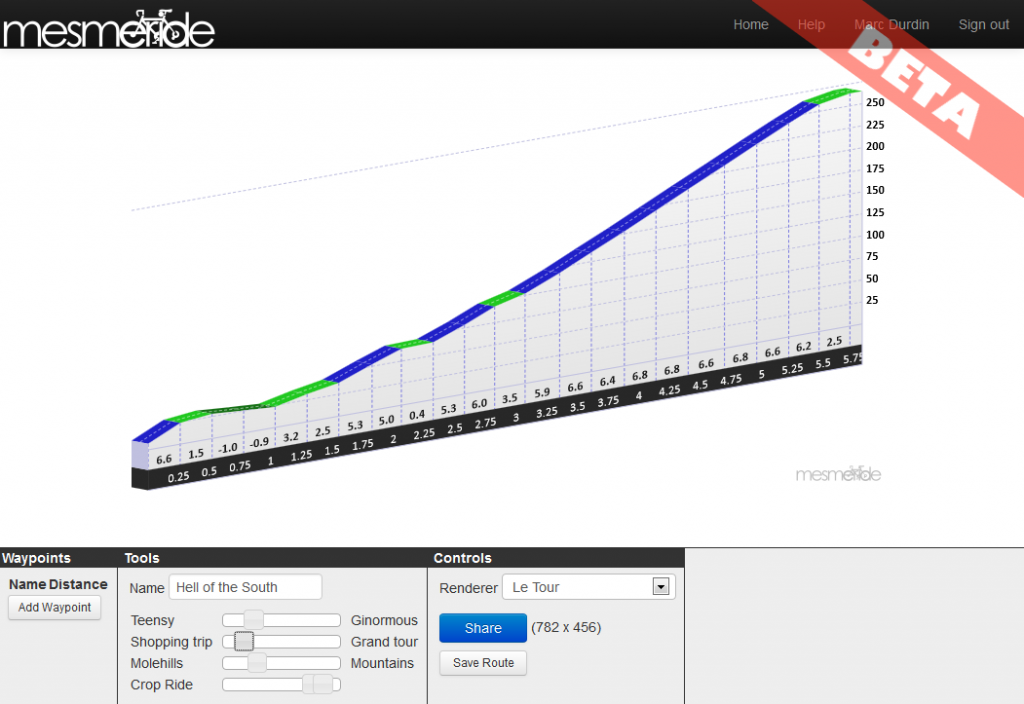
To finish with, the whole ride again, in another style.
awesome fun.
Great tool! It is beautiful!
Wouldn’t it be possible to be able to select a SEGMENT on a ride instead of seeing only the whole ride? Sometime it is helpful to study a specific climb on a race.
Congrat’s for the tool!
Cheers from Brazil!
Luciano
Yes, you can do this’s manually at present with the Crop Ride controls but it is on the to-do list. Thanks 🙂
Is it available any more?
No, but the source is on github if someone wants to get it going again.