Category Archives: Hobart’s Top Ten Climbs

Giro-style elevation graphs for Strava

Update May 2014: As Strava’s ride pages have changed format significantly, Giro-Your-Strava no longer works. The good news is that Mesmeride does the same and more!
Update 13 July 2013: An updated version of Giro-Your-Strava is now available here.

Just in time for the last few days of the Giro, I’ve finished a little after-hours Strava mashup project that builds on the segment graphs that I originally created for the Hobart 10,000.

I’m sure you’ve seen some of the Giro elevation graphs. Here’s one, from Stage 11:

Now, here’s a bookmarklet.  Drag it to your bookmarks toolbar, load up a favourite hilly ride on Strava, and click the bookmarklet.

Giro-Your-Strava

A mysterious new button will appear in the graph menu.  Go, on click it!

And up pops an elevation graph that makes it look like you’ve been riding the Giro!

The algorithm picks the categorised climbs from your ride (and tries to figure out the most appropriate segment where multiple segments finish at the top of a hill). Non-categorised segments are currently ignored.  The whole project is published on GitHub, so you can tweak it and improve it to your heart’s content.  Your first step should be to tidy up the mess I’ve left you 🙂

Discovering Old Farm Road

Old Farm Road

Yesterday I discovered a beautiful road climb within a few minutes of the city centre.  I’m amazed I’ve never ridden it before.  Tucked away behind Cascade Brewery is a little road called Old Farm Road that follows Guy Fawkes Rivulet (does anyone know how it got its name?) straight towards the base of Mount Wellington.

The entrance to the climb is unprepossessing, passing the industrial complex of Cascade Brewery.  But tucked away to the left of the complex, Old Farm Rd beckons, first of all gentle rising as it passes a grassy park, ducking through some trees with Mt Wellington glowering above, and then tucking around and over the little rivulet before starting to climb in earnest.

This little road is just one lane wide, and you could be way out in the bush — there’s no sign of the city.  After the bridge over the rivulet, you ride past a few houses before a couple of fantastic hairpin bends that lead into a steep ramp.  Watch it on the descent — you’ll smoke your brakes coming into those corners!

Old Farm Road is also an access road for mountain bikers heading towards some of Hobart’s best tracks.  But this blog post is for skinny tire bikes!

It’s a steep little climb, 1.8km at 9.0%, making it a Category 3 climb in Strava’s estimation.  It has steep ramps, hairpins, a bridge, and is just one lane wide.  I love it!

Old Farm Road
Distance 1.8km
Category 3
Elevation 162m
Gradient 9.0%
Maximum Gradient 22%
Time from city 5 minutes
Traffic low
Strava http://app.strava.com/segments/1212891

How to get to the climb: Take Macquarie St, and turn right after Cascade Brewery.

There’s Old Farm Road, off to the left.  Ignore the trucks…

Mt Wellington in the distance as the road narrows to a single lane

A gentle gradient here, but enjoying the scenery too much to smash the climb!

Crossing Guy Fawkes Rivulet!

Now we start climbing.  If it wasn’t for the gum trees, we could be in Europe somewhere.

Steep hairpin bends

22% here we come!

Is that the Old Farm ahead?

Mt Wellington towers over the climb

Just for fun!

This post has been written in the style of my Top Ten Climbs Around Hobart series. Here are some other cycling climbs around Hobart:

The Top 10 Climbs in Hobart: A Recap

This post is merely a summary of the climbs I have described in my Hobart’s Top Ten Climbs Series for your reference. Enjoy!

1
11.2km   7.2%   827m   0:25from town
2
4.4km   7.7%   350m   0:10from town
3
2.4km   4.2%   100m   0:20from town
3.1km   4.9%   153m   0:35from town
4
3.5km   8.1%   287m   0:40from town
5
4.0km   4.9%   197m   0:60from town
5.3km   4.2%   219m   0:40from town
6
4.6km   5.4%   247m   0:15from town
7
3.3km   6.9%   226m   0:25from town
8
5.5km   5.7%   314m   0:45from town
9
3.9km   6.0%   232m   0:10from town
10
2.2km   4.6%   102m   0:05from town

So I am sure that my cycling mates won’t agree with this list of climbs, and more importantly, the order of the list. But this is my list — I’d love to see your list. You’ll often find me slogging my way up one or another of these climbs… Now writing about the climbs turned out to be easier than I expected, but getting photos for the climbs has taken a fair amount of work and in more than a few cases, a couple of revisits to the climb for a new set of photos… Nearly all the photos were taken with a phone camera, so quality is pretty variable. I hope this series has inspired you to go out and ride these climbs!

Now that this series is done, I’m taking a break from bike blogging for a while. See you next year!

Hobart’s Top 10 Climbs, #1: Mt Wellington (Fern Tree – Summit)

Mt Wellington — this view from Mt Rumney.

This is the final post of a series on some of the great road cycling climbs around Hobart. I’ll be posting a recap shortly but this is the final climb I’m planning to write about.  I hope you’ve been enjoying the descriptions and have felt motivated to go and ride all the lesser climbs so far…

Earlier in the series:

When I wrote the first draft of this post, I was sitting down at Salamanca Place enjoying a coffee as the sun burned off the early morning fog. I had the day off work and was going to watch Stage 1 of the Tour of Tasmania, a rather unique Team Time Trial up Mount Wellington. I planned to watch from three quarters of the way up the mountain at the Chalet, 1000m above sea level, at the end of the steepest section of this climb. I was keen to see how many of the teams were still together at this point. Read the full story of the TTT.

It’s pretty much a given that Wellington would be the top climb in my list.  It’s by far the biggest climb and the mountain dominates Hobart.  You really can’t call yourself a mad cyclist in Hobart until you’ve conquered the mountain.

However, no one should ever describe the Wellington climb as easy. Living as I do in the foothills, I’ve ridden up many times, and I still find myself wondering what on earth I’m doing when I’m half way up the steep sections of the climb. In this blog I’ve opted to describe the section between Fern Tree and the summit of Mt Wellington, as there are multiple approaches to Fern Tree that all converge on this 11 kilometre brutal slog.

As with all my longer climbs, I like to break Wellington down into sections; hence the Wellington climb can be split up at the Springs at 720m and the Chalet at 1000m. Each section has a markedly different feel.

The first section is a little deceptive, marked as “only” 6.8% on average. One might wonder then it is so hard to get a tempo rhythm up on this section of the climb. This is because the gradient on this section is actually mostly above 8%, with just the last kilometre at about 4% (which feels flat in comparison). It is characterised by tall forests and cool fern-shaded bends. It finishes at The Springs, a popular picnic area where there also used to be a hotel, before it was destroyed in the 1967 bushfires.

And now is where the pain really starts. The next section is steep with a constant average of about 9% and has a rough road surface which saps your energy with every turn of the pedals. The view to your right is often amazing but it is pretty hard to take it in! This steep stretch of road seems to go on forever, and at each corner you peer hopefully ahead for a glimpse of the Chalet at 1000m, but it’s always a corner or two more than you expect. I take heart when I pass a parking bay – it’s only 1km from there to the Chalet!

After the Chalet, the gradient eases off a bit, and a couple hundred metres later the road surface becomes slightly smoother, a welcome relief. You are now onto the final section of the climb, and having passed the Organ Pipes the road curves onto the plateau, with the summit clearly in view on your left. It’s a beautiful ride across the plateau, but the road is still deceptively steep in places. When I can see the summit, I get a boost in confidence and energy, and find myself going a little faster! Then the last kilometre just hurts: the summit is just there, but it’s such a long kilometre…

Once you make it, hot and sweating, you’ll pause for a minute. Congratulate yourself, it’s a tough climb! I can rarely stay long on the summit: there’s usually a brisk wind and the temperature is cold… The descent is long and cold – put on your full finger gloves and a wind jacket!

You should combine this climb with Longley to Neika, or Strickland Ave, or if you are a masochist, Waterworks Rd, for the full experience! Although you can approach this climb from the city via Huon Rd, this is not a particularly pleasant route due to traffic and I would recommend Strickland Ave over Huon Rd.

Your challenge: ride the mountain 3 times in one day. Nope, I haven’t done it; Cameron Wurf has.

And that’s the end of the series.  Next up will be a recap and summary, just for good measure…

Mt Wellington
Distance 11.2km
Category HC
Elevation 827m
Gradient 7.2%
Maximum Gradient 15%
Time from city 25 minutes
Traffic medium
Strava http://app.strava.com/segments/631819

How to get to the climb: Take the Strickland Ave climb, or the Commando Route to Longley. Turn onto Pillinger Drive in Fern Tree as signposted.

Beautiful morning for a climb up the mountain with Rob

A study in motion on the “easy” part of the climb

Pausing at the lookout just before the Springs

Take in the early morning view South at the Springs

The grind: 9-10% on a rough surface.  Just plug away until you get through it

The road seems to go on forever…

and ever…

Plenty of opportunities for fantastic views and scenery, here from near The Chalet

Onto the plateau.

On the plateau, the summit is in sight, but still nearly 4km away!

Glancing over the edge down to Hobart

Yes, that’s me, at the summit.  Looking altogether too pleased with myself…

Cold, foggy summit.  That’s probably more typical.  Didn’t hang around!

Another day. Bethany conquers the mountain … well, the last 2km anyway!  Still a massive effort!

Hannah and I followed her up

A grand day, Bethany takes in the view with a well earned break

Don’t forget to put the bike down for a moment to climb to the top of the rocks…

Yet another day; Barry descending on Big Bend

Fun bit of road for descending… if it’s dry!

Other posts in this series:

Hobart’s Top 10 Climbs, #2: Waterworks

The dreaded Waterworks climb

This is the ninth post of a series on some of the great road cycling climbs around Hobart. You can be notified of new posts in the series by following me on Twitter.  Until now the climbs have been reasonable, but now it all changes.

Earlier in the series:

I still remember the first time I rode up Waterworks. I forced myself to finish the last few hundred metres without stopping, crawling up in my 40×28 bottom gear on my old steel frame Superlite, and finally saw the road levelling out and the crest of the hill just ahead. The last 50 metres were just torture – surely the climb should be easier now: it’s levelling out. I reached the very top of the climb, with its view over the Ridgeway Reservoir, and collapsed over the handlebars, panting and nearly dead. And then I realised that wasn’t the top – there was still more to come.

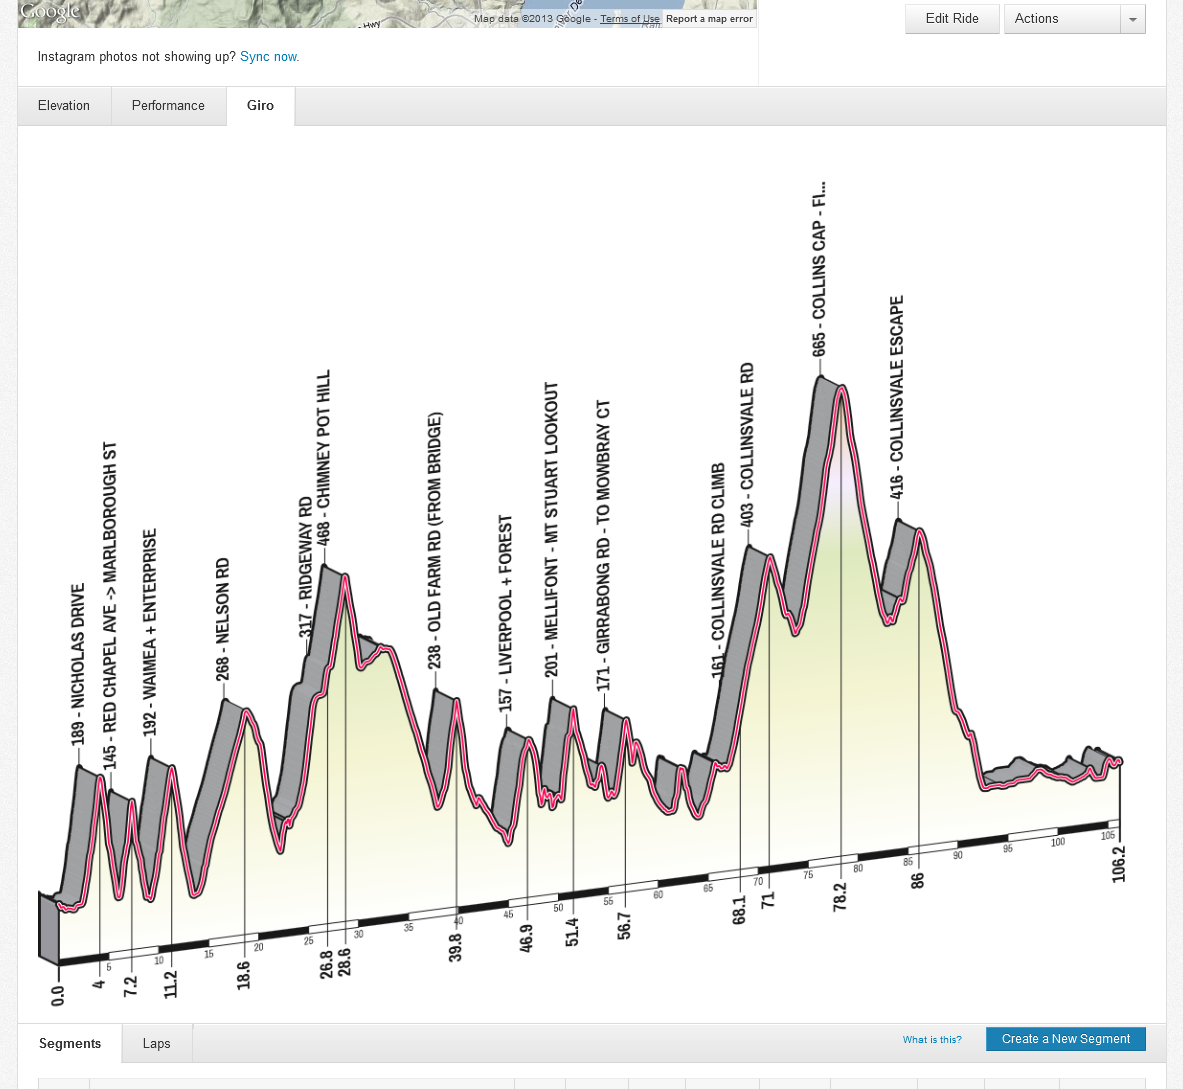
Waterworks still rates for me as the hardest climb in Hobart. It is a shorter challenge than Mount Wellington, but so much steeper. The full Waterworks climb is still a 350m ascent over 4.4km. That may not sound too bad until you realise that nearly half of that distance is made up of a level plateau traversing around Ridgeway Reservoir. The maximum gradient is somewhere in the order of 25%, about half way up the first section of the climb, and the road surface is rough, uneven and lumpy, so you have no hope of riding to a tempo. It’s just a tough, tough grind, all the way up.

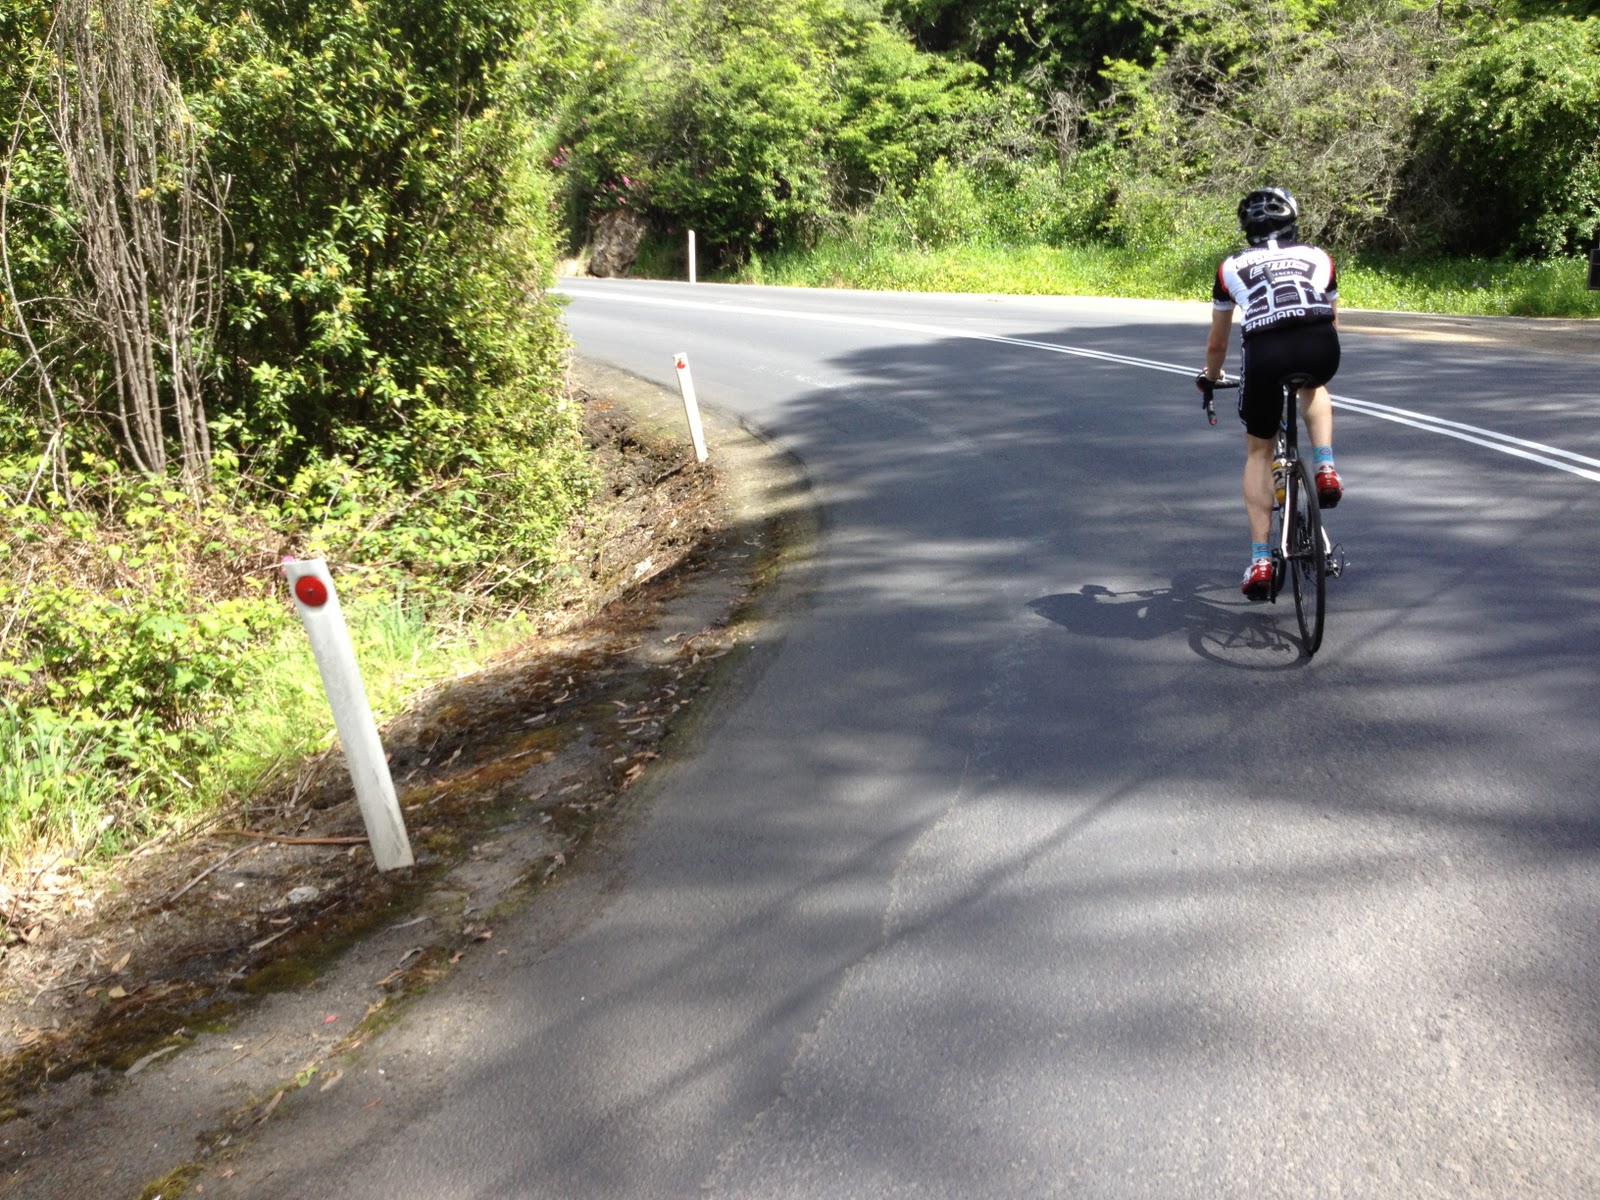
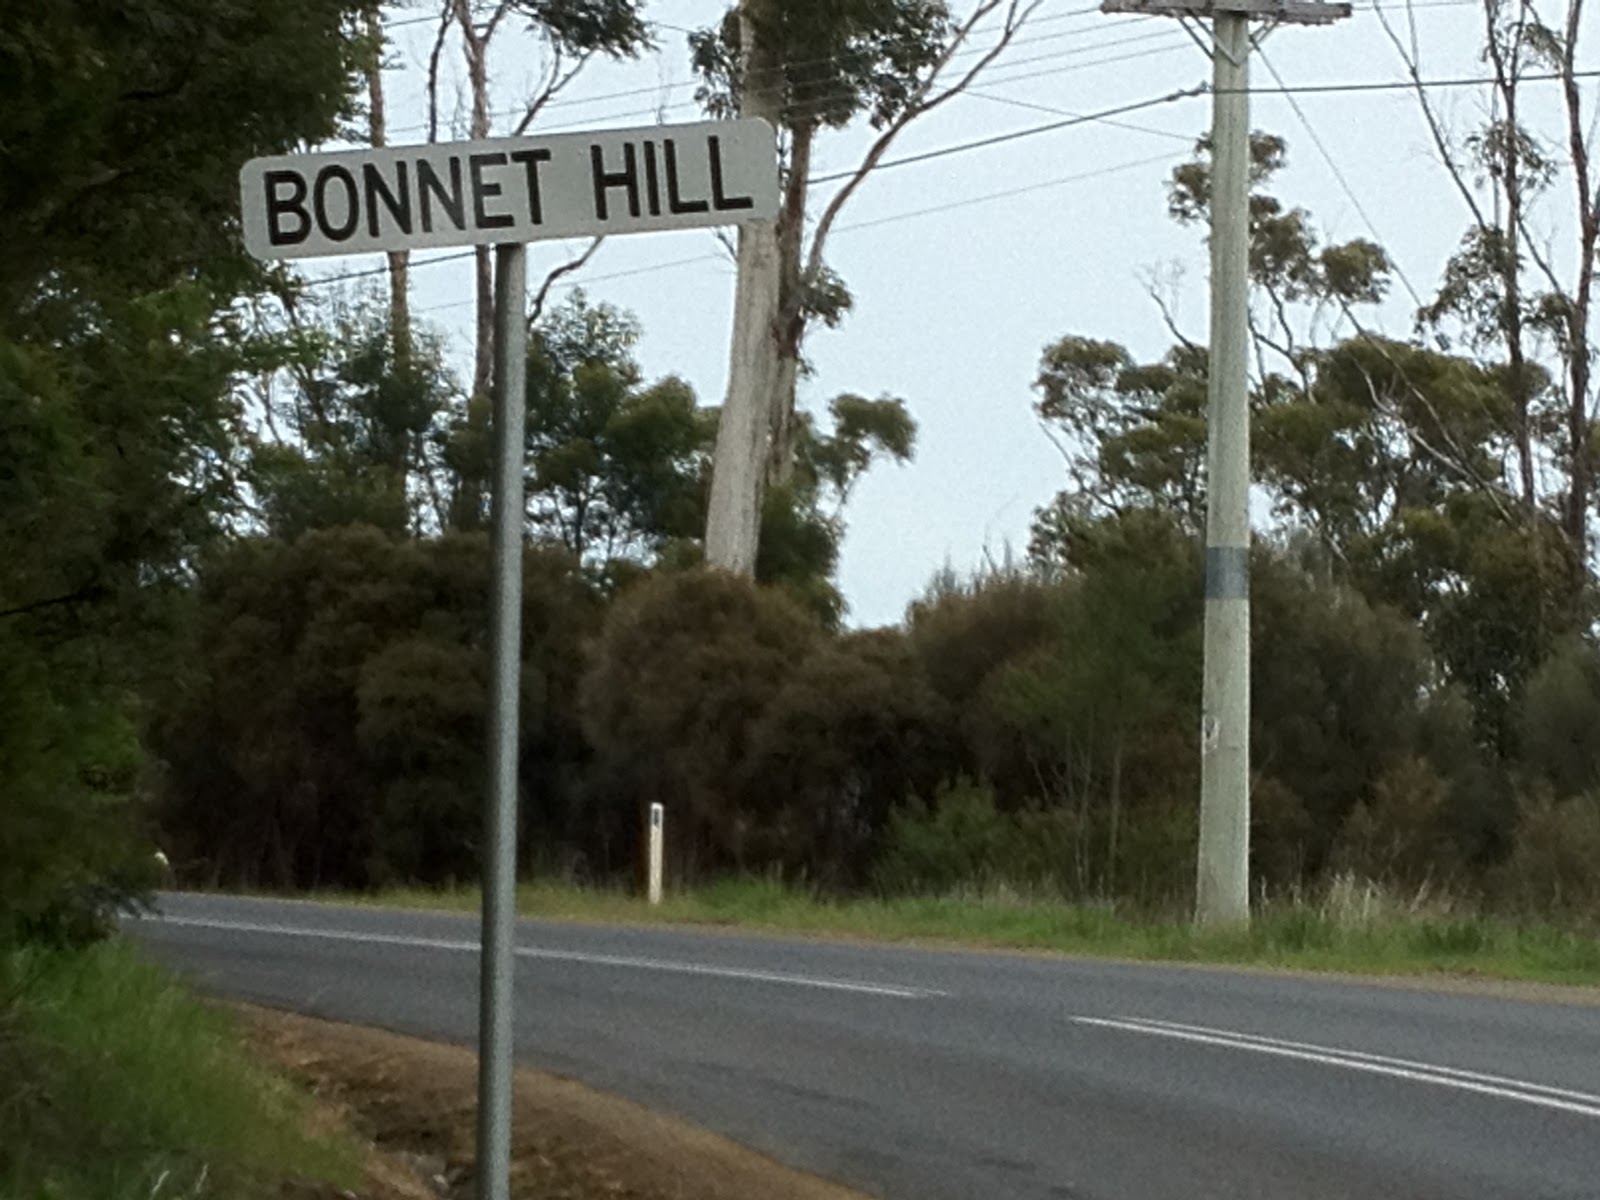
I now live at the top of Waterworks in Ridgeway, and this means that every night on my way home the climb taunts me – when am I going to try it again? Usually I chicken out and ride up Strickland Ave.  But eventually I forget how just hard the climb is and turn up Waterworks Rd… Now remember that the climb starts at 150m above sea level – the same altitude as the summit of Bonnet Hill. All that ascending before you get to the start of the climb? That’s just a warm up. It’s on nice, smooth tarmac and I’m sure you’ll be thinking, how hard will this climb really be? Then you turn the corner that marks the end of Dynnyrne and the climb, ridiculously steep, opens up before you. I find myself climbing the first straight, in a couple of gears above my bottom gear, and still thinking this isn’t too bad… But the road just keeps getting steeper, and rougher, sucking up all my energy in bumps and ripples. All of a sudden I’m in bottom gear, and frantically pushing that gear lever to find another gear, as the road curves around its two steepest corners. From there to Ridgeway Reservoir is an exercise in mind over agony. Just slog away until you get there. Forget cadence, forget heart rate, they’ll both be silly. Just turn those pedals over and over again.

But once you reach Ridgeway Reservoir, don’t stop: push along on the flat, get your speed back up to and over 30km/h and push around to the next ramp. This is steep but much, much shorter – just slightly too long, with that first climb in your legs, to sprint up…

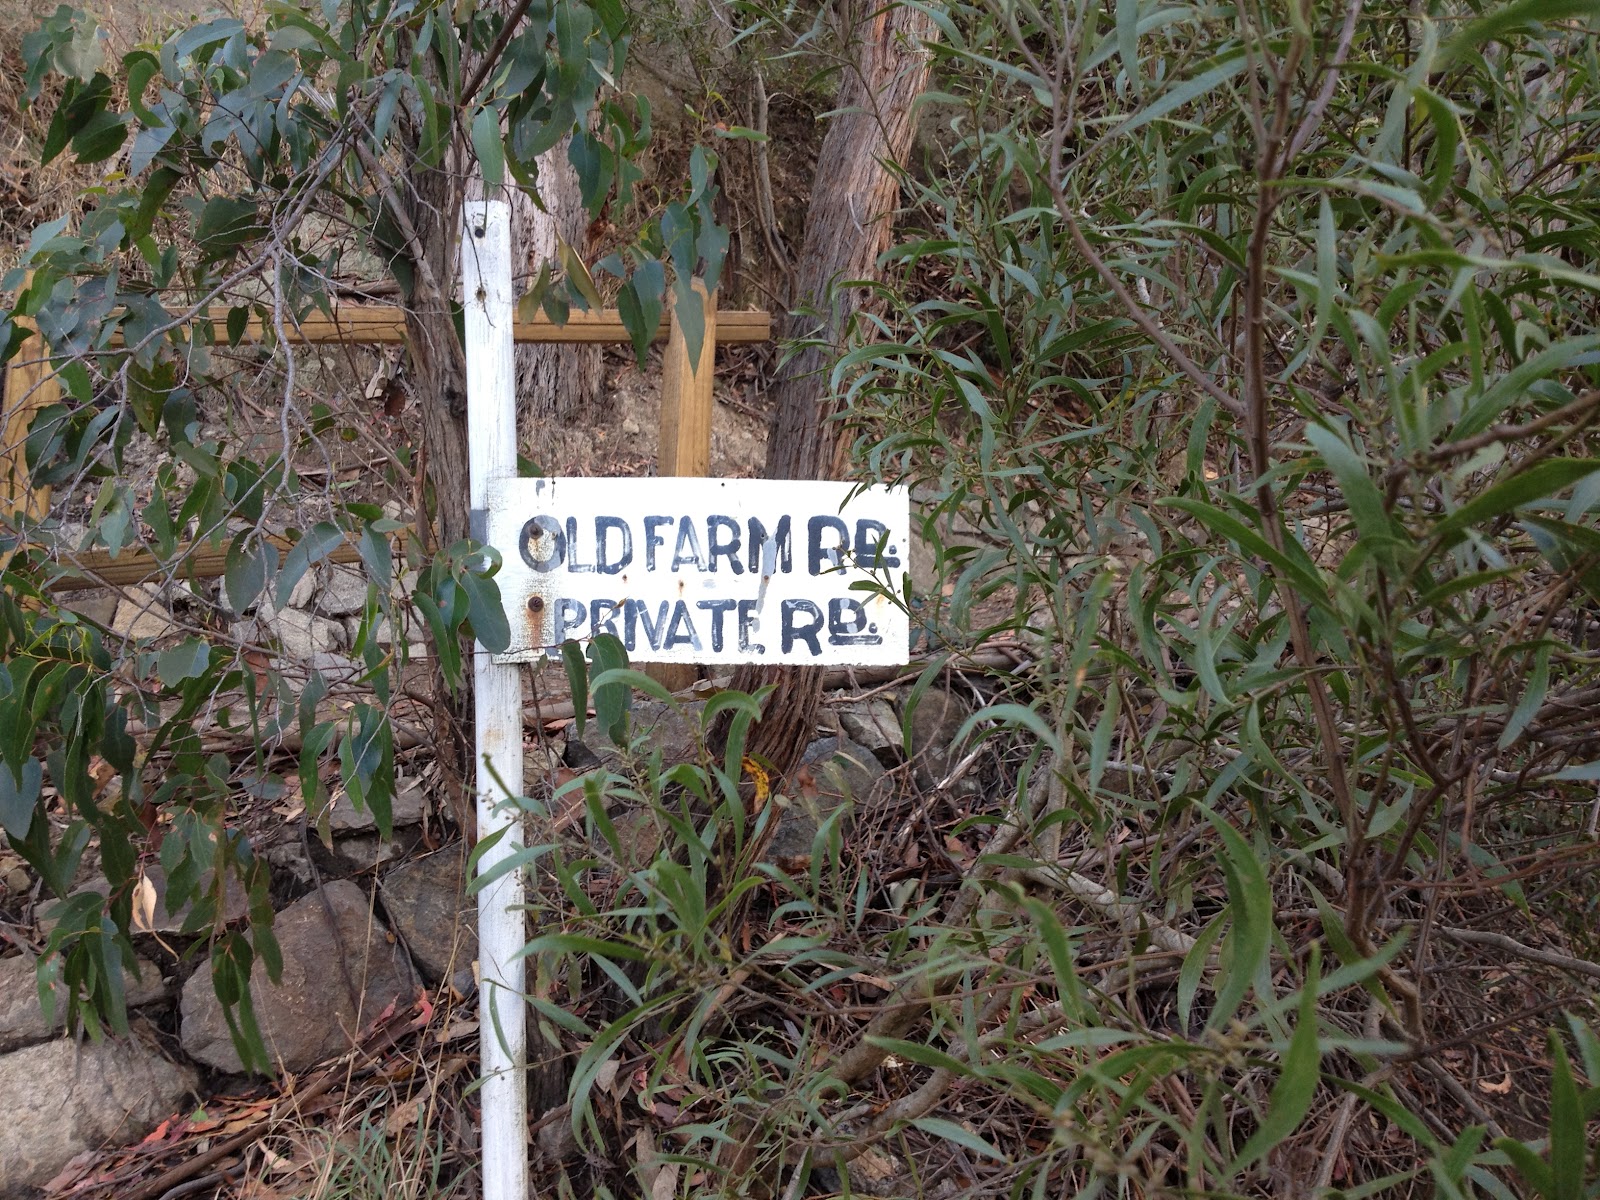
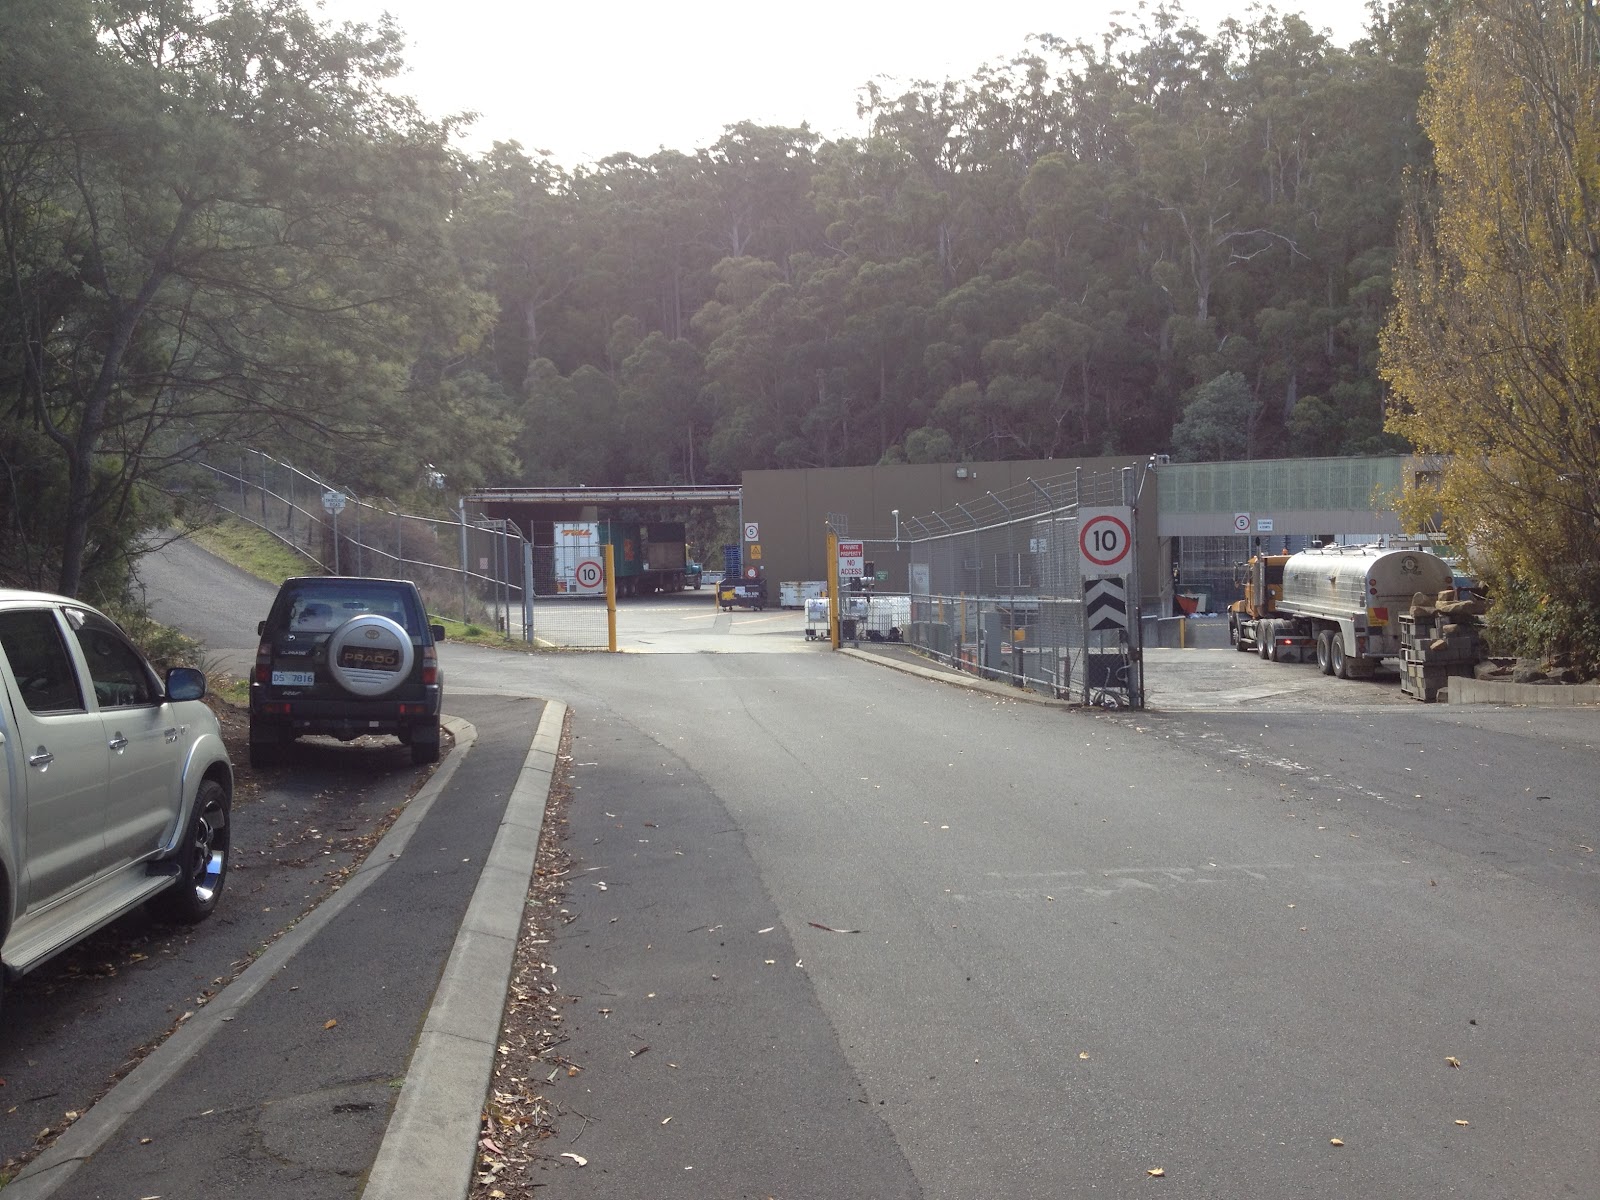
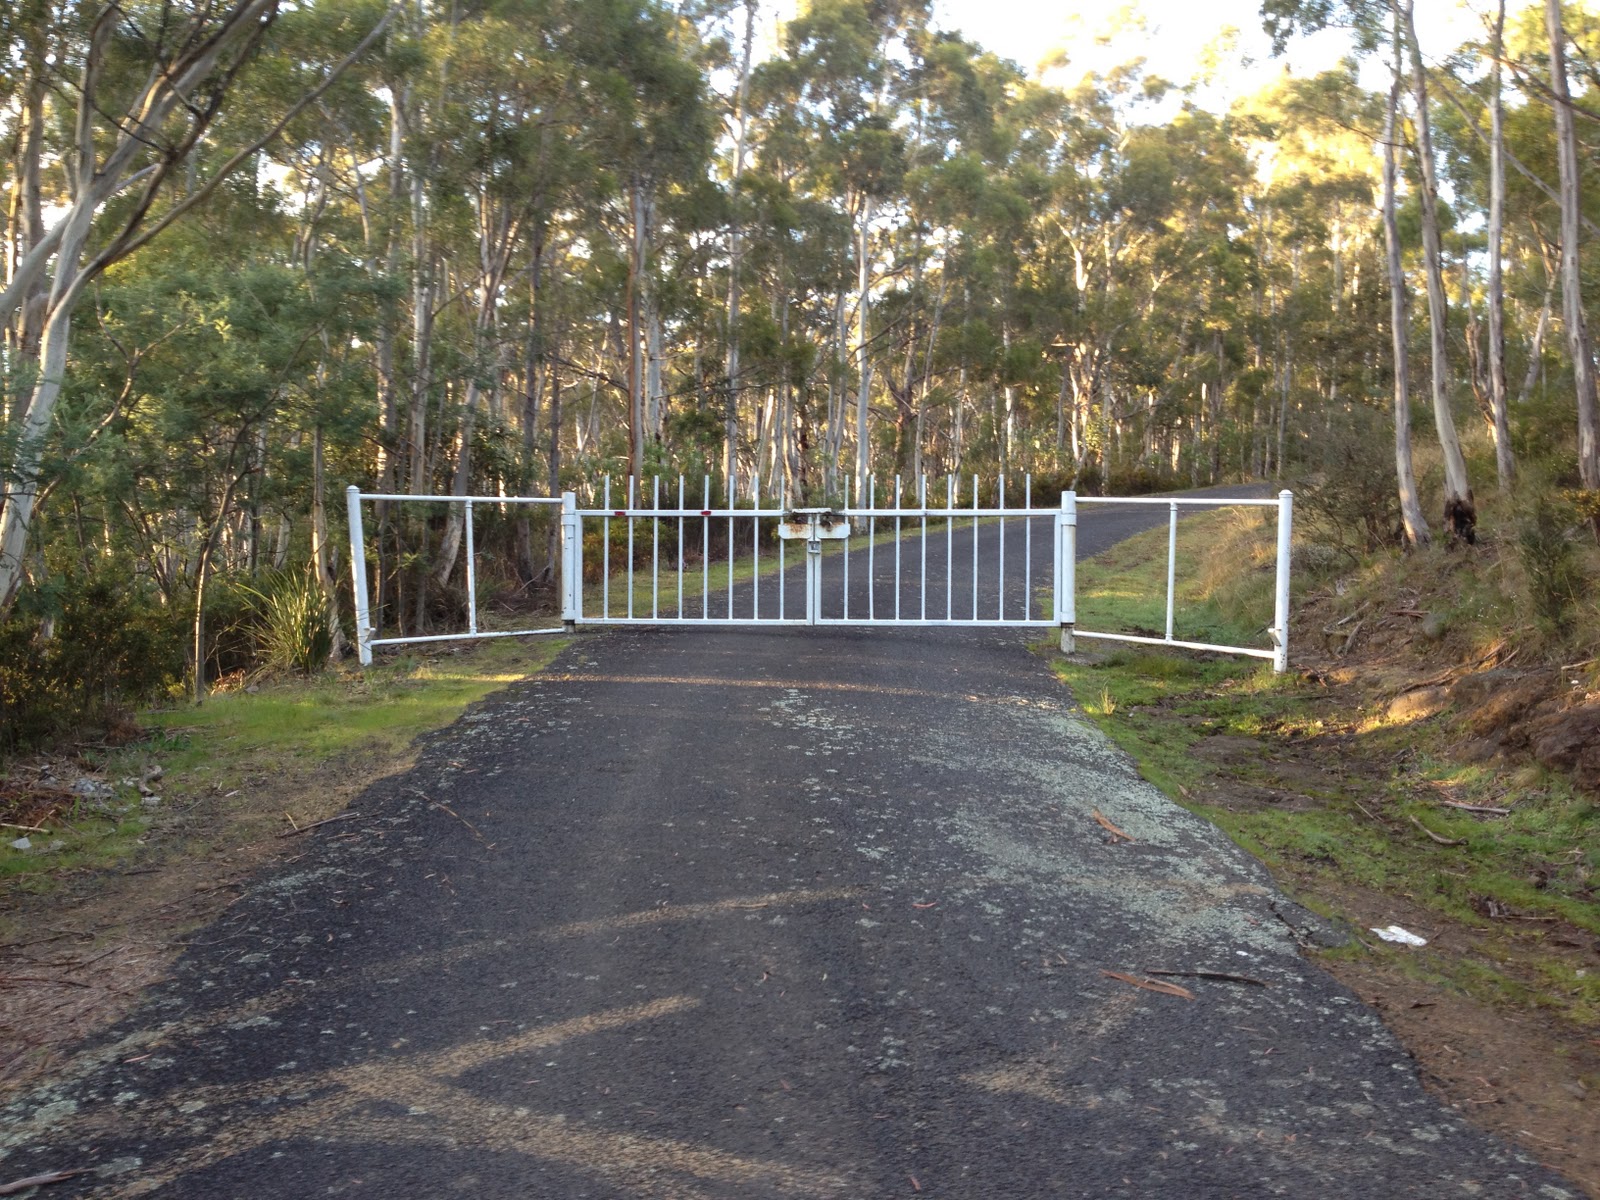
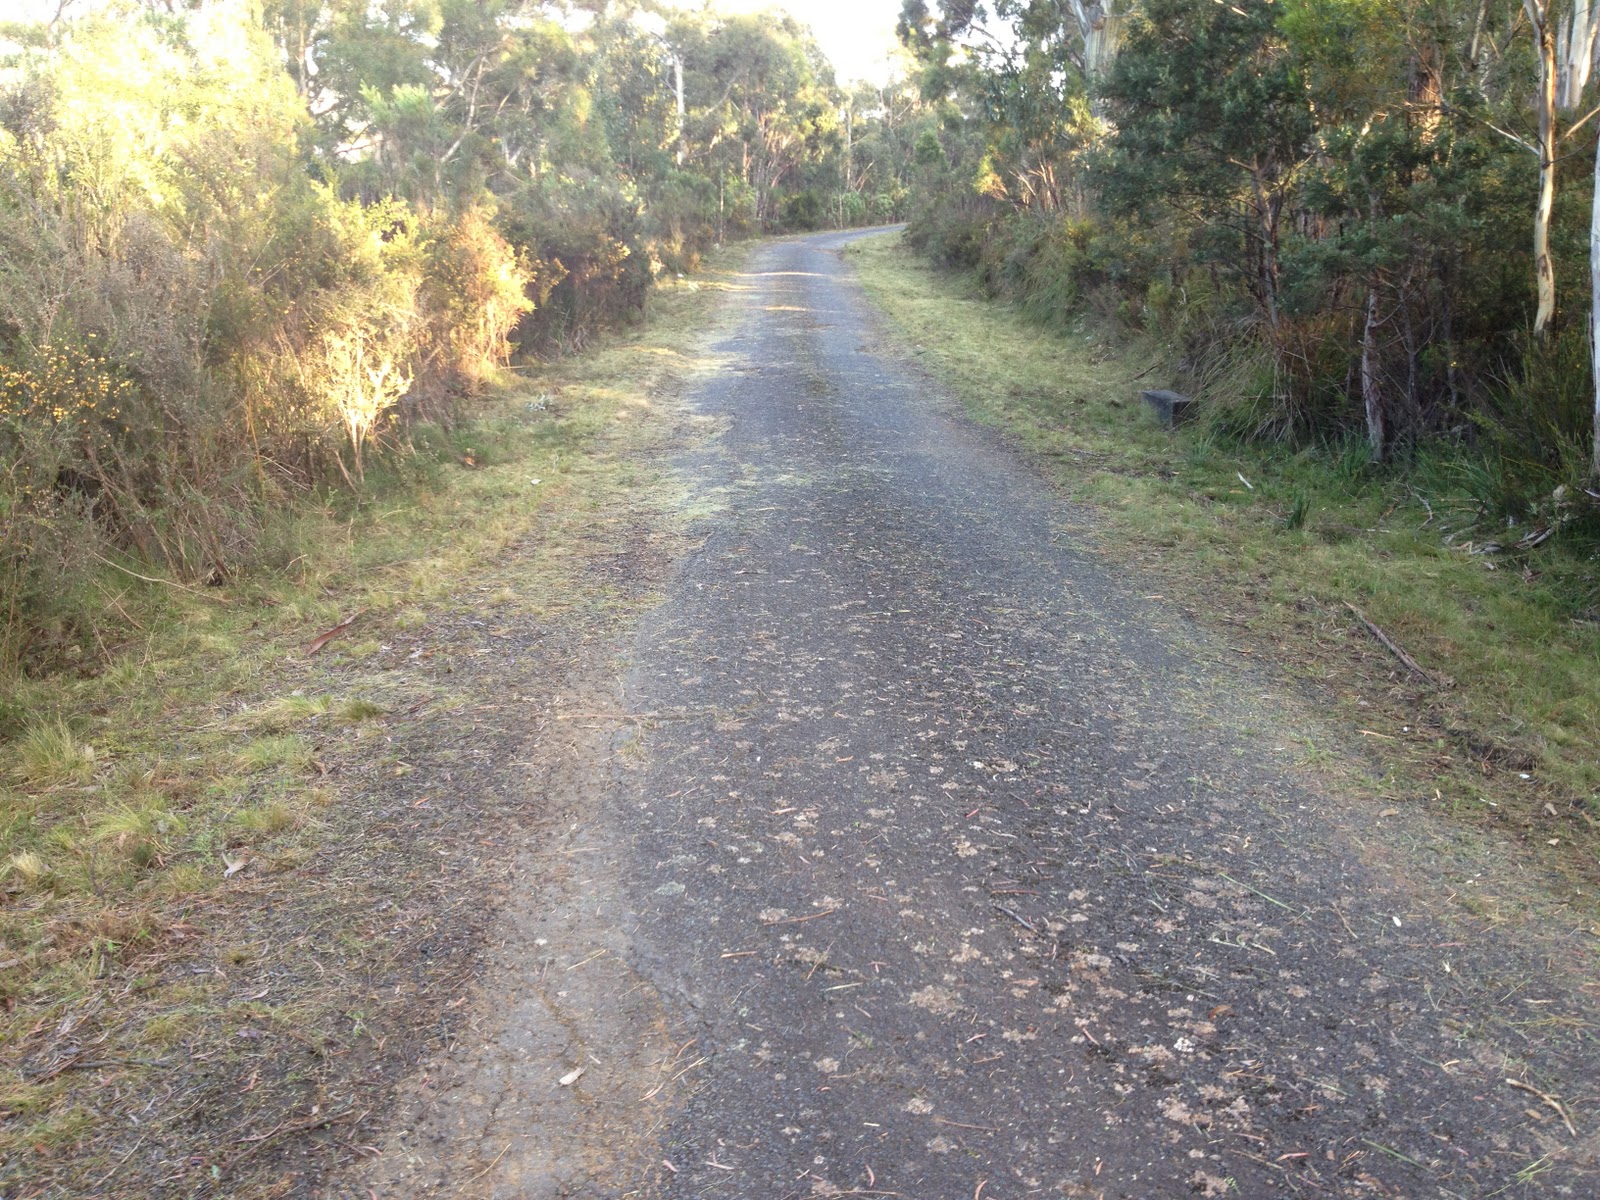
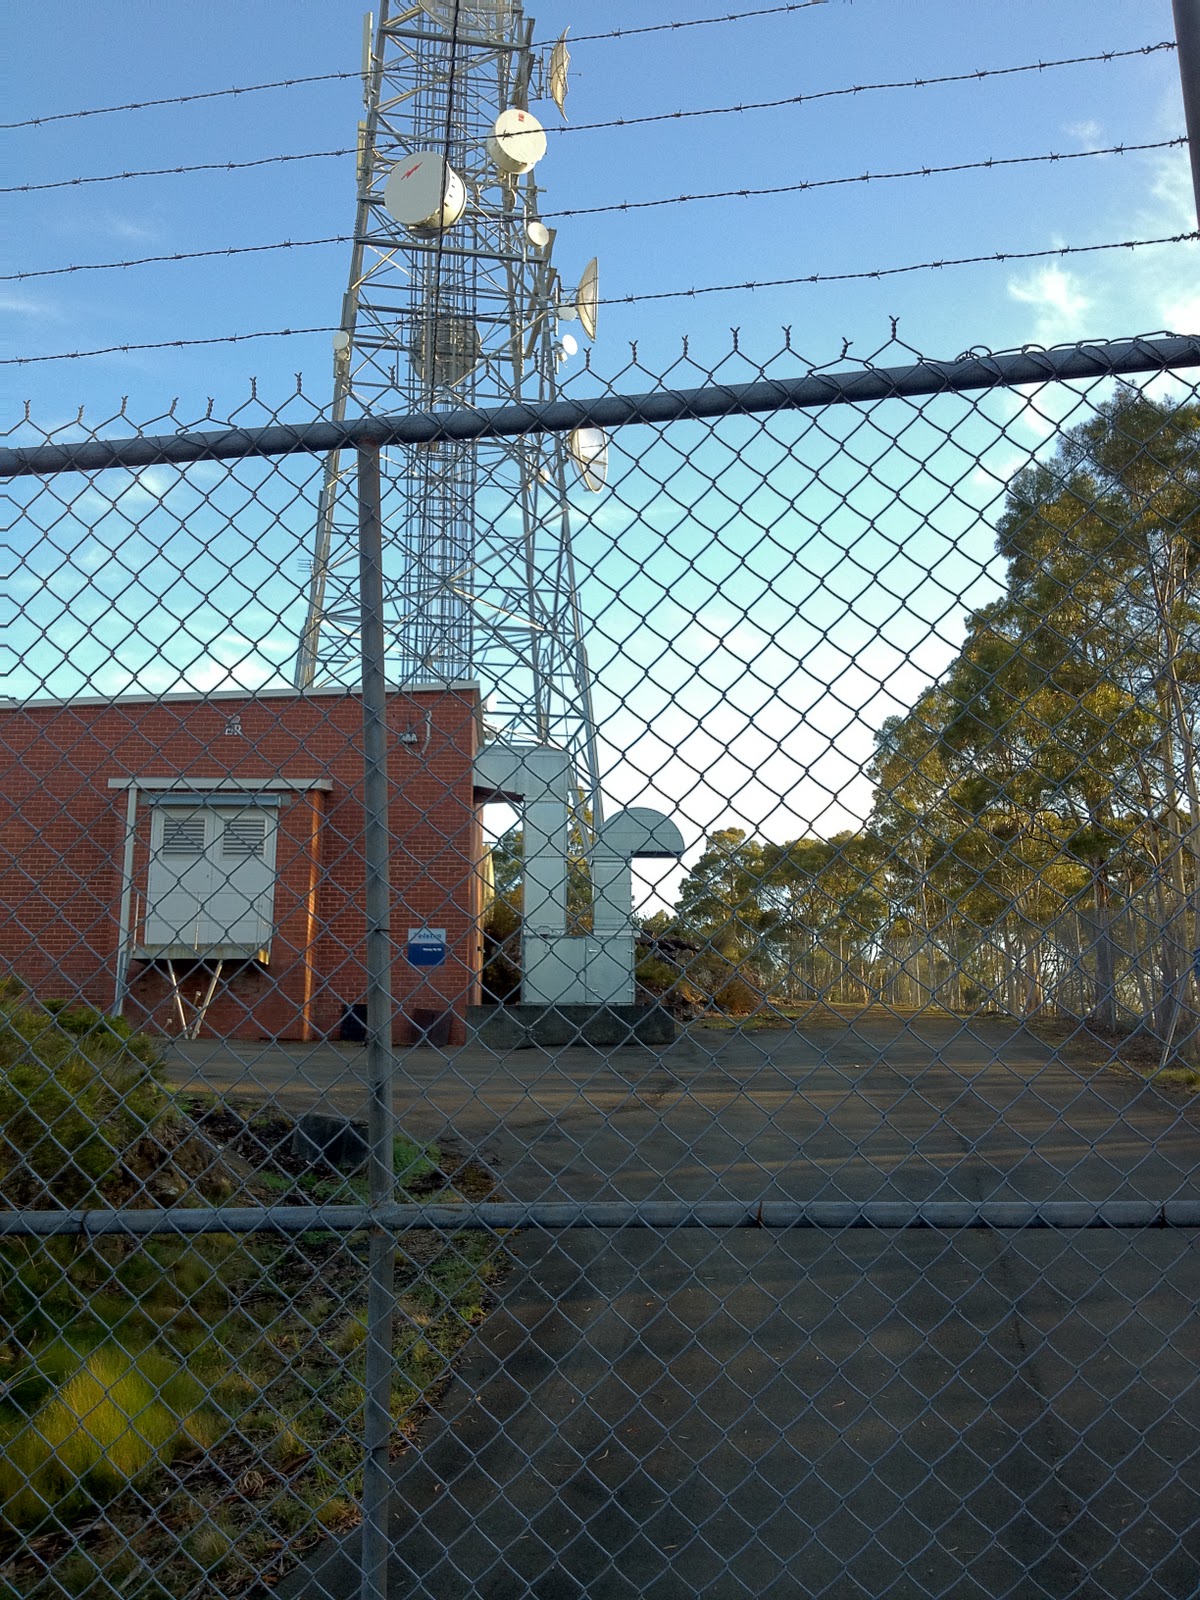
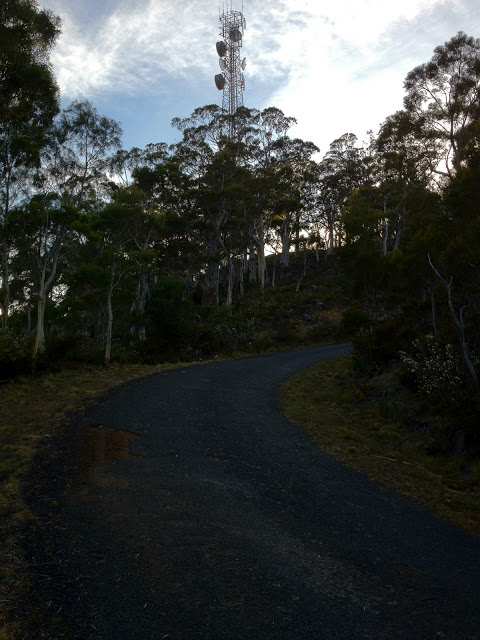
And now you reach the crunch point: the climb doesn’t finish here, but you could pretend that it does (I do, with the powerful excuse that I’m going home…). But I know you’ll want to conquer the whole climb, and ride to the very top of Chimney Pot Hill. So, turn right, ride a couple hundred metres on the level road (oh blessed relief!), and then turn left up the service road that leads to the Telstra tower at the top. You may have to hop off your bike to negotiate the gate at the base.

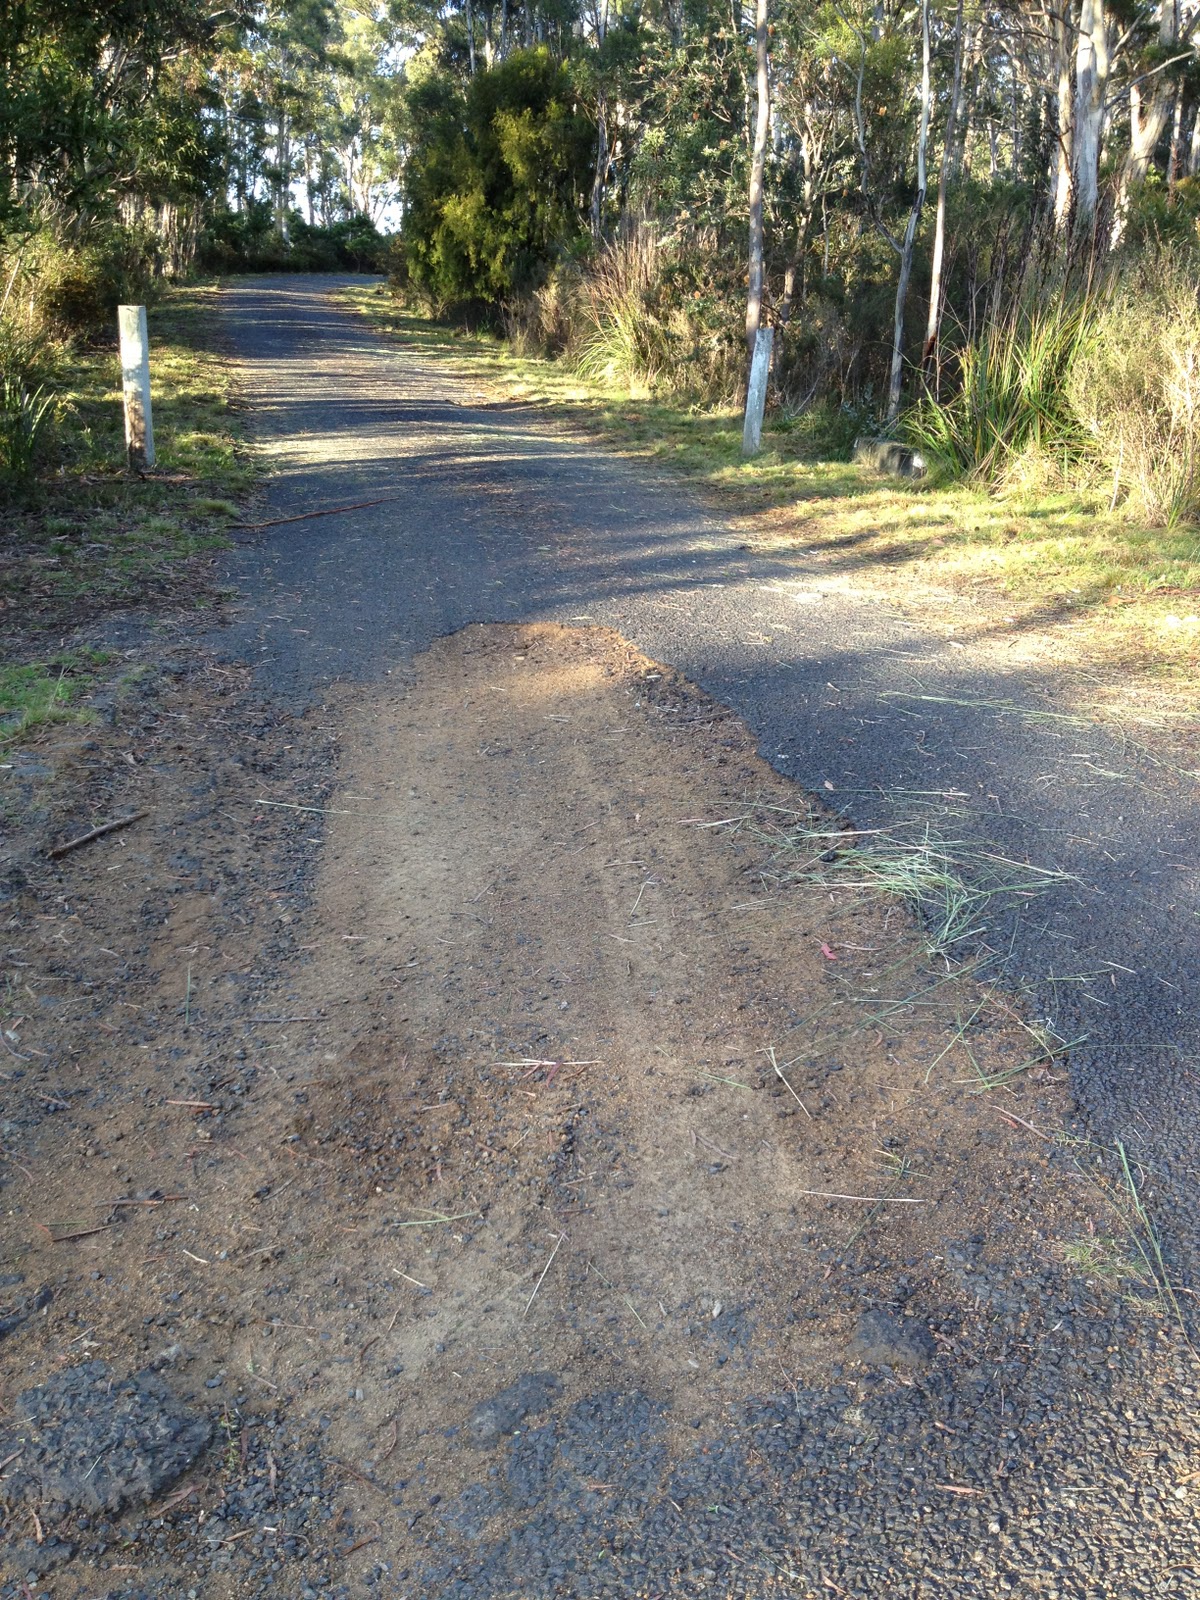
This bit of road is enough to make seasoned riders cry. It averages over 10% for another one and a half kilometres.  The surface on this road is pretty broken up, but given that you’ll be slogging along in bottom gear, it probably won’t be a problem for you! The most demoralising moment of this climb is no doubt about 500m from the finish, when the road straightens up for what at that point looks like an impossibly long 400m straight. Just remember, when you get to the end of that straight, you are nearly there!

Again, there are some great views at the top. Not that you’ll be able to see them, as you’ll be too busy wiping sweat out of your eyes and trying to keep yourself from falling over.

The descent of Waterworks would be one of the most technical in Hobart. It is very steep, with badly cambered corners, ripples, potholes, and a rough road surface. Great on a mountain bike but be careful on your road bike! Also beware of gusts on windy days – I’ve been literally blown off the road when I encountered a sudden strong cross wind on the descent. I’ve also overcooked it coming into the first of the two steep bends – the ripples make it very hard to slow down if you get too much speed up! I was lucky – I just explored a ditch for a few moments before somehow, miraculously rolling back onto the road!

If that descent doesn’t sound like your cup of tea, turn left at the bottom of the service road, and follow Chimney Pot Hill Rd to Huon Rd, the gateway to Mt Wellington.

Edit: I forgot the challenge. Just do it. Without stopping.

You have probably already figured which climb the next and final post will be about…

Waterworks and Chimney Pot Hill
Distance 4.4km
Category 2
Elevation 350m
Gradient 7.7%
Maximum Gradient 25%
Time from city 10 minutes
Traffic low
Strava http://app.strava.com/segments/625953

How to get to the climb: From Sandy Bay Rd, turn right on King St, follow it up to Lynton Ave, then turn left onto Waterworks Rd. The climb starts 1km up this road.

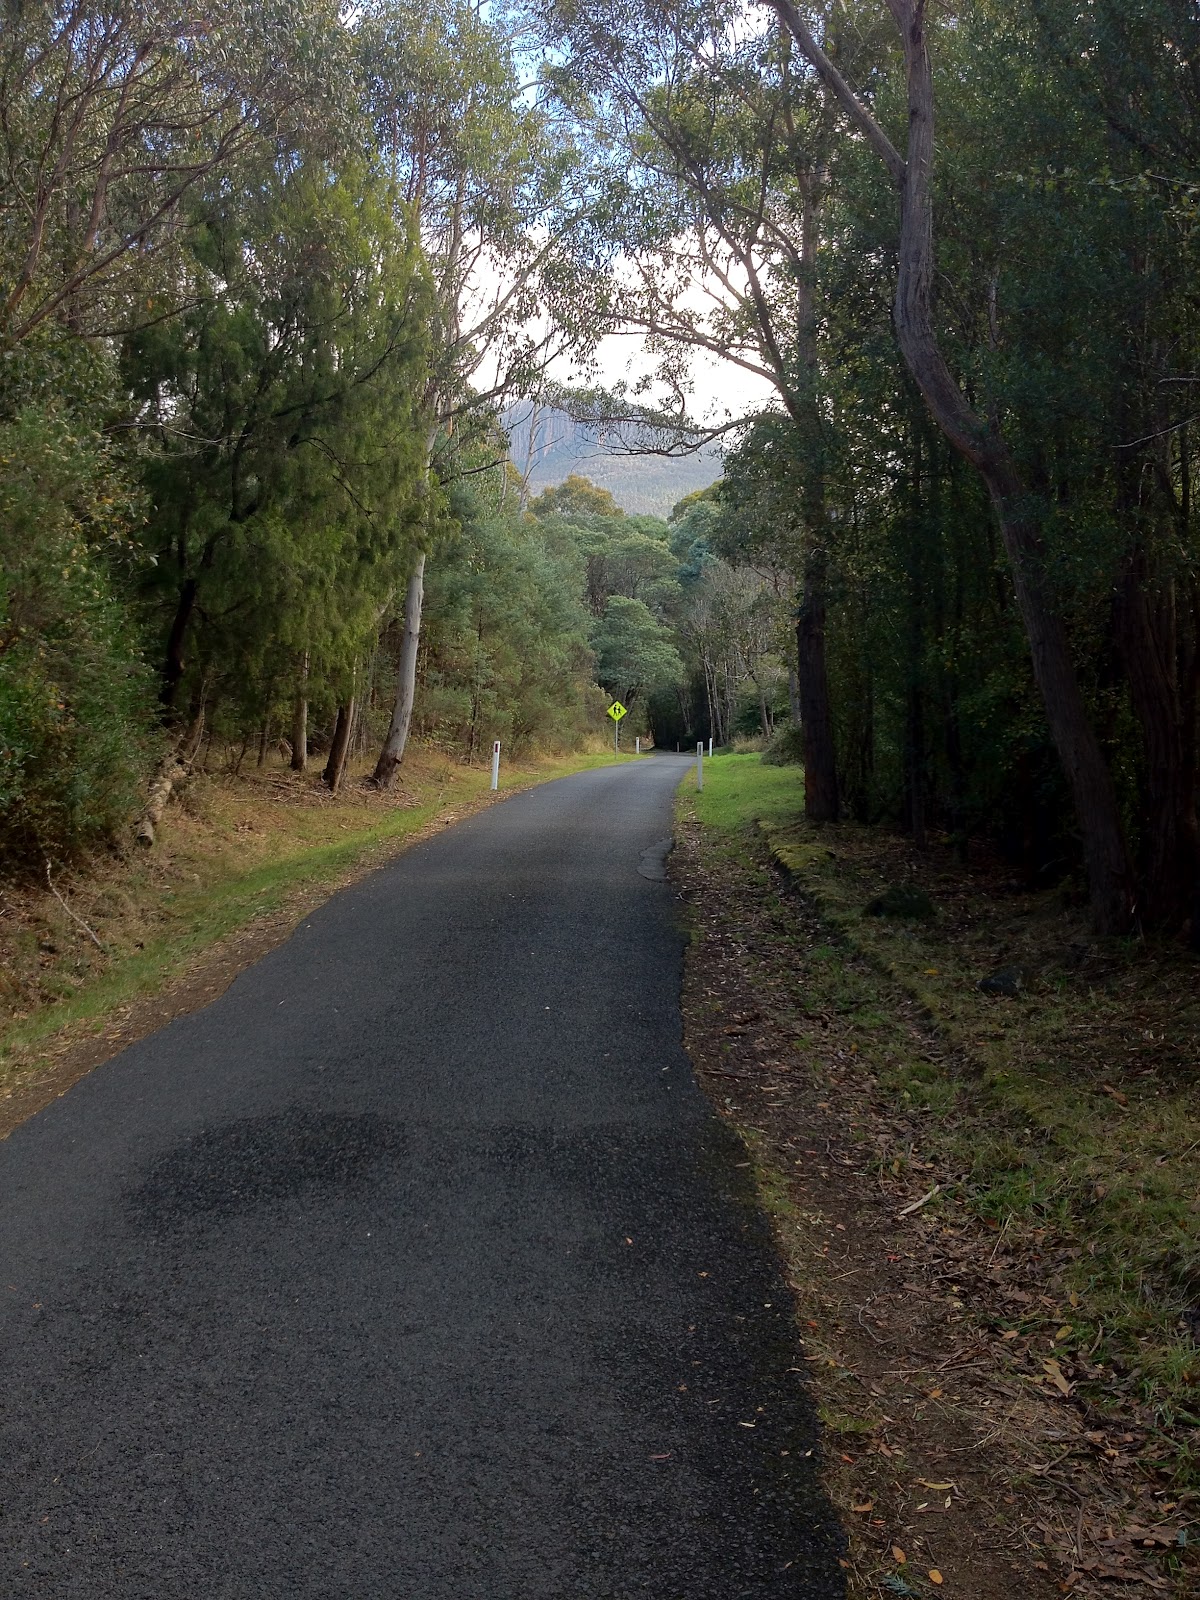
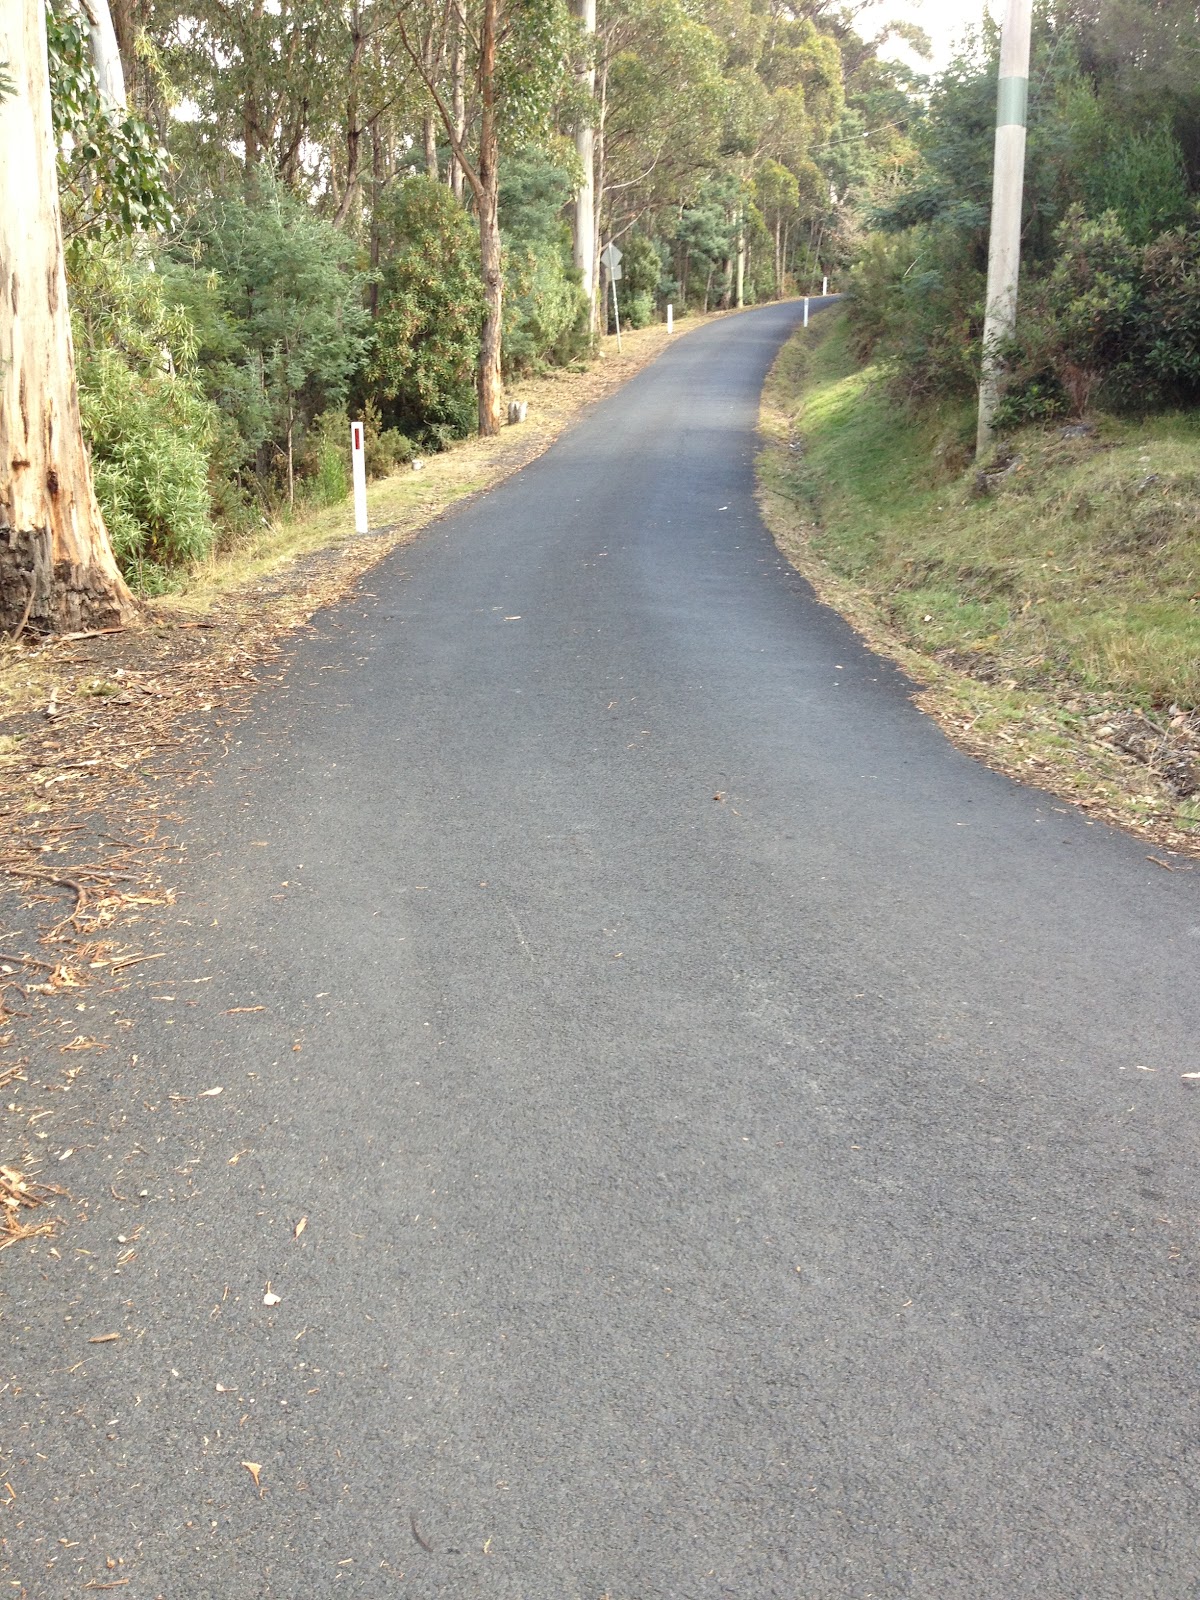
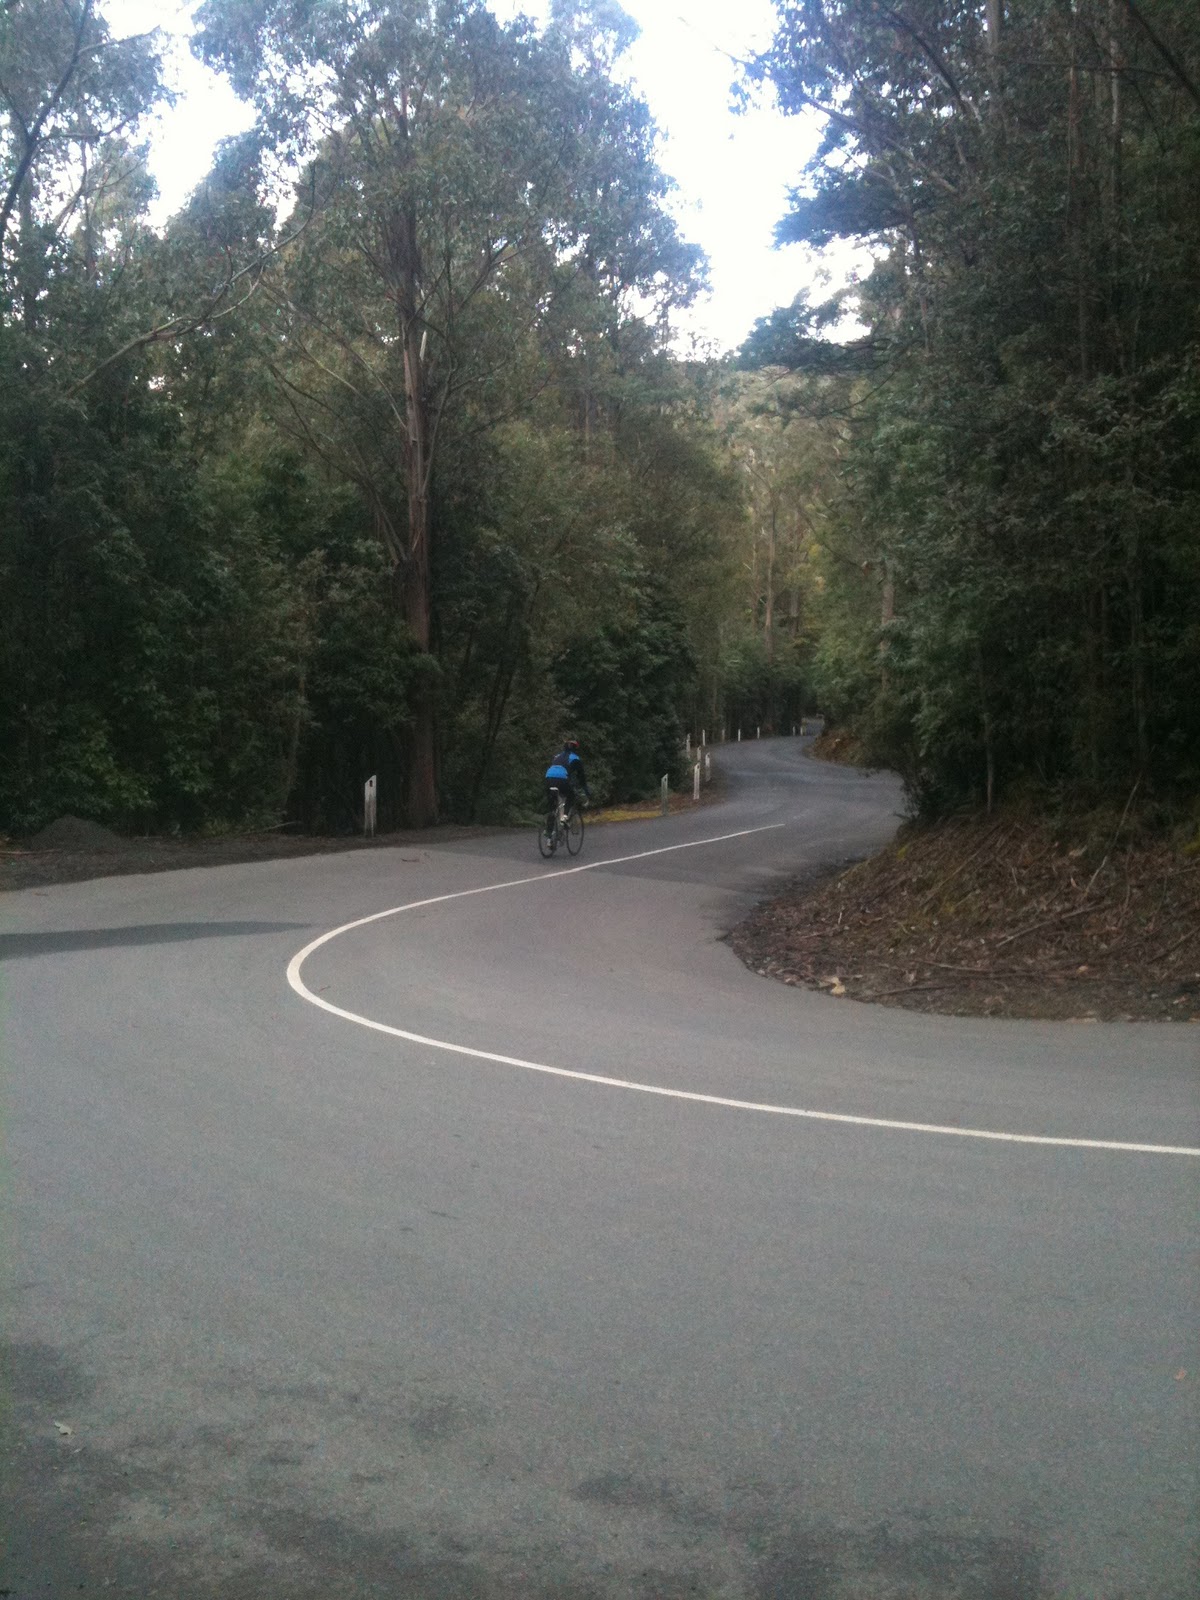
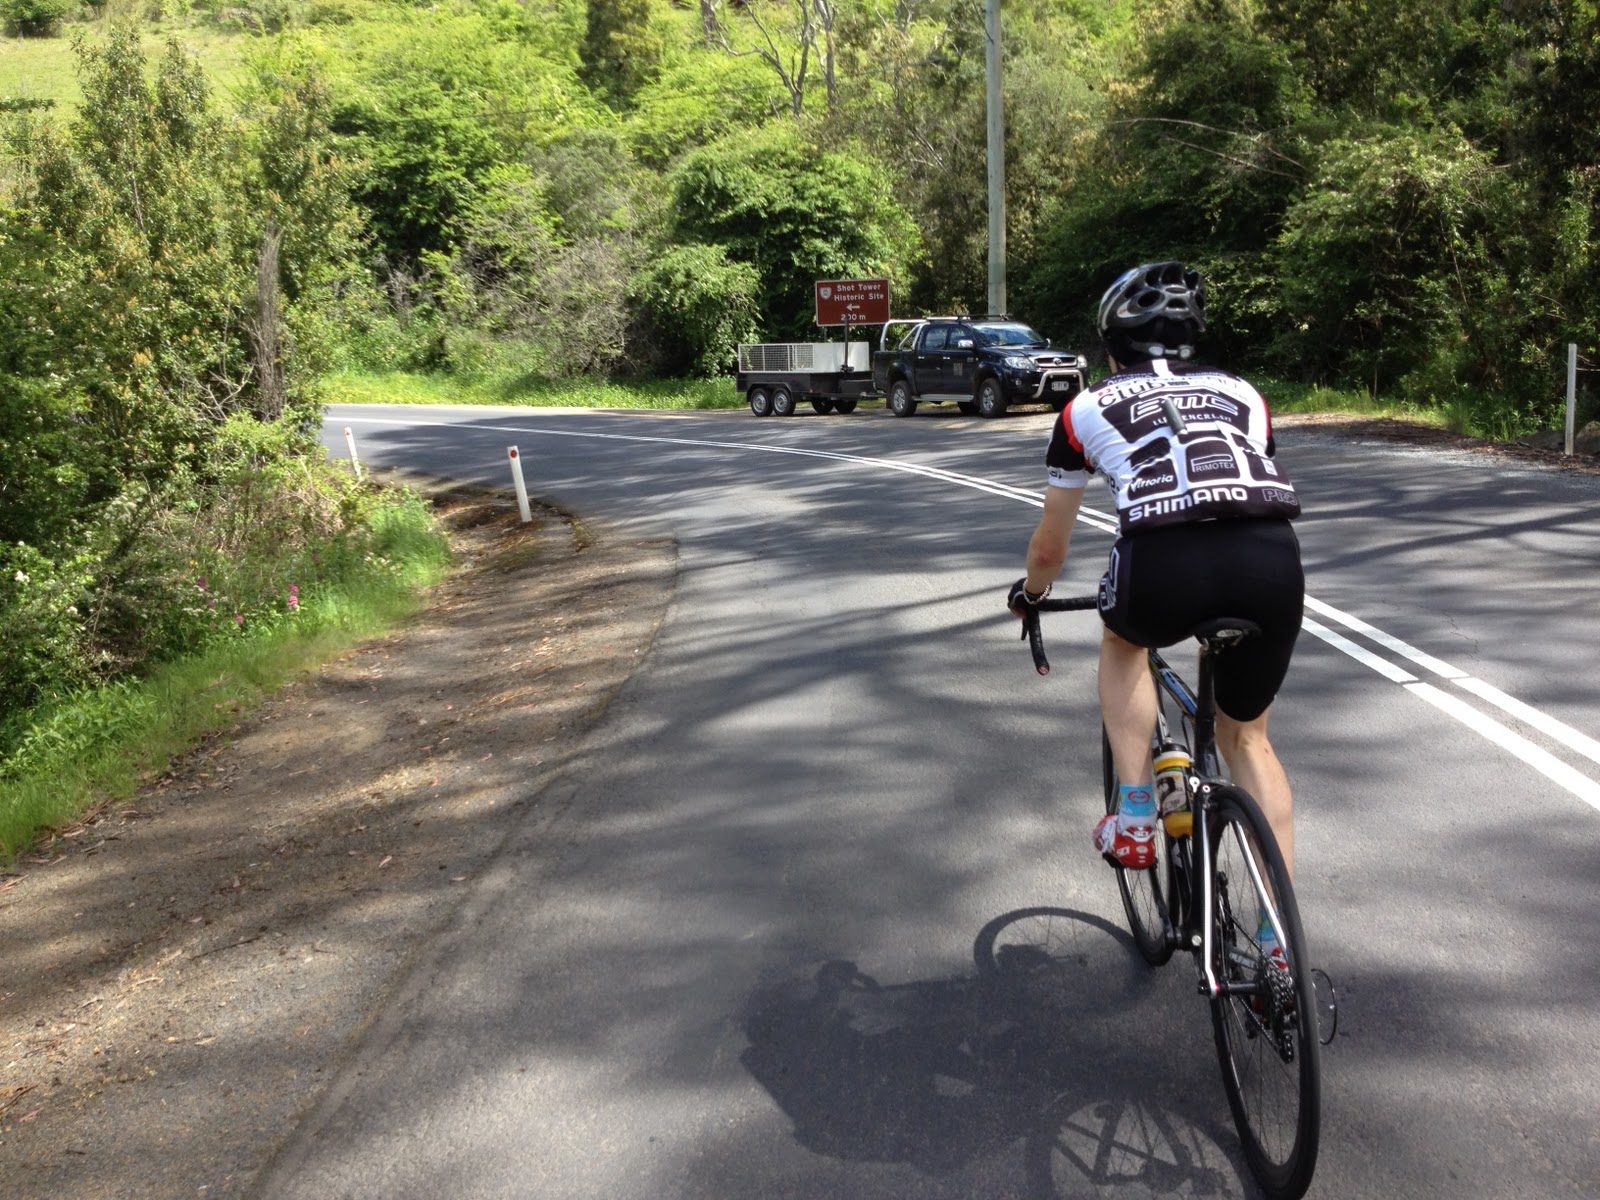
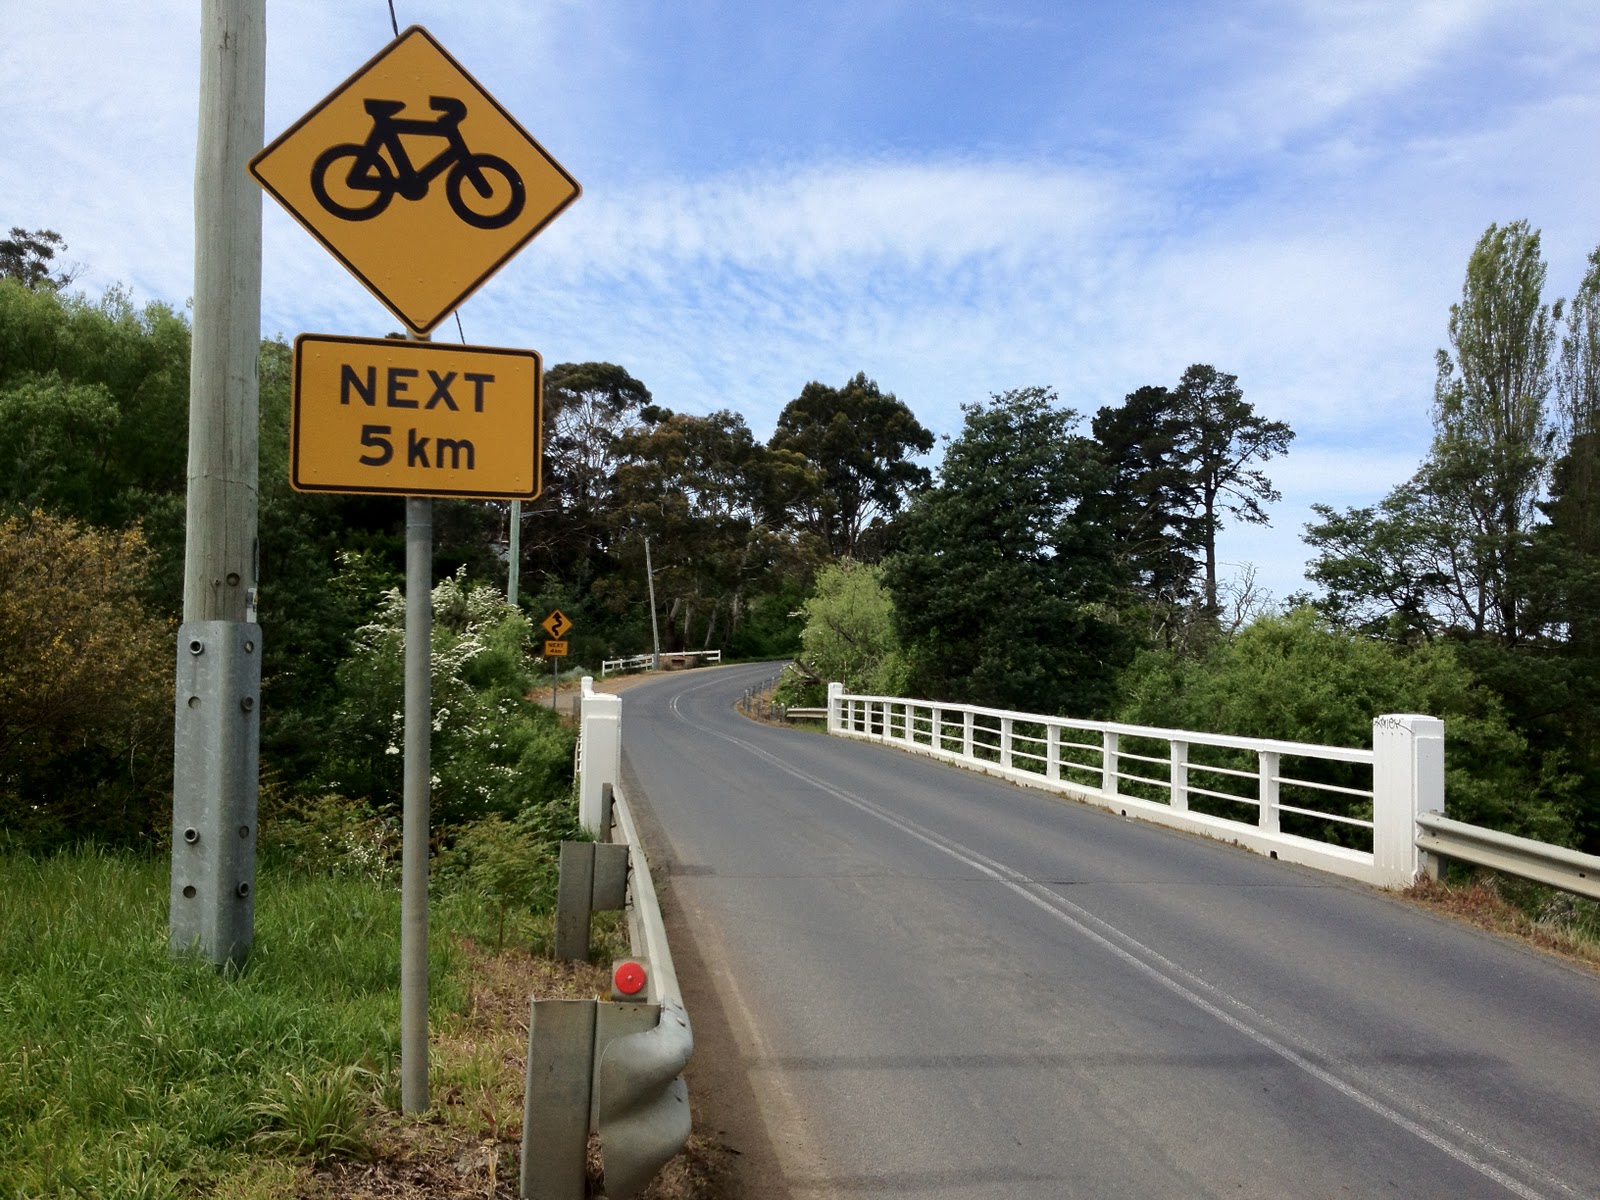
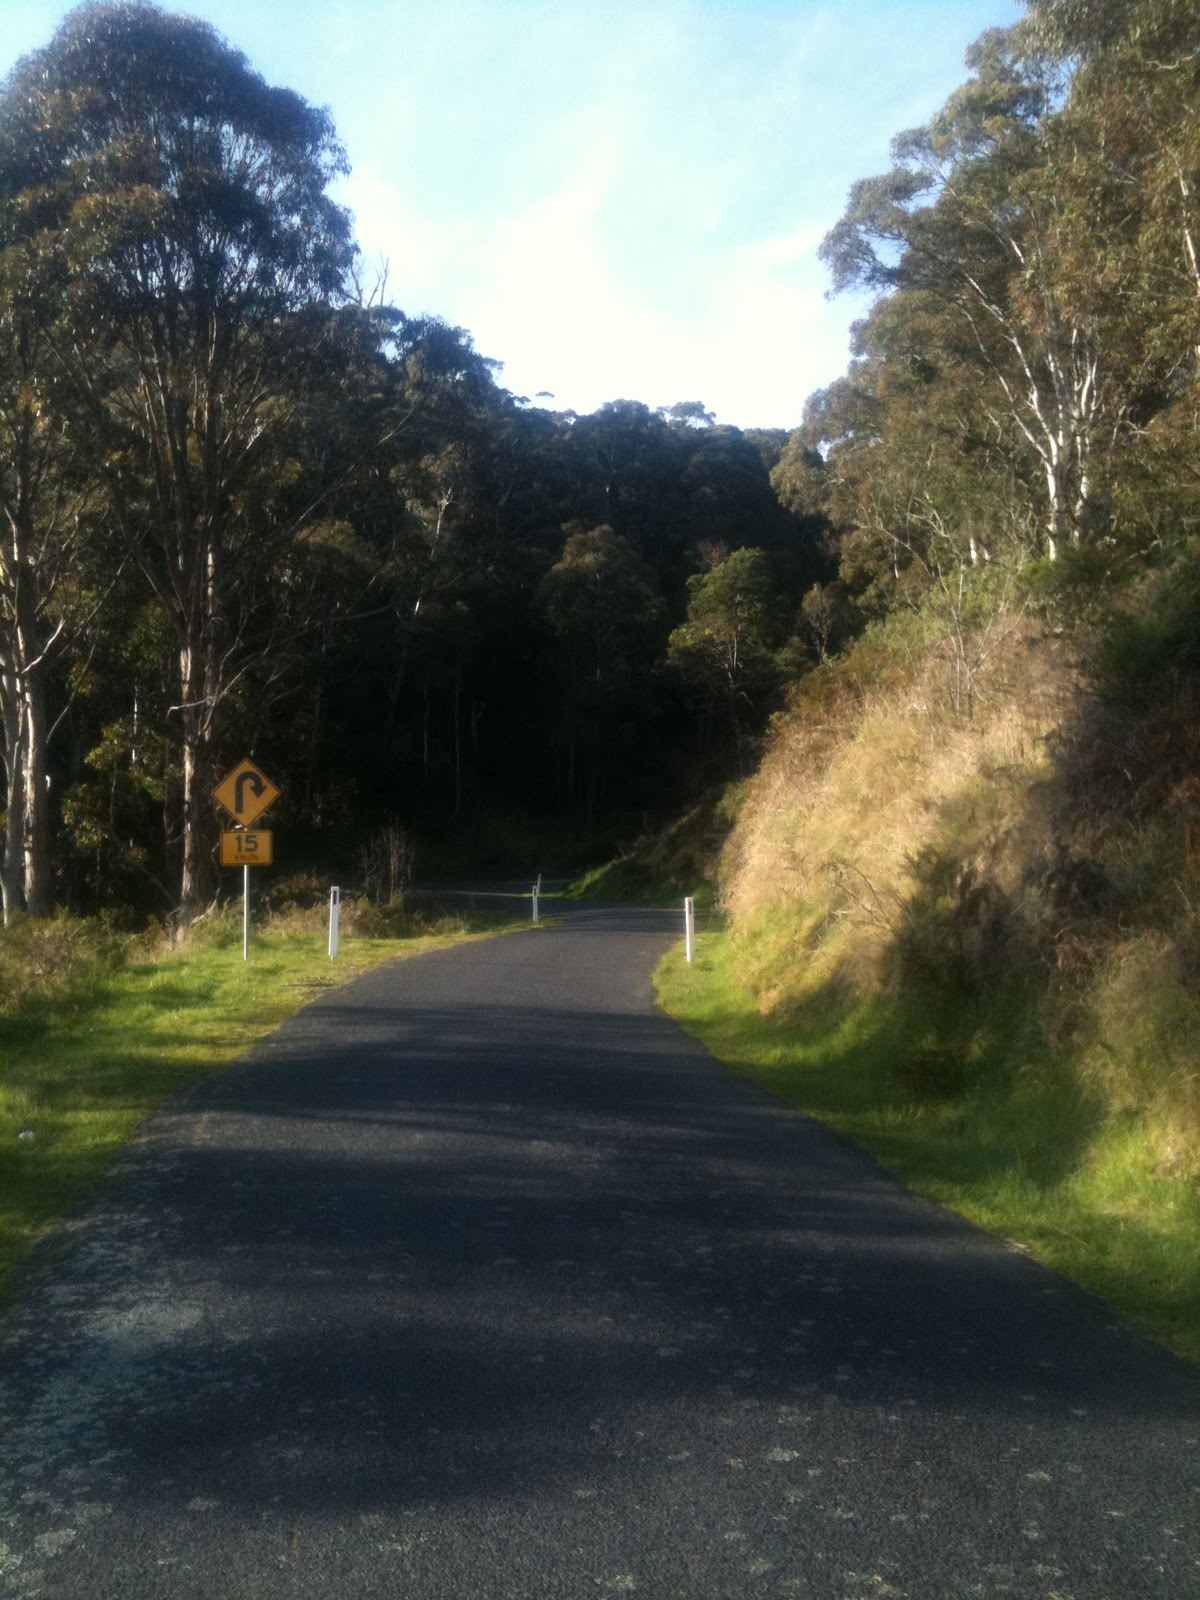
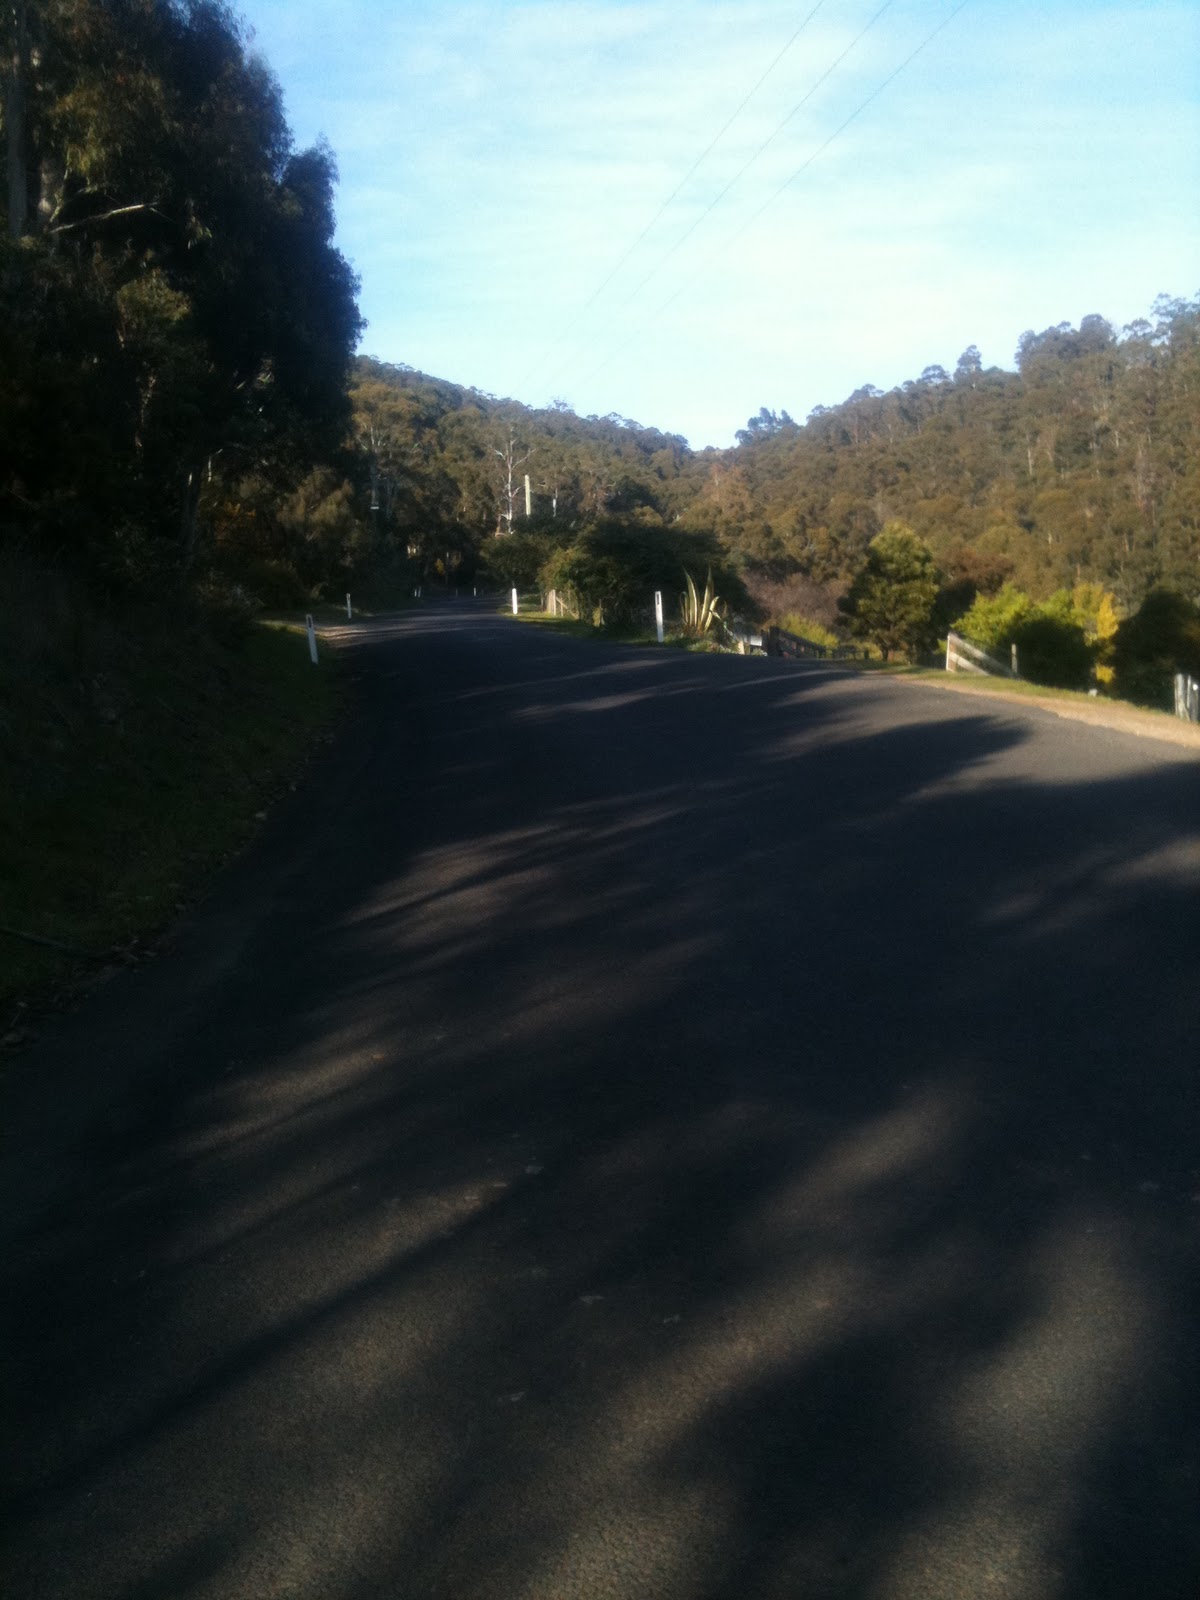
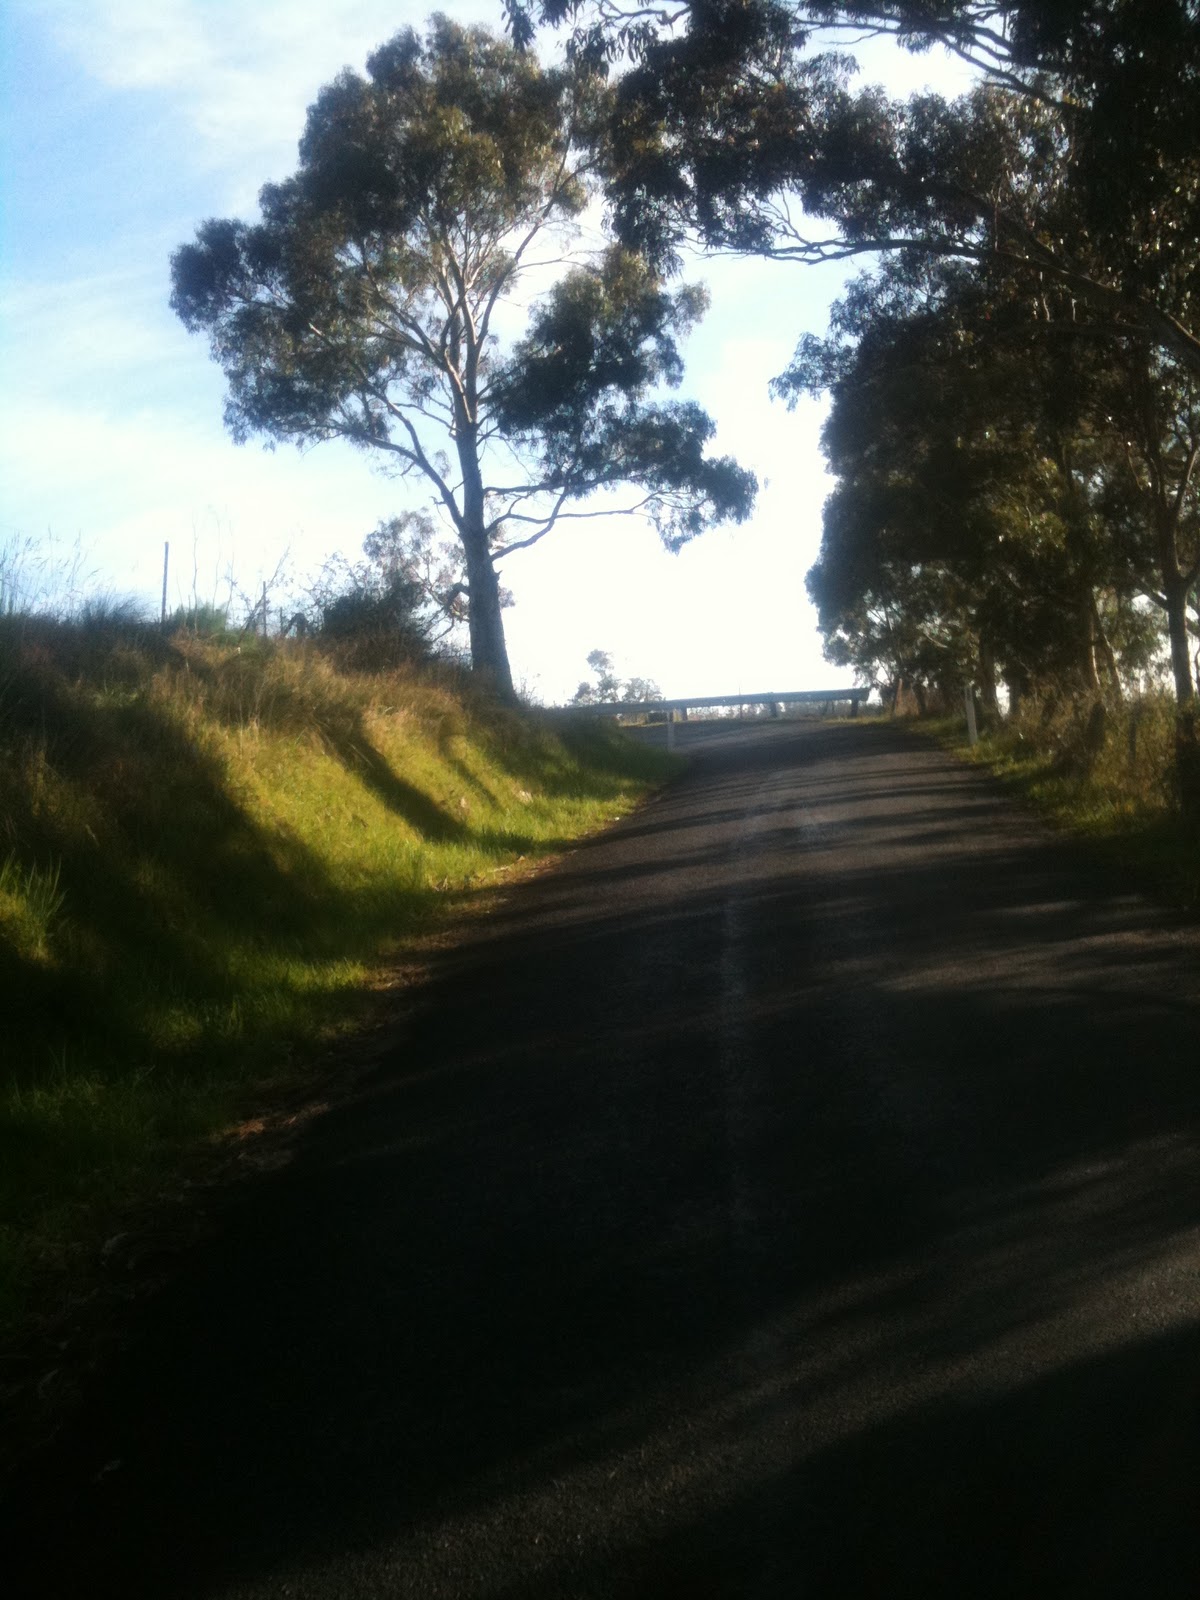
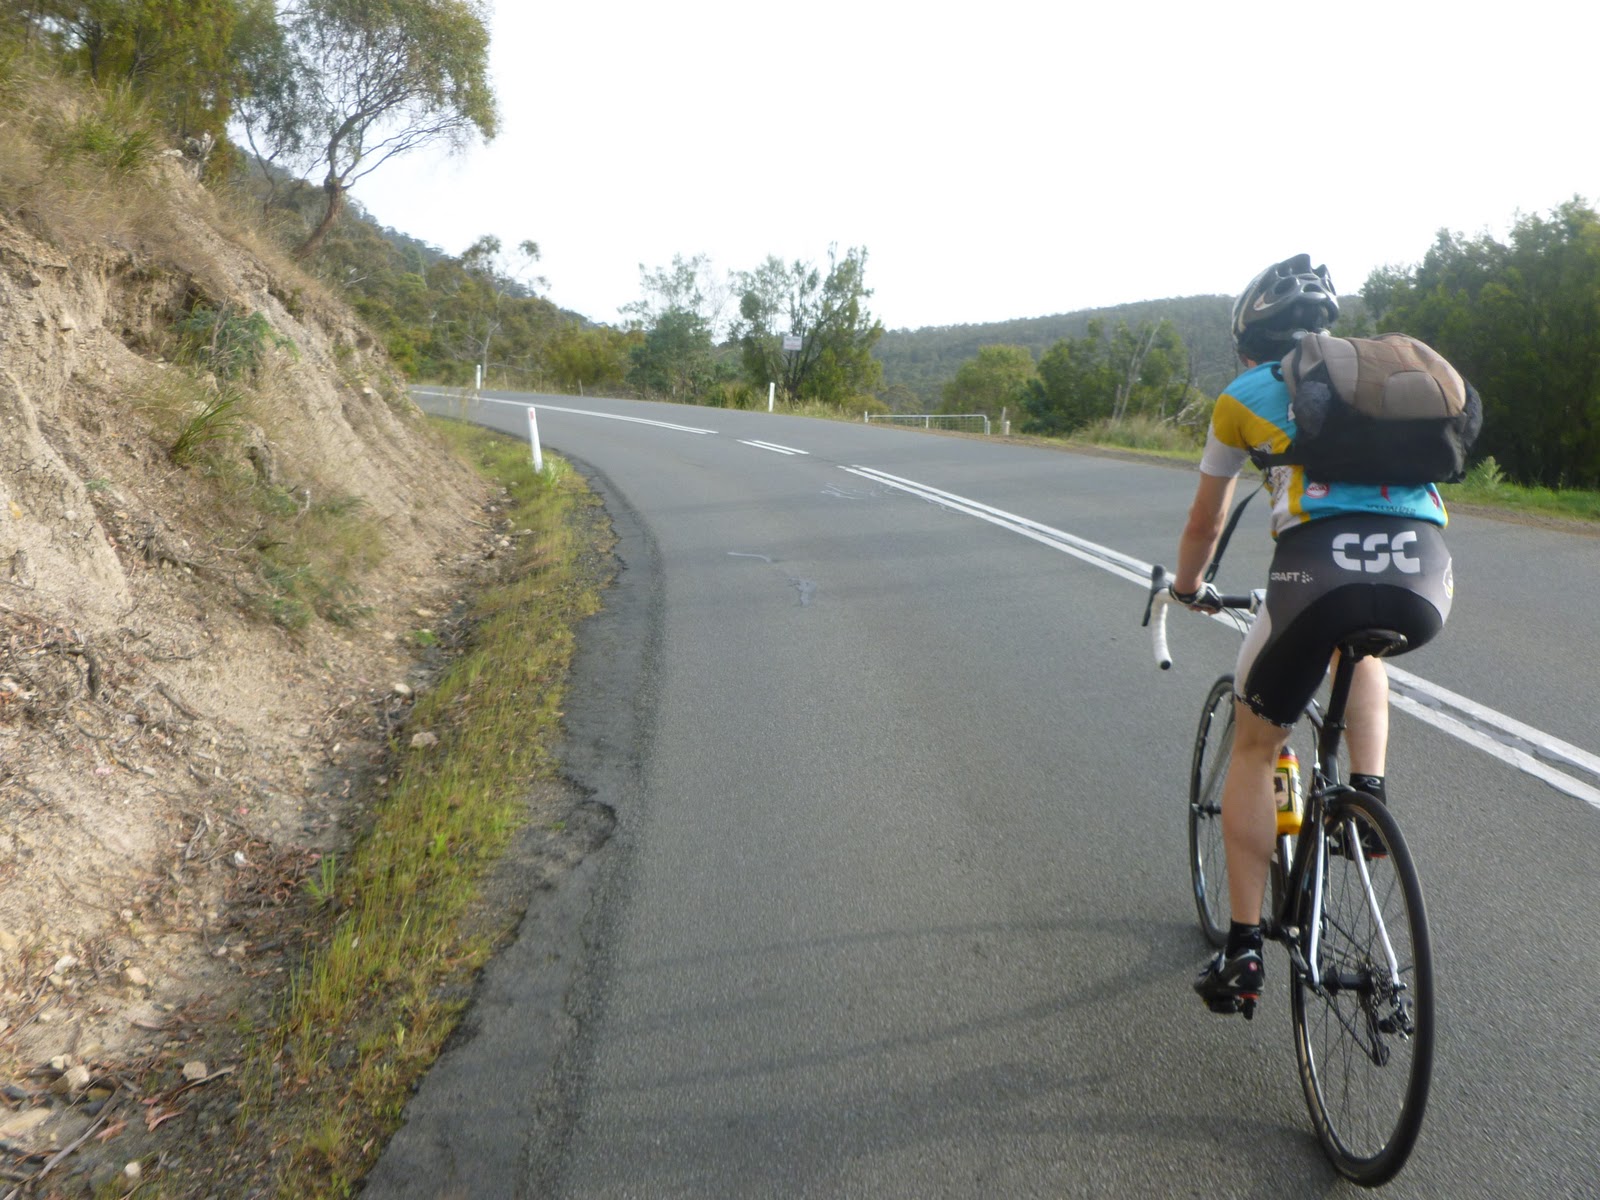
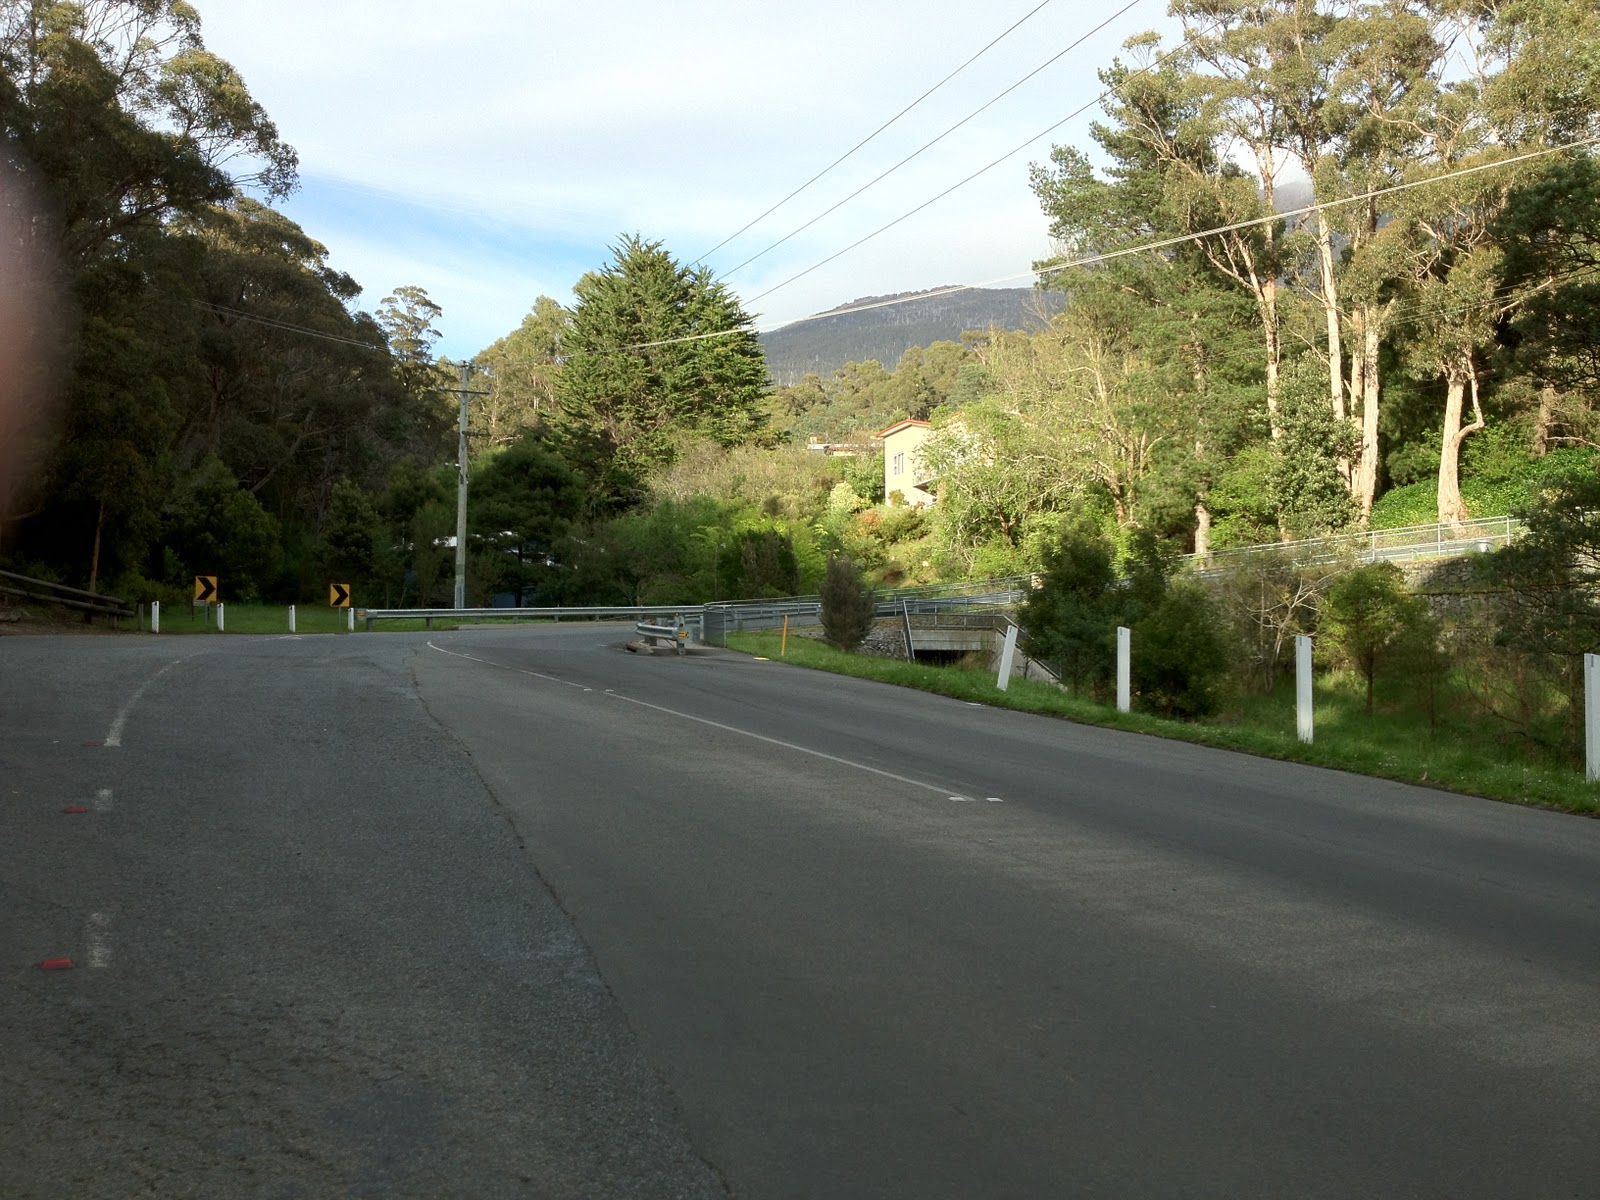
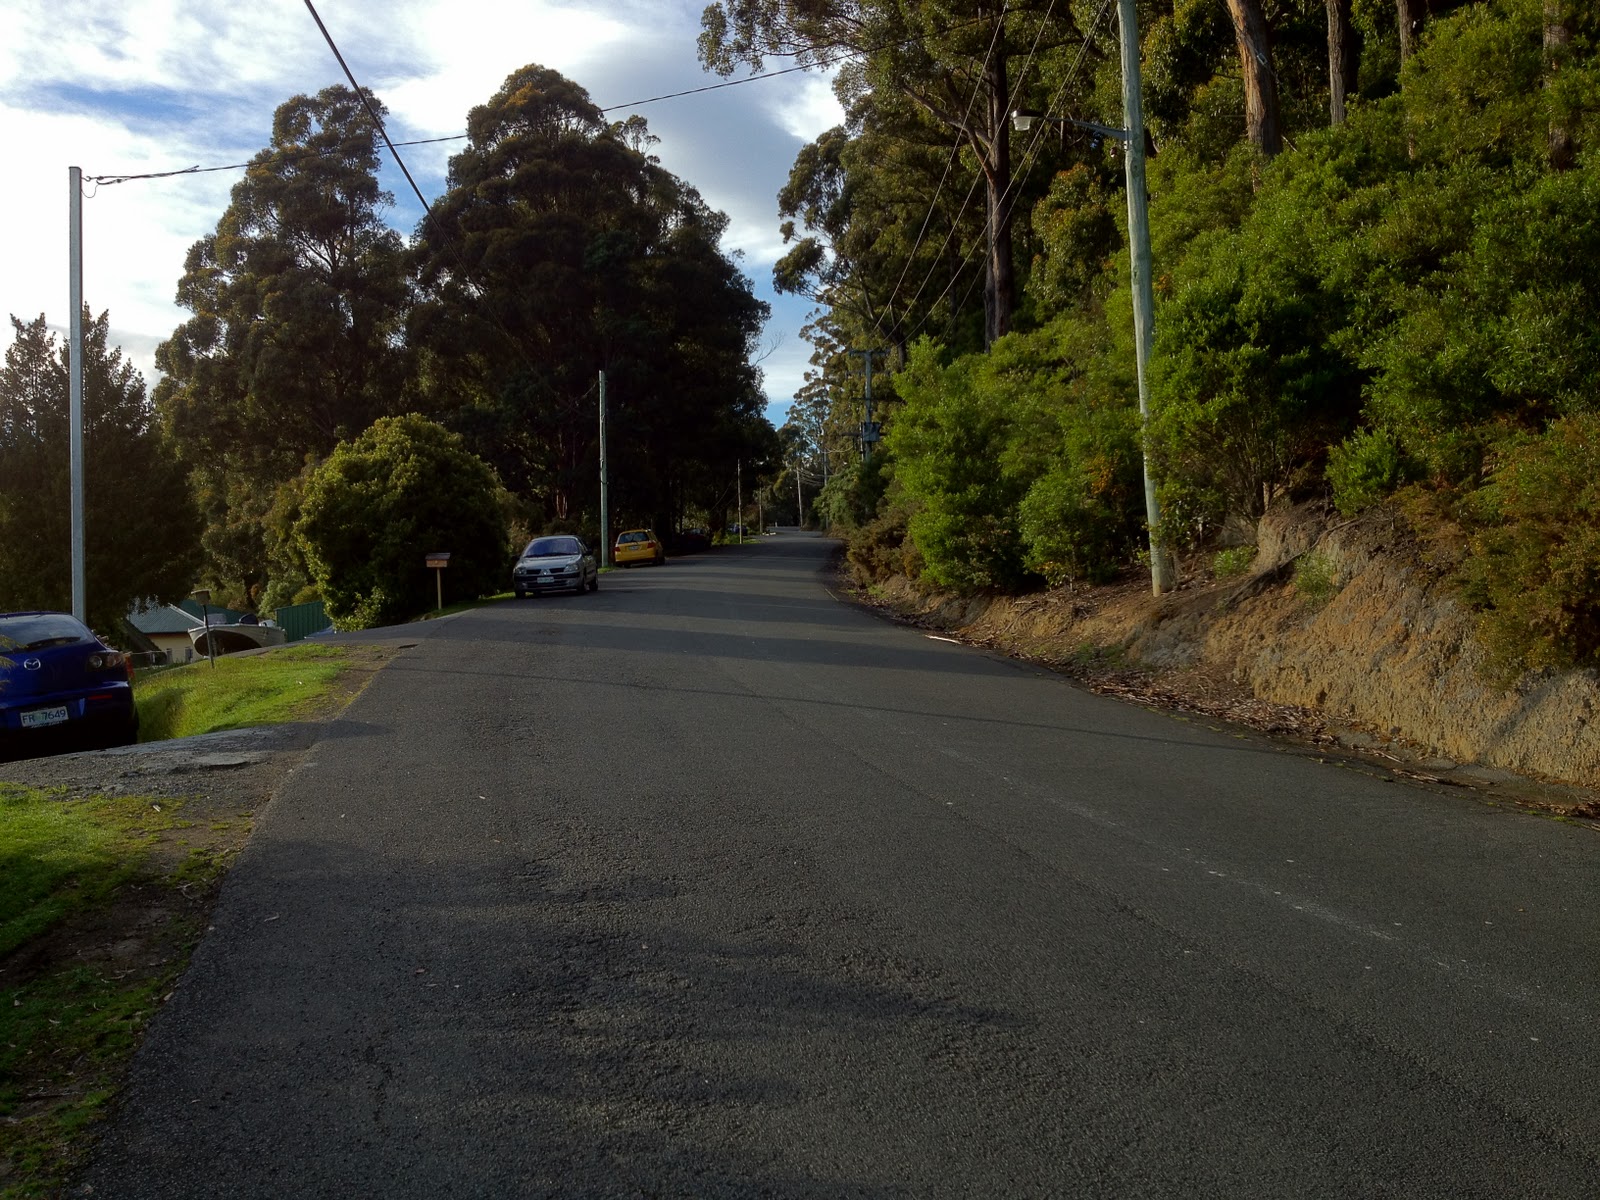
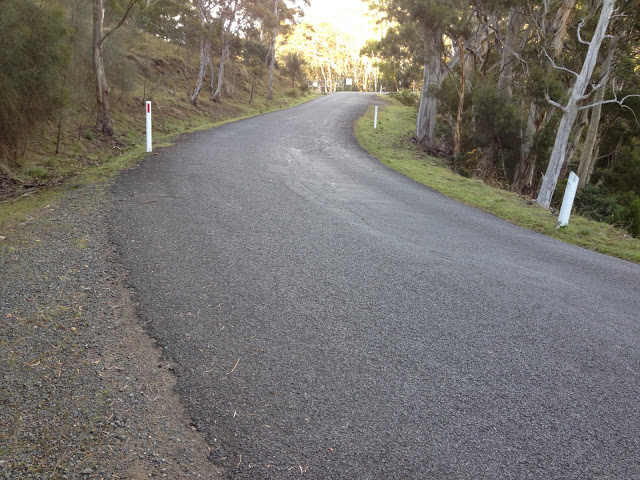
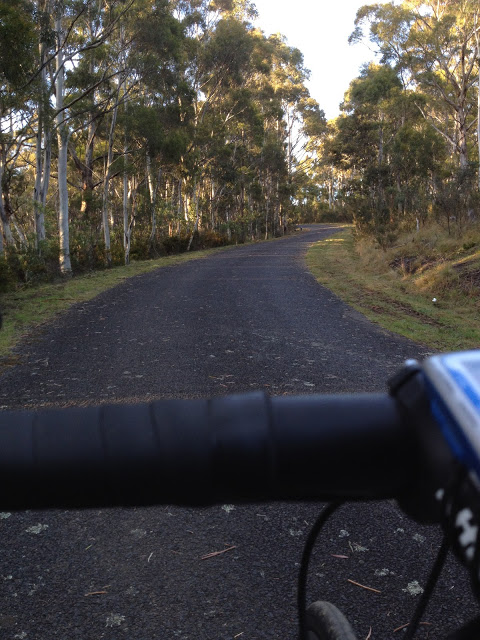
It all looks so easy from here, the start of the climb

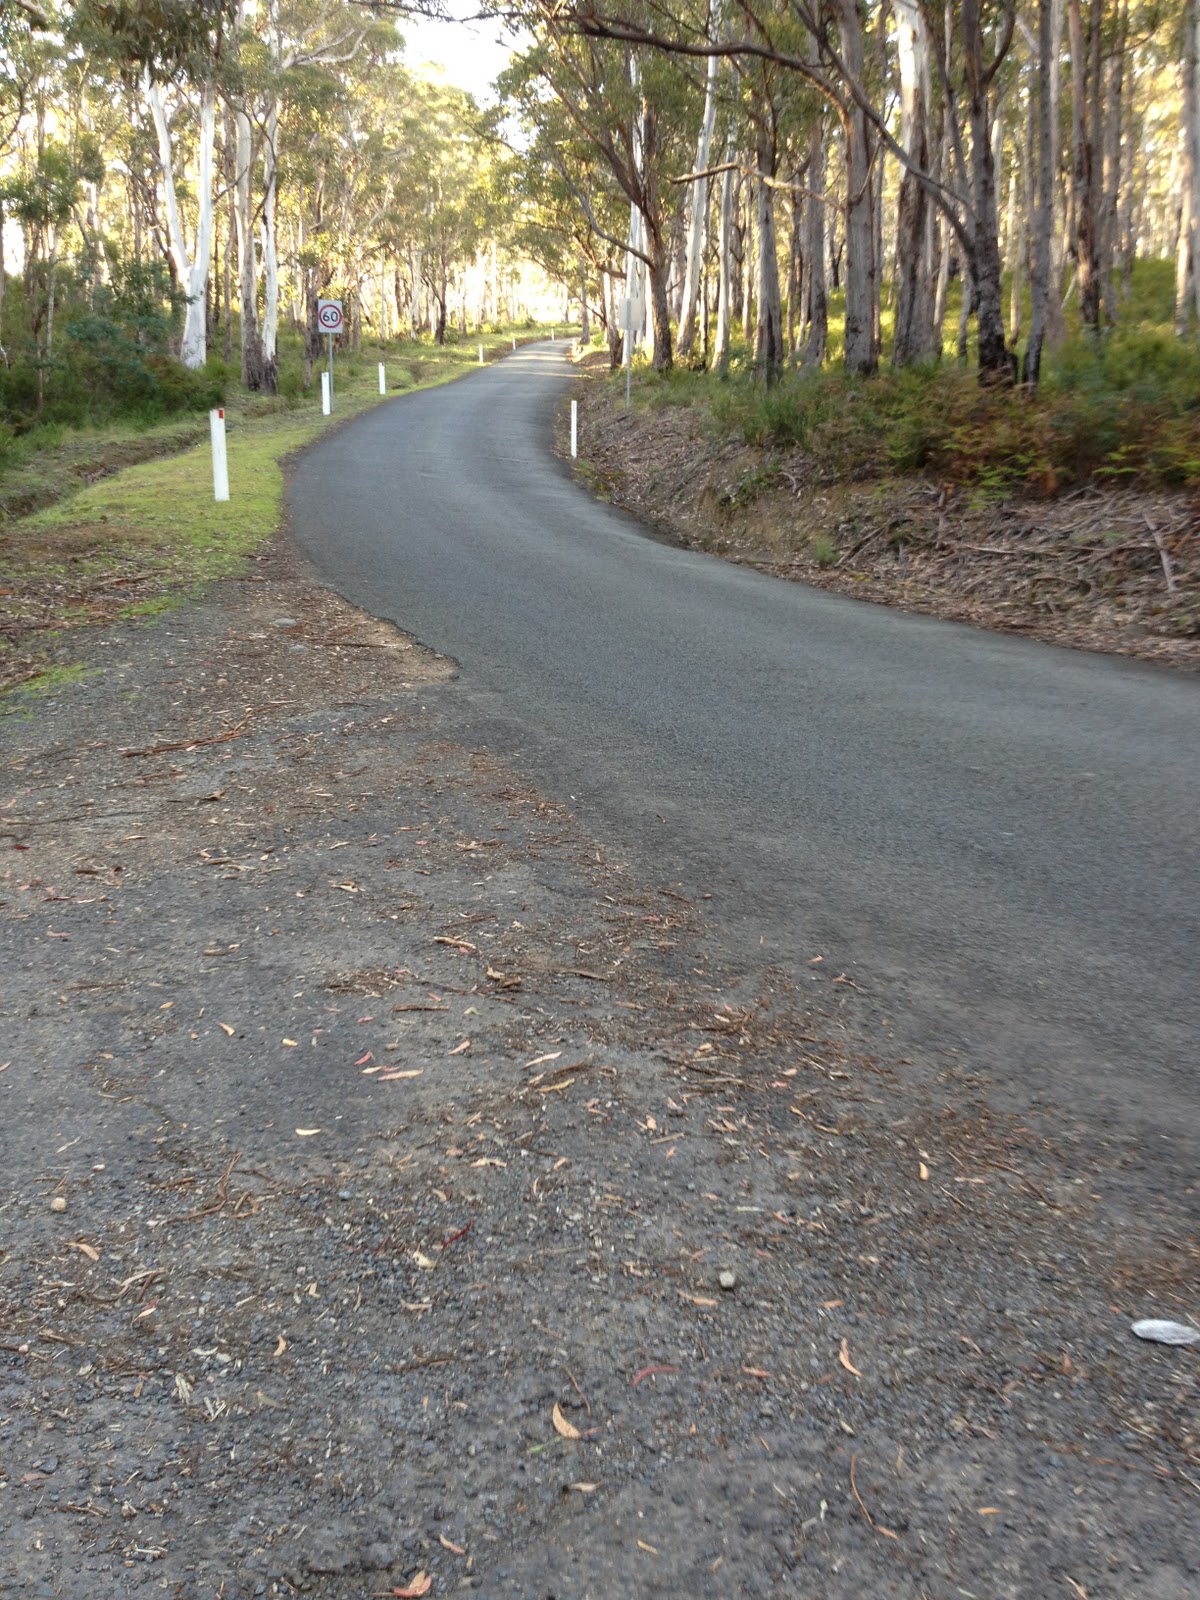
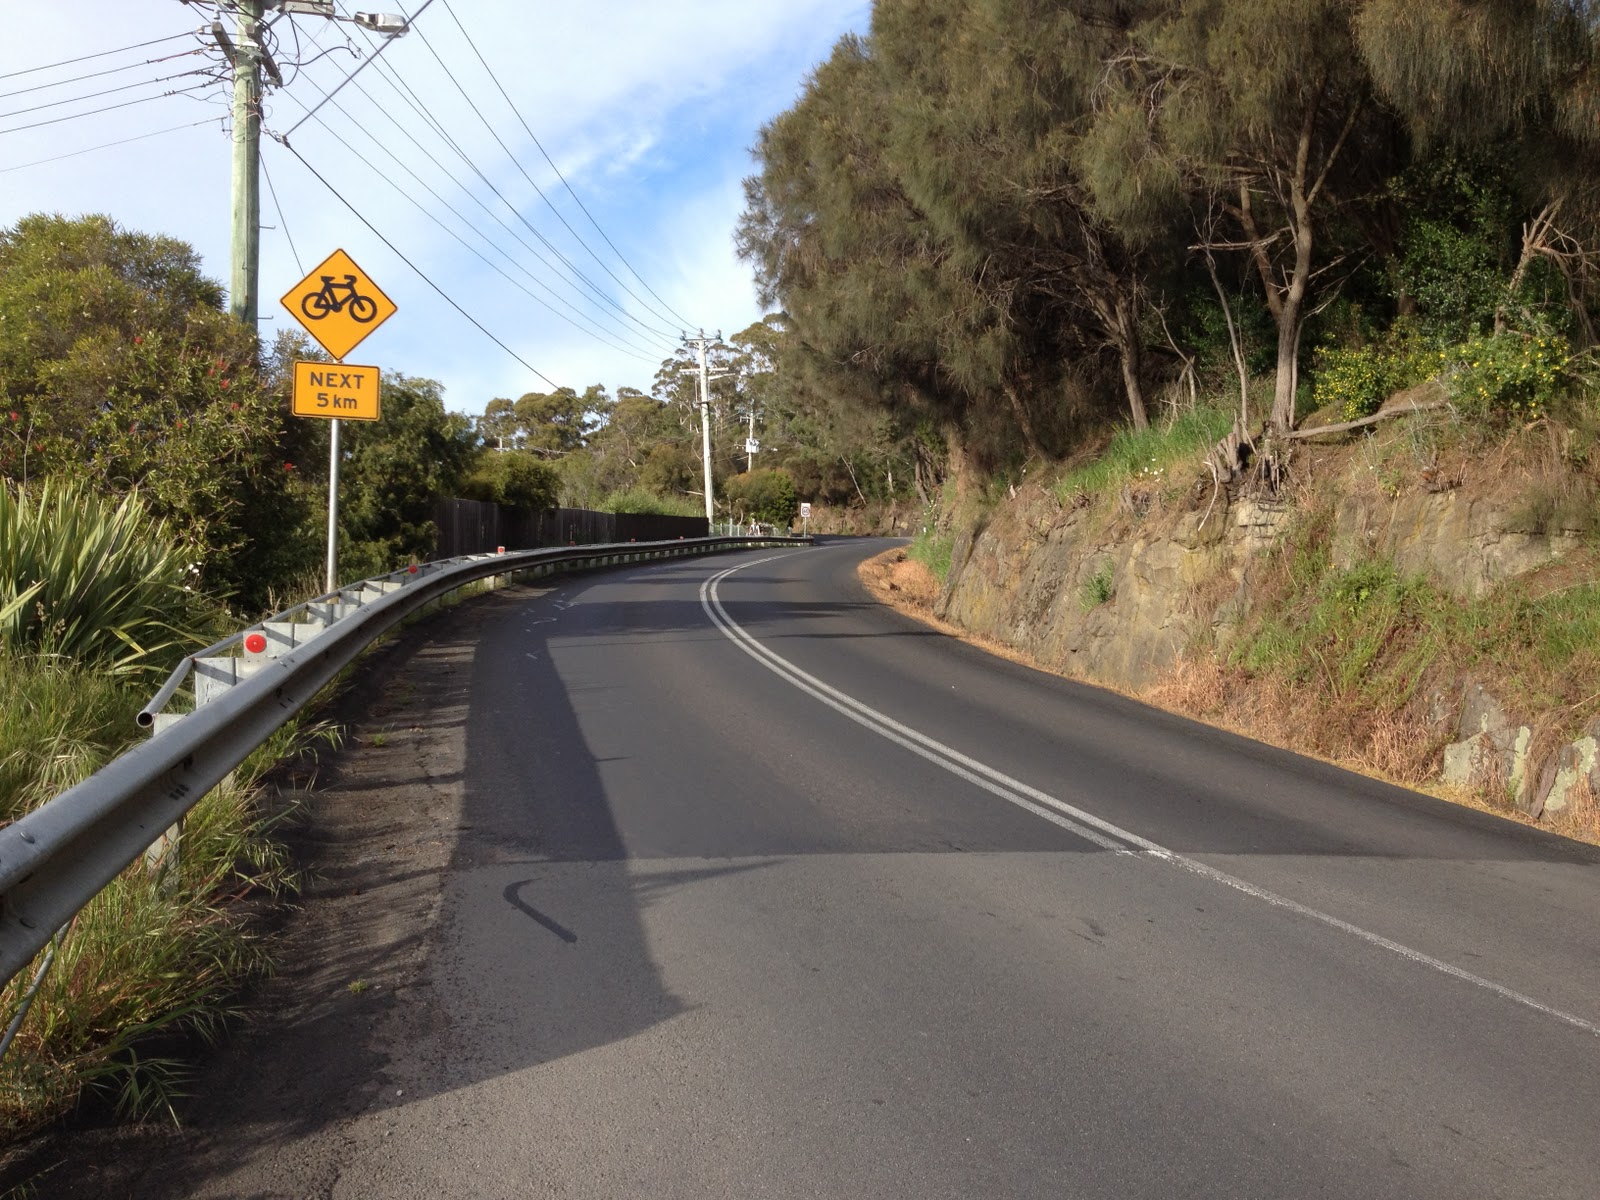
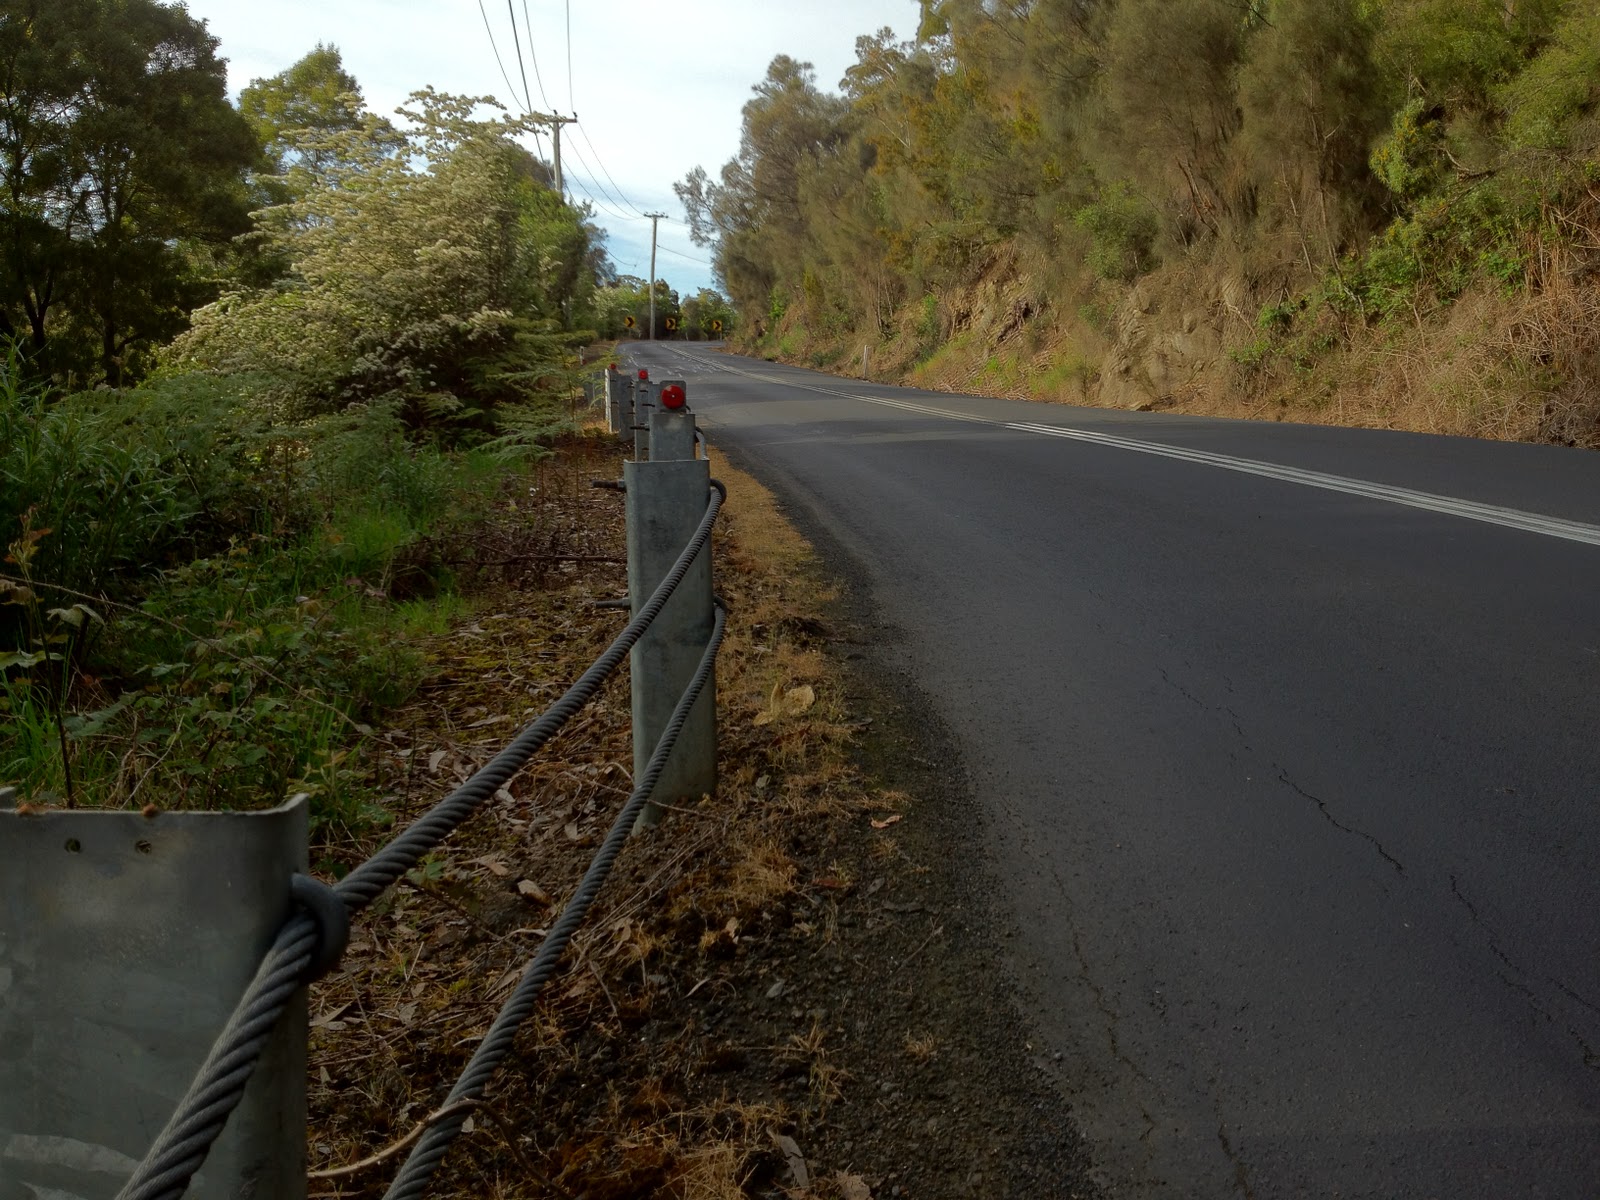
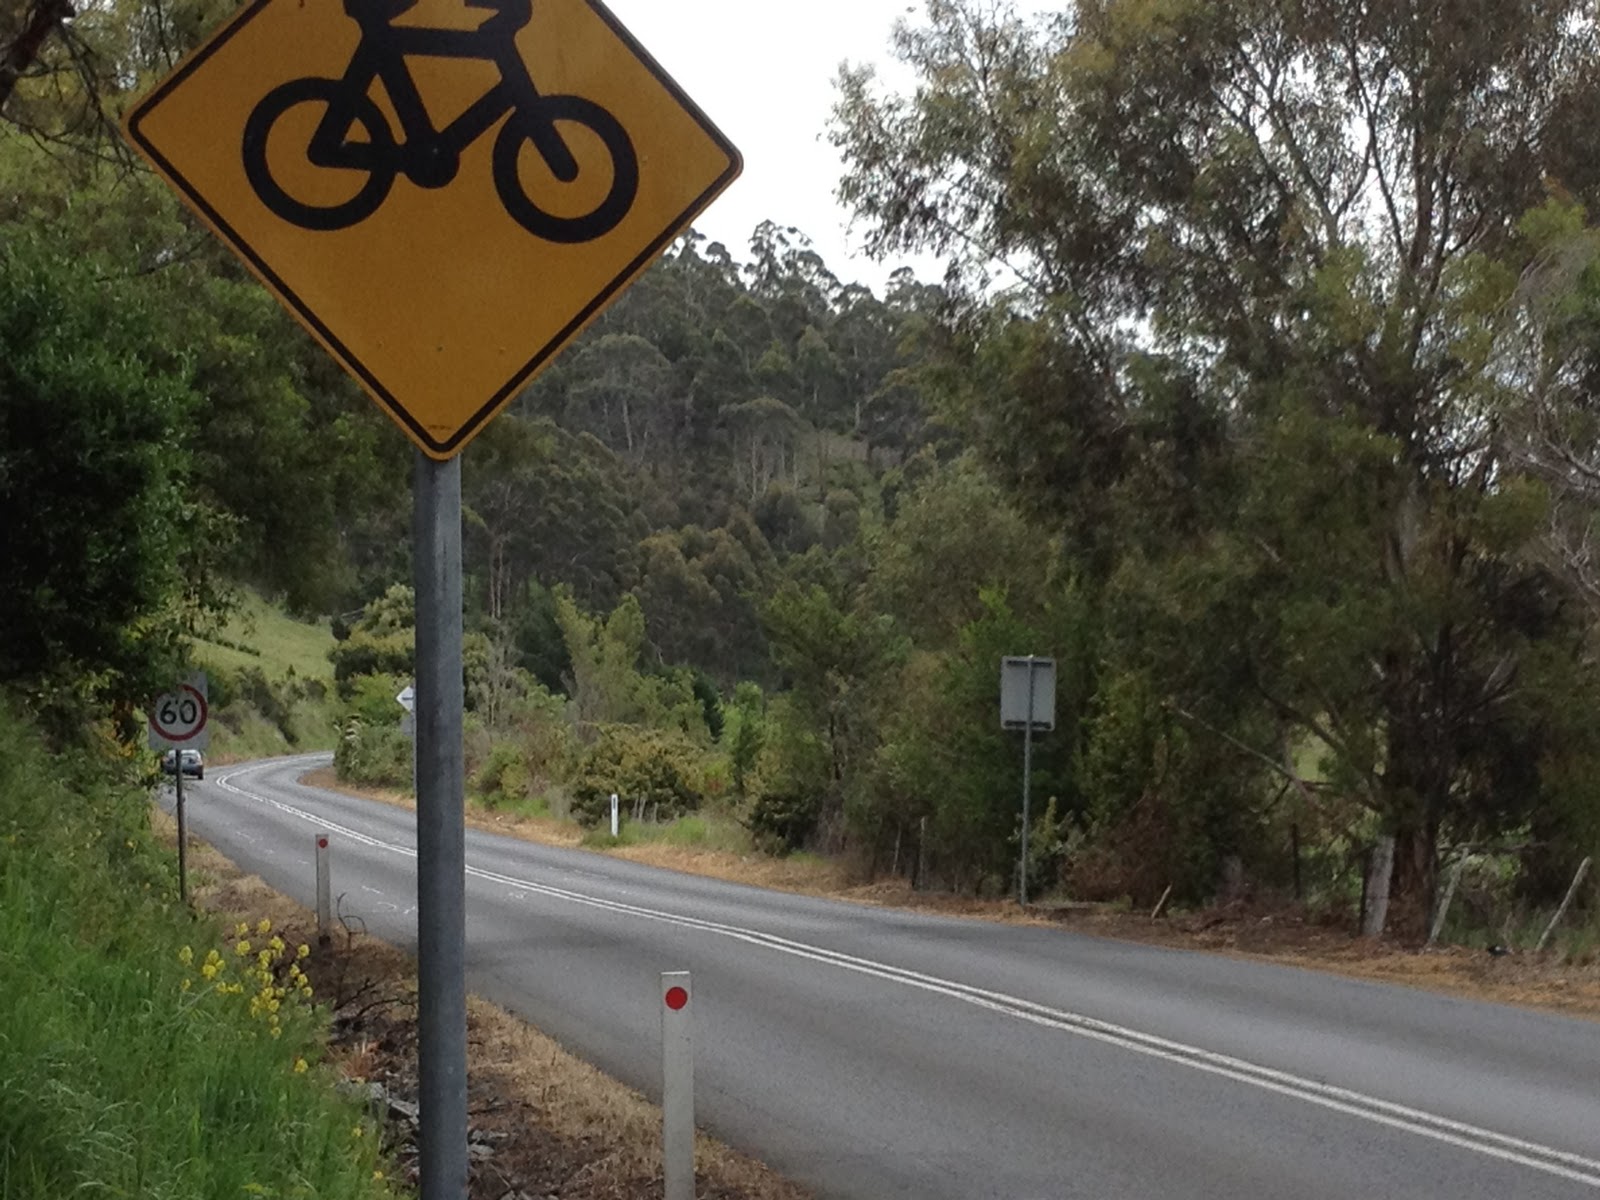
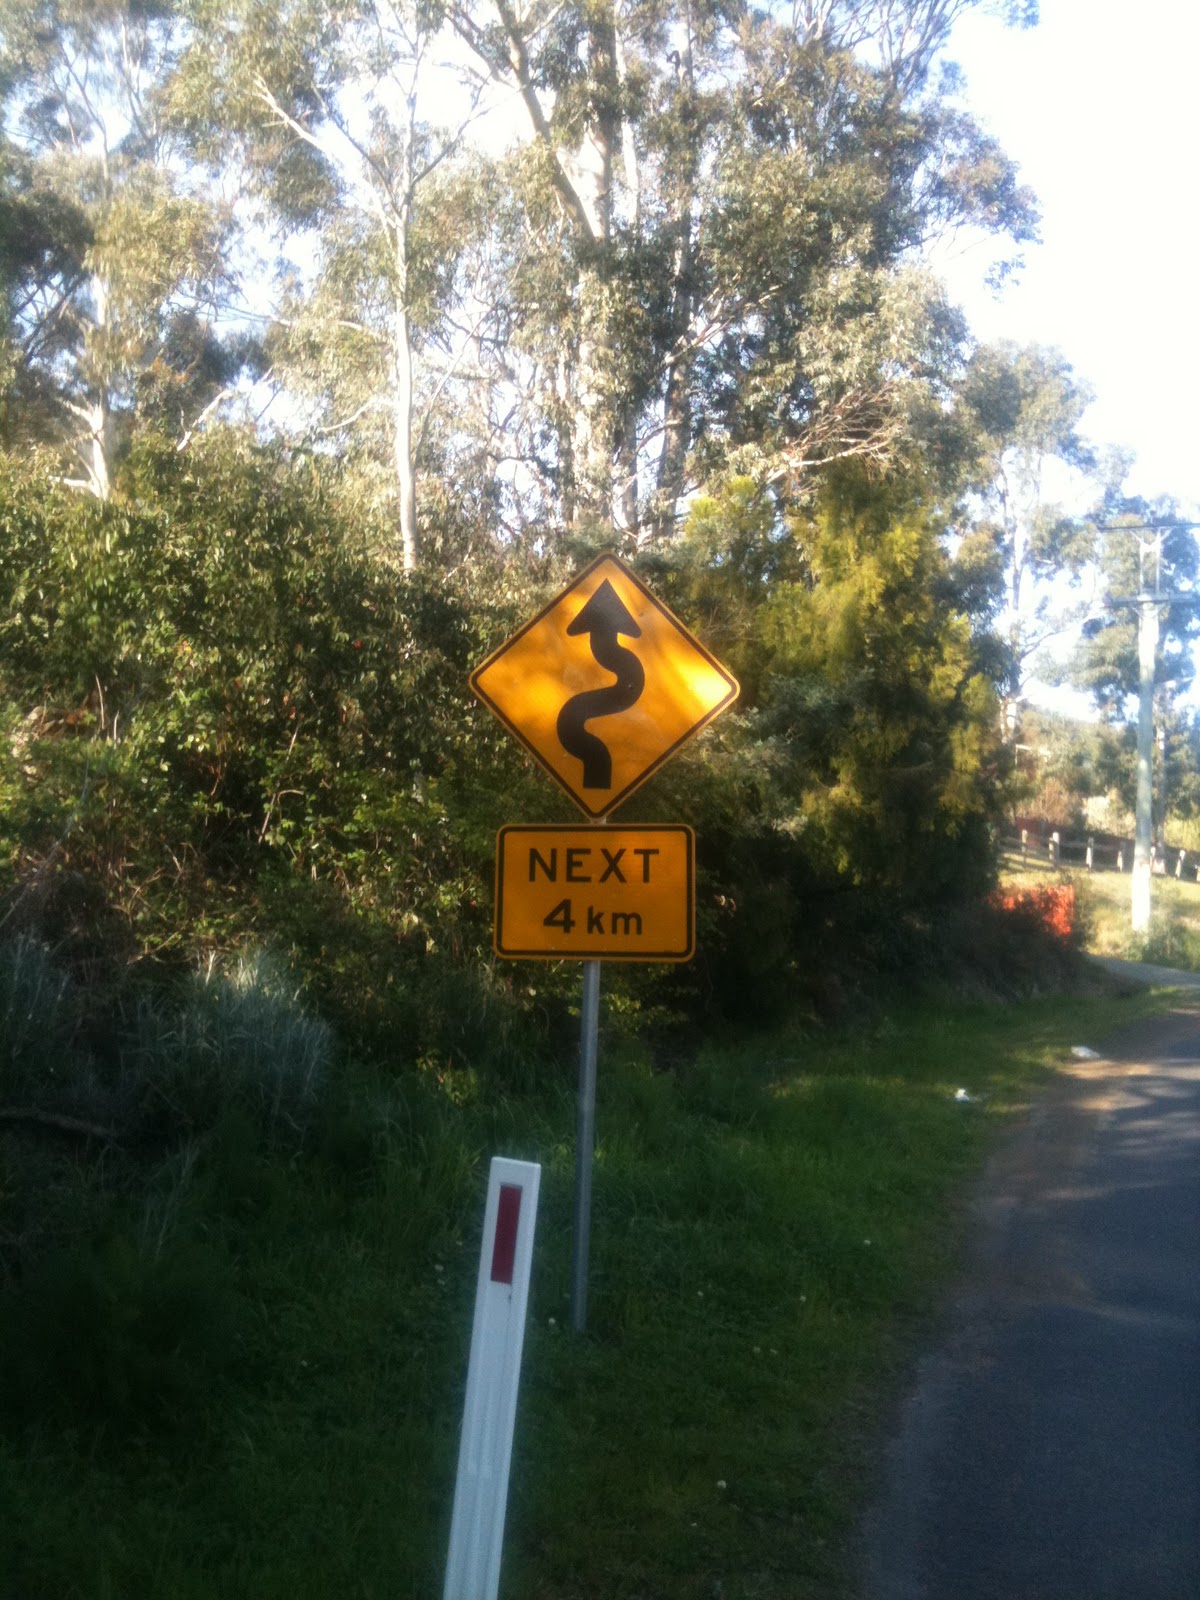
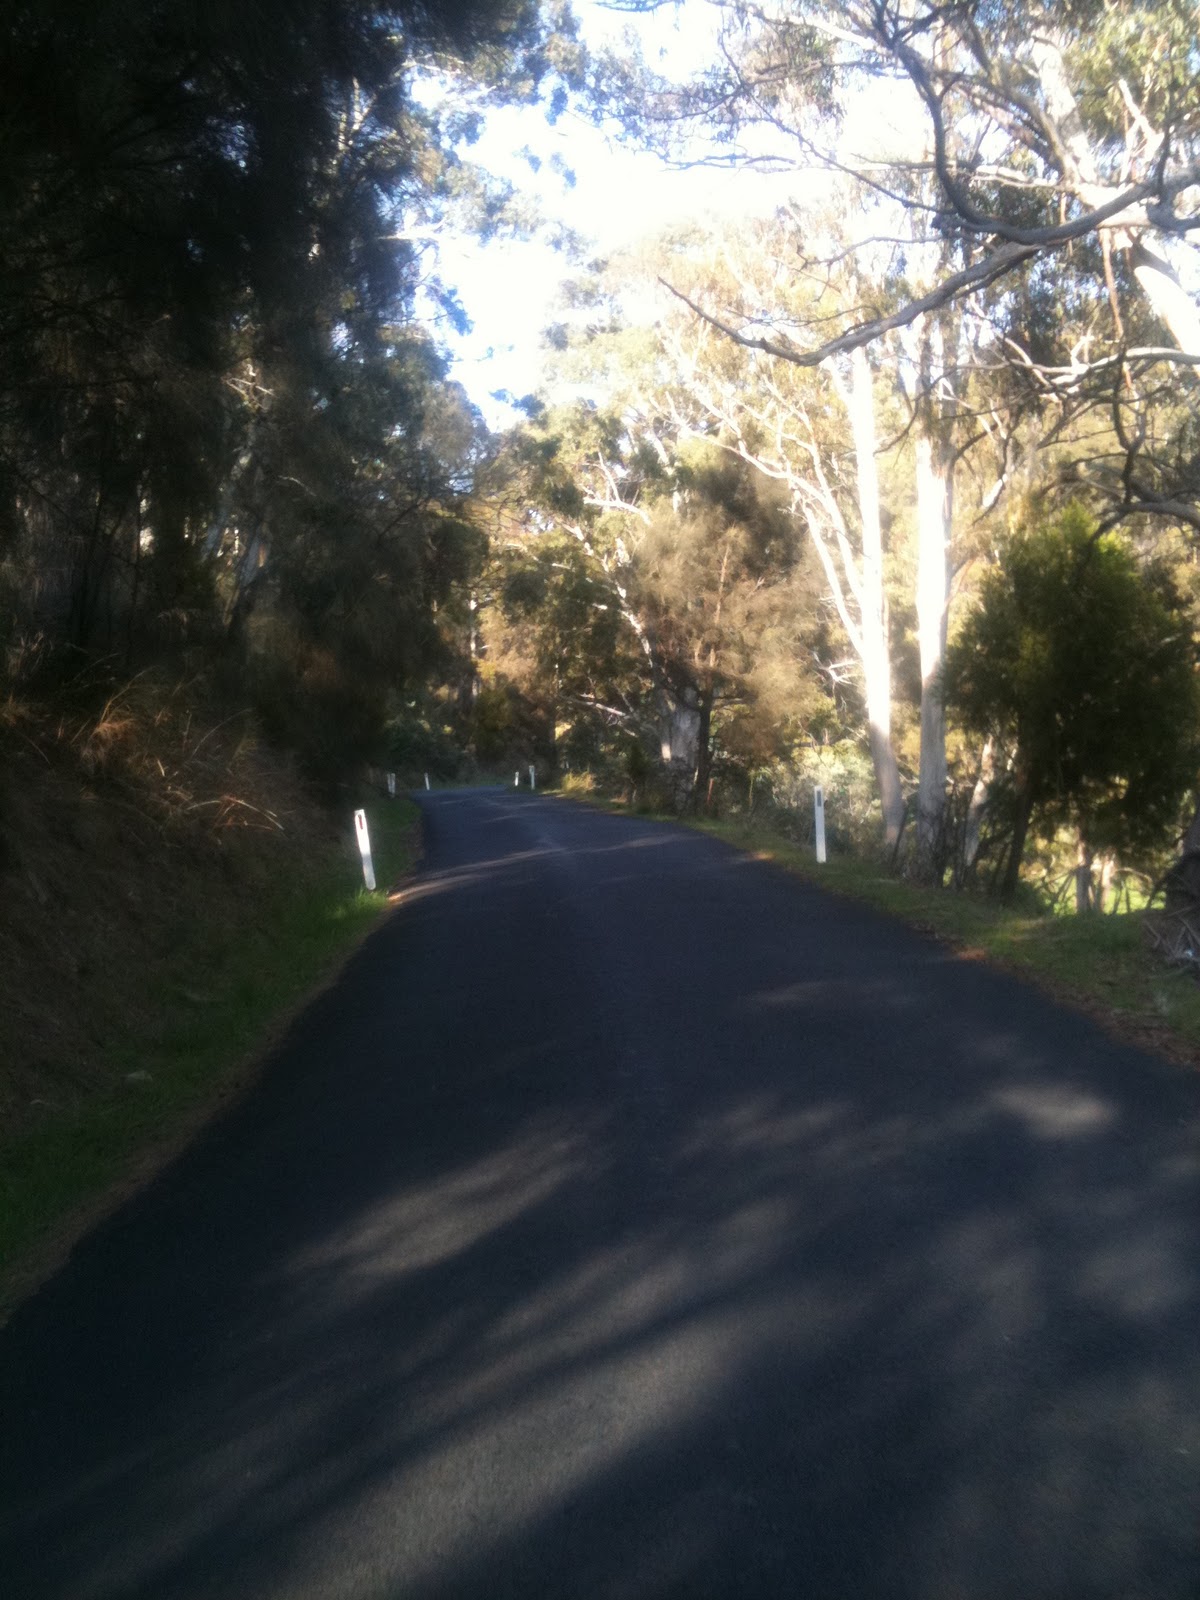
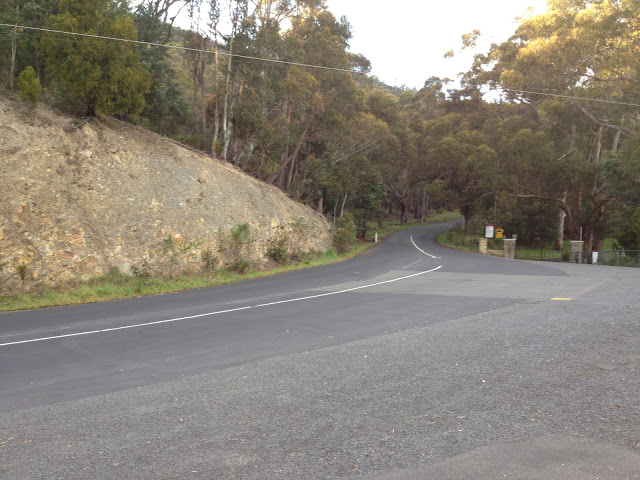
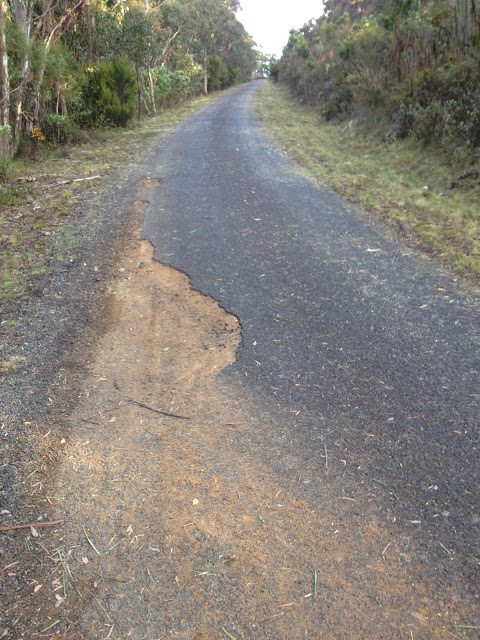
Rough surface, and the road just gets steeper and steeper

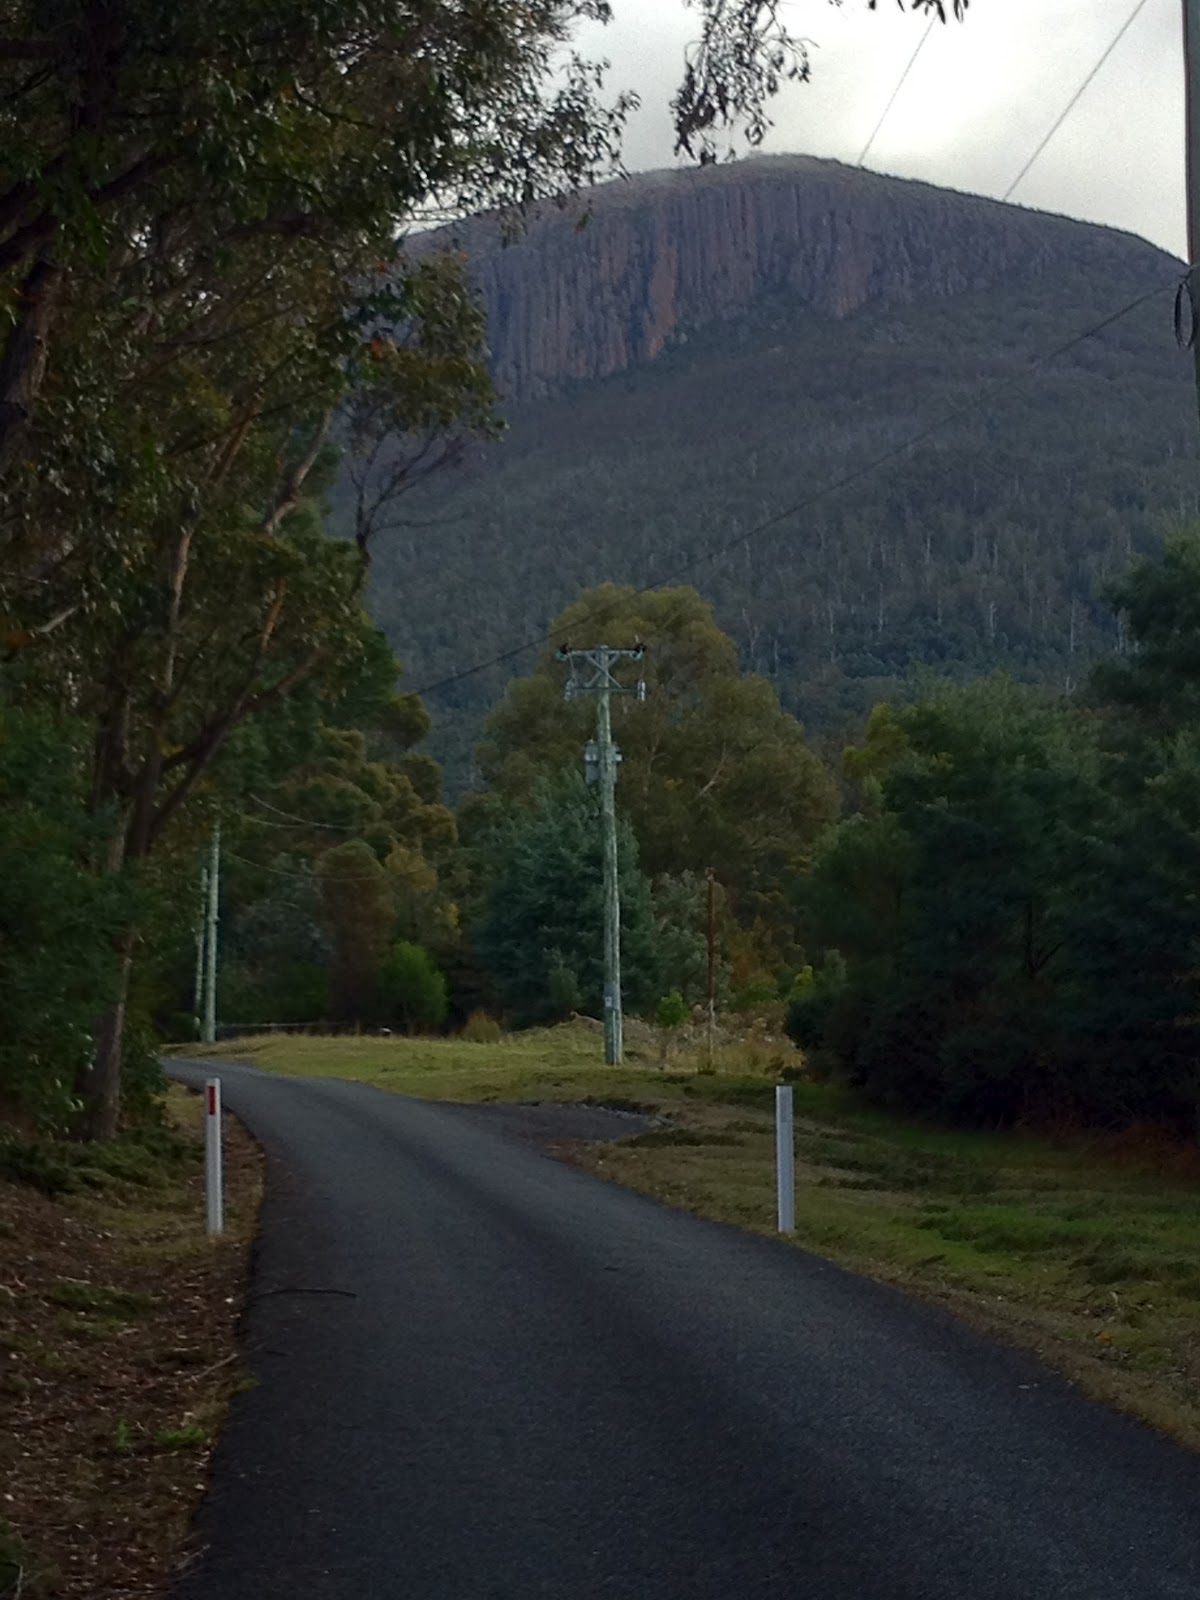
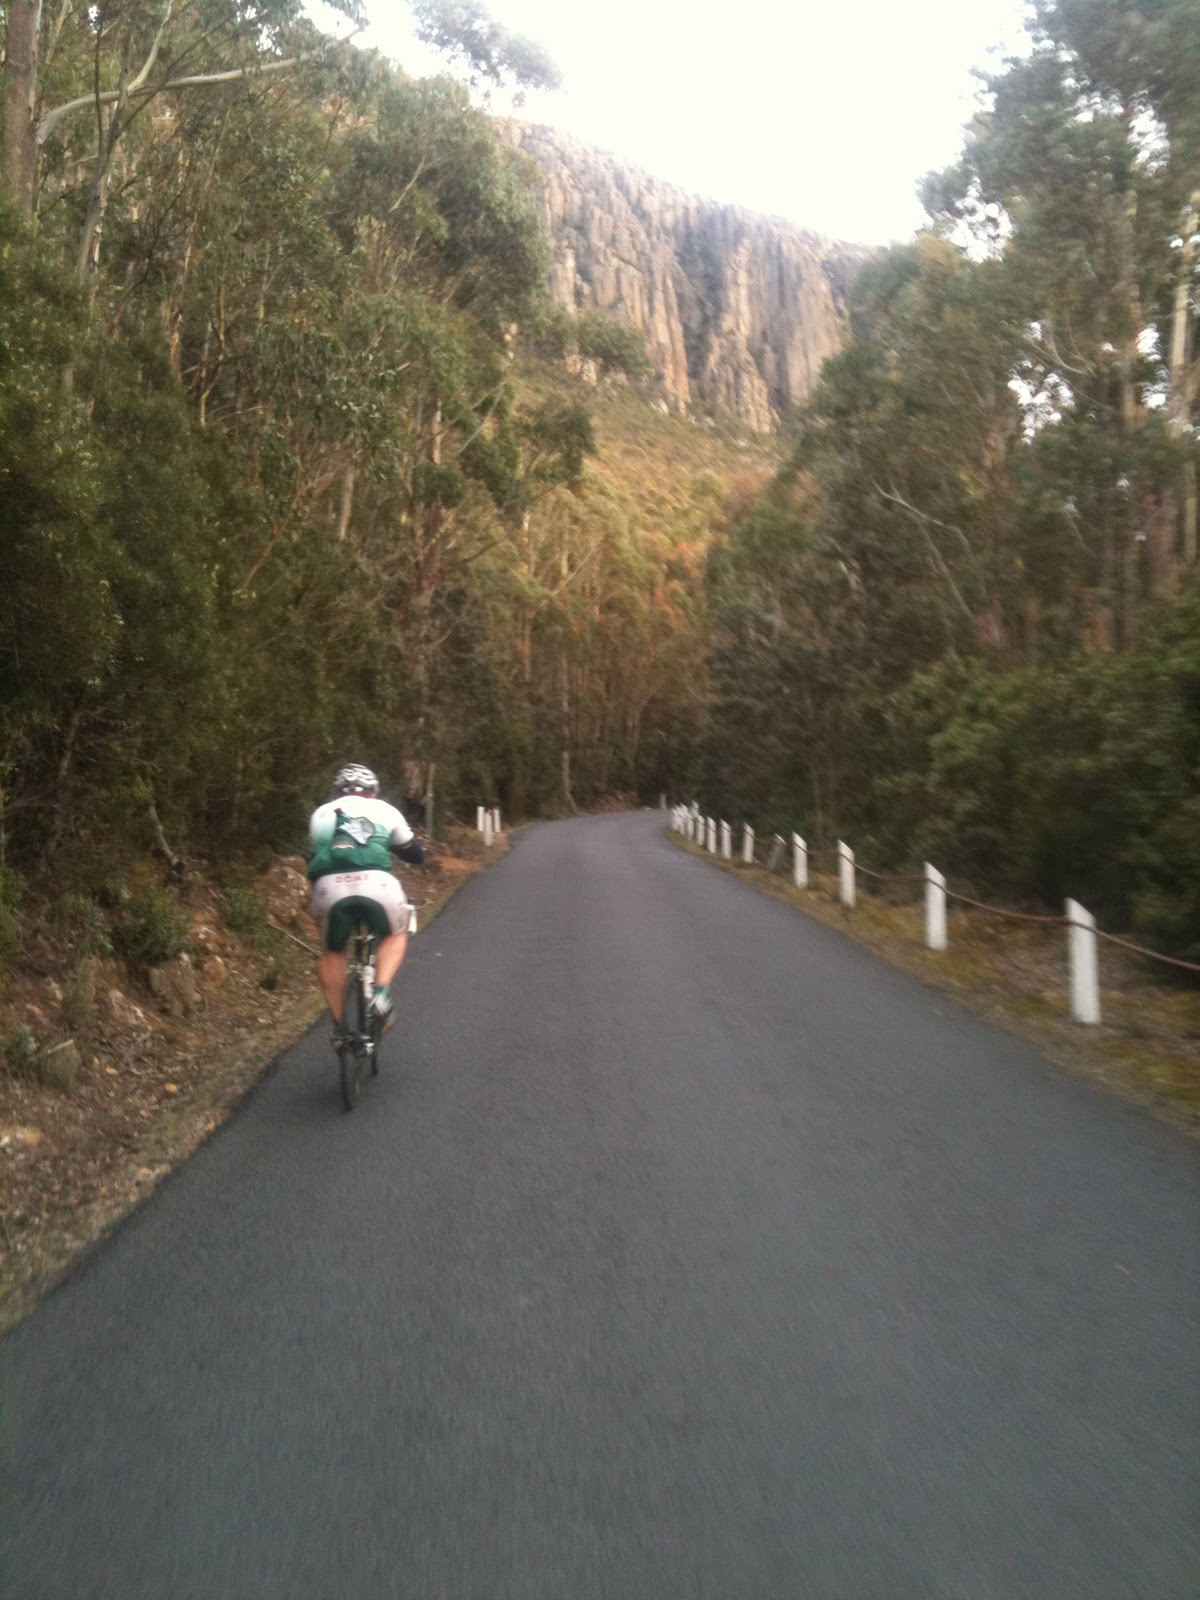
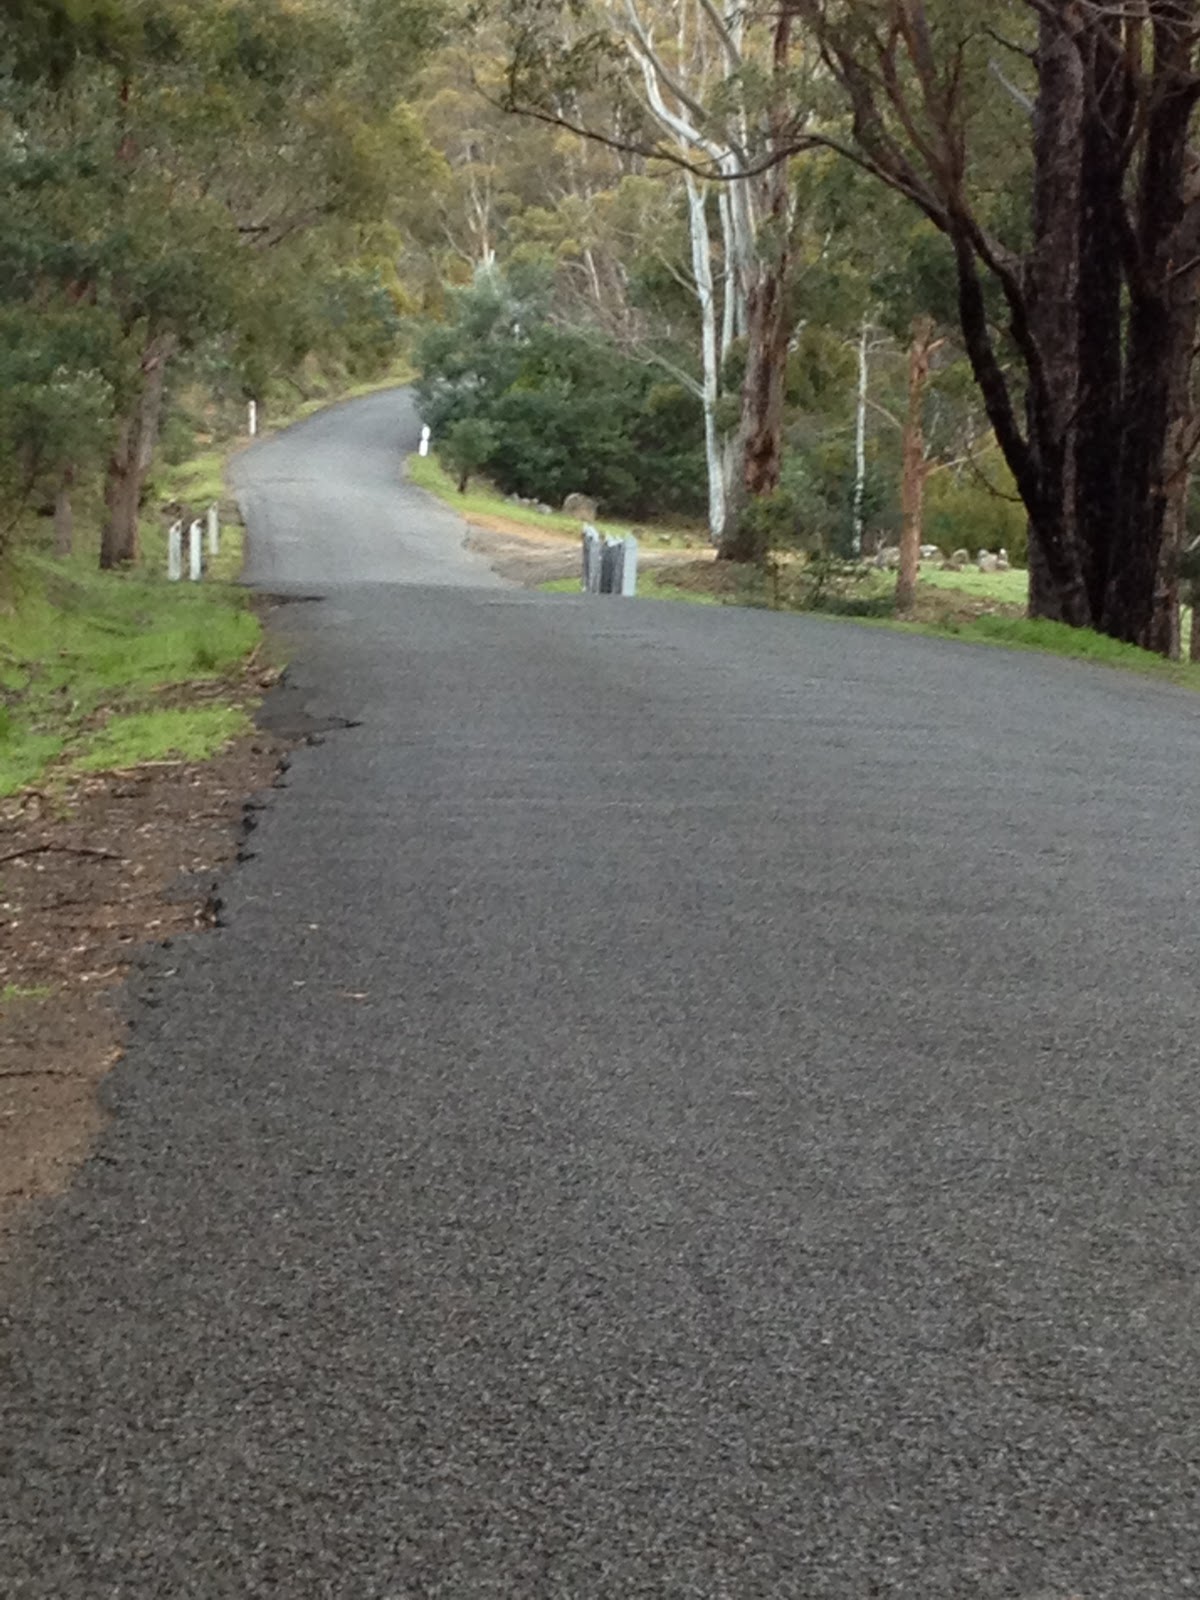
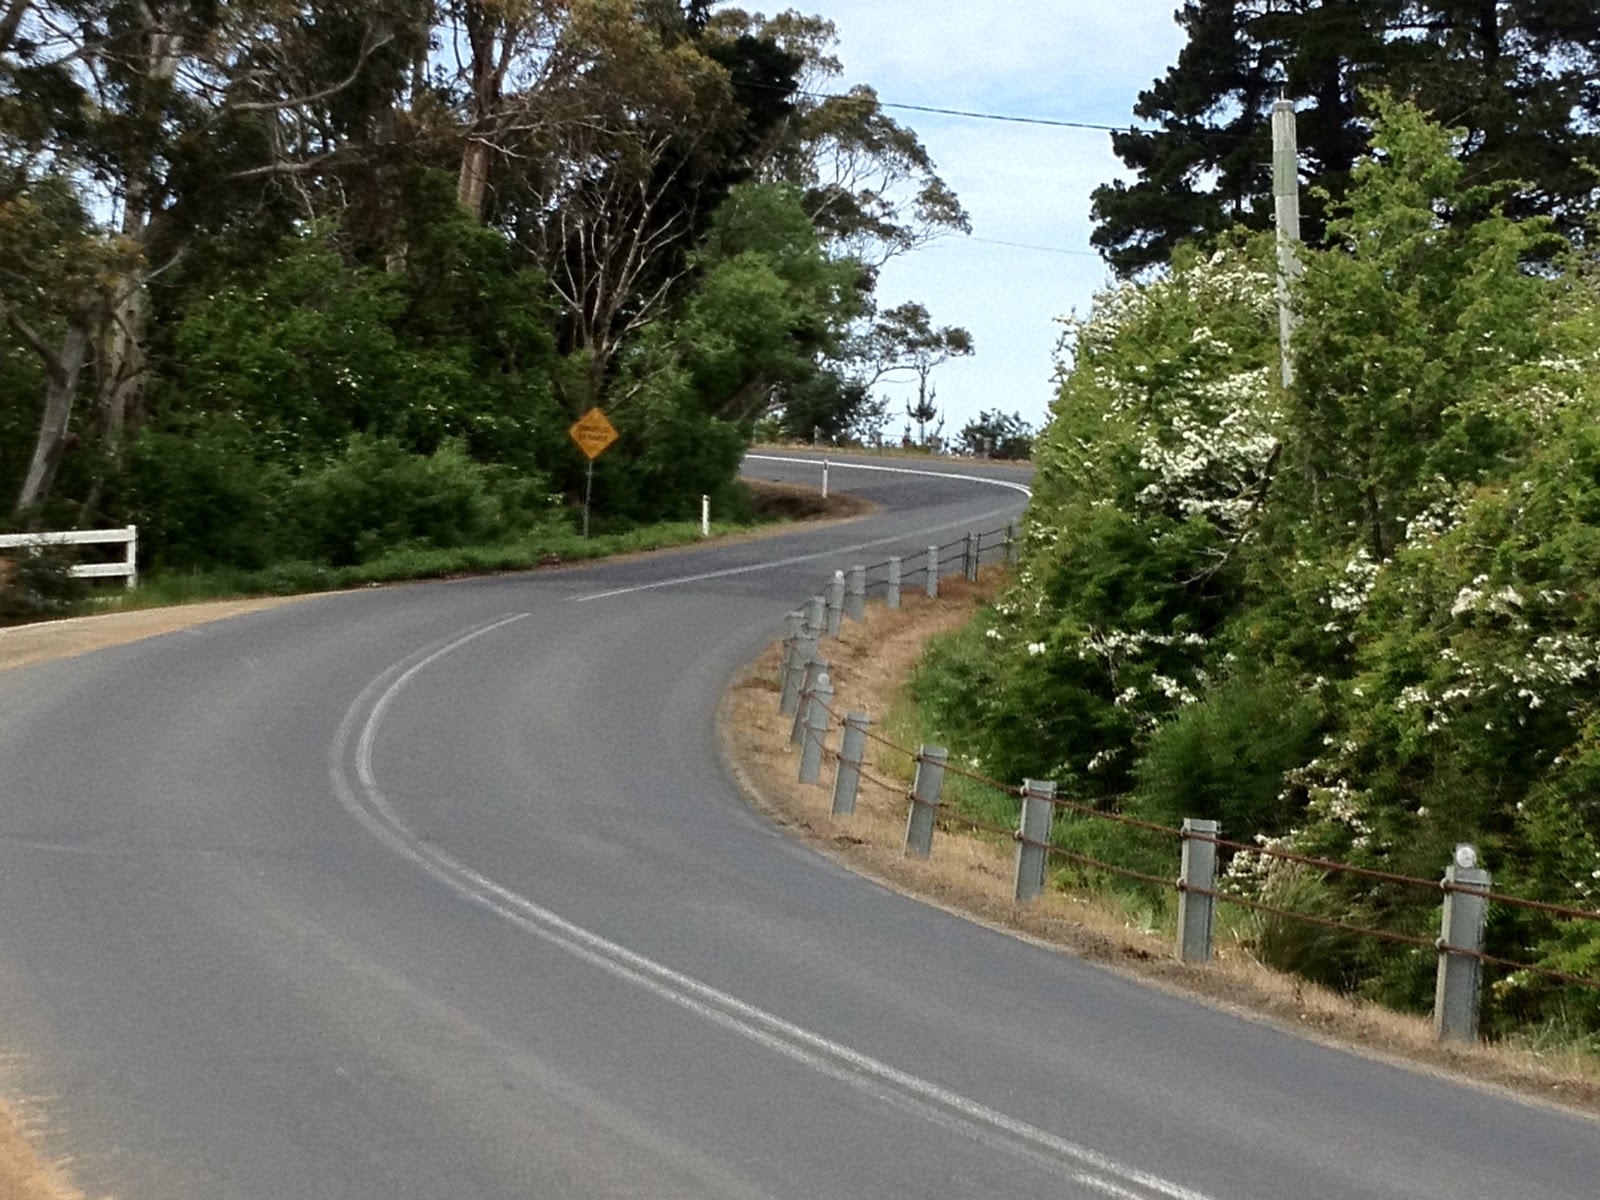
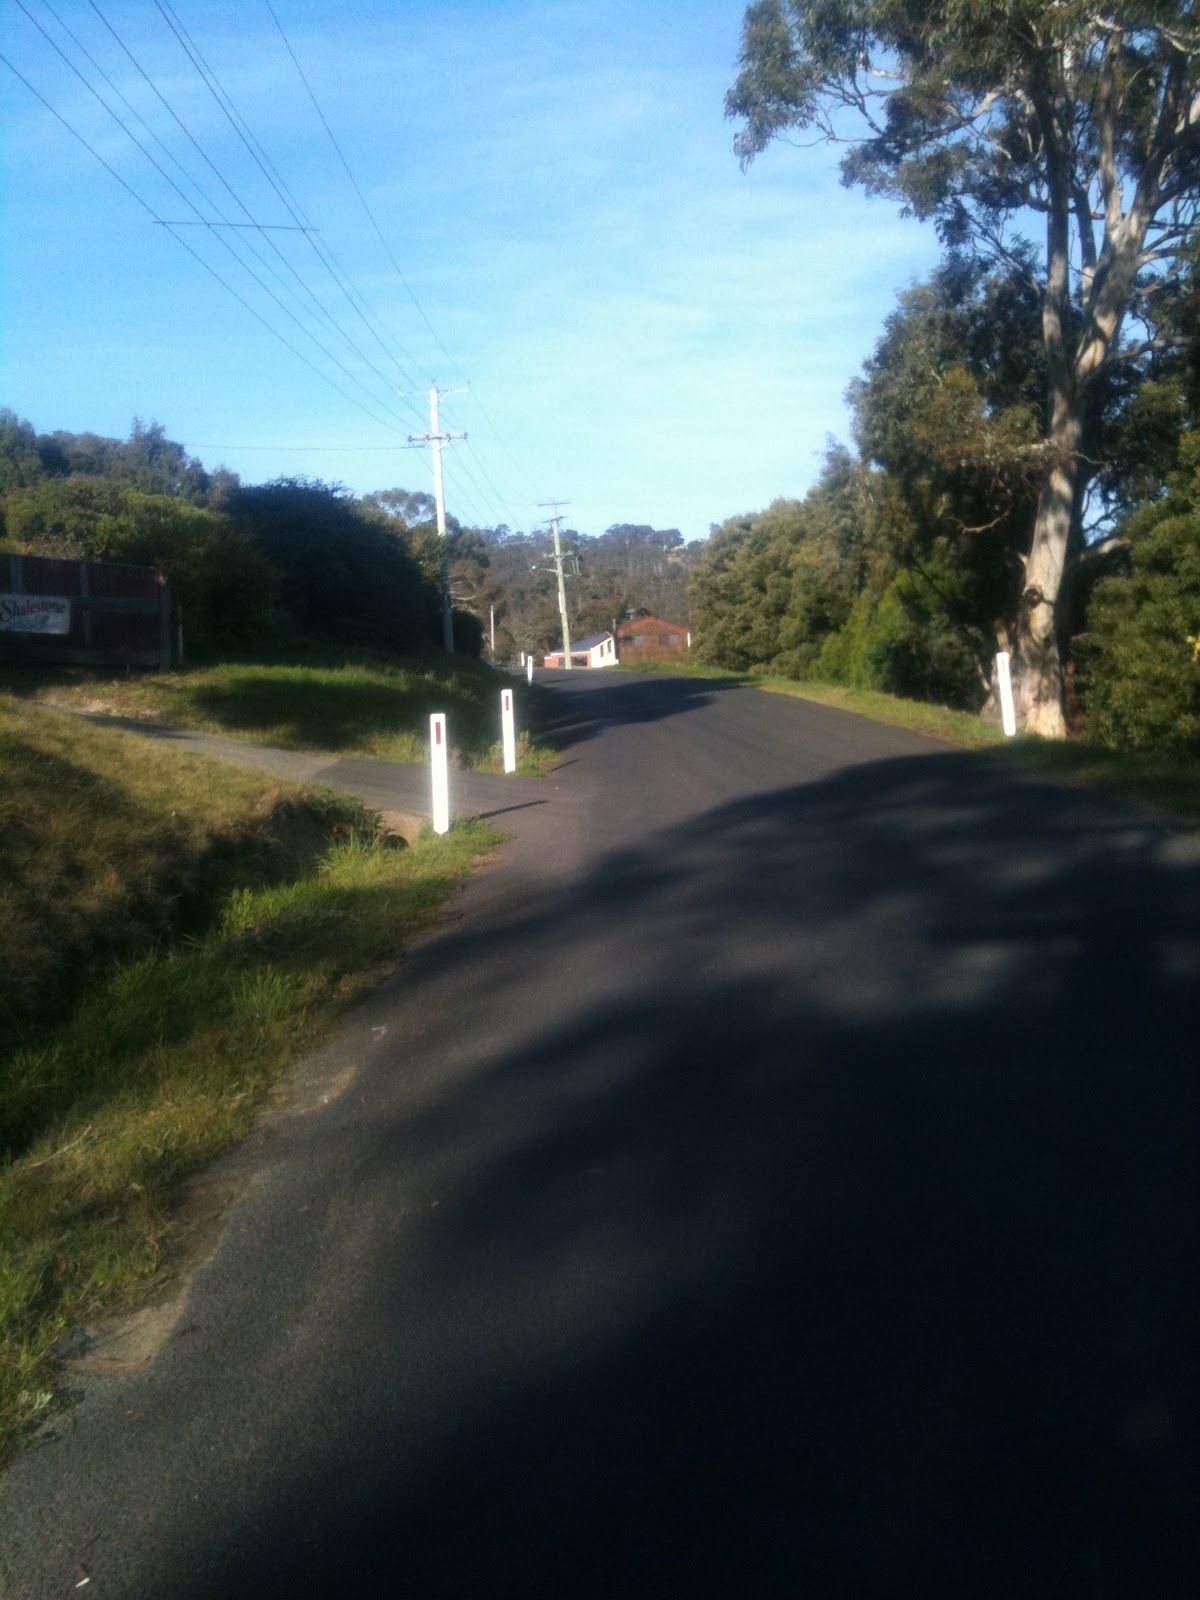
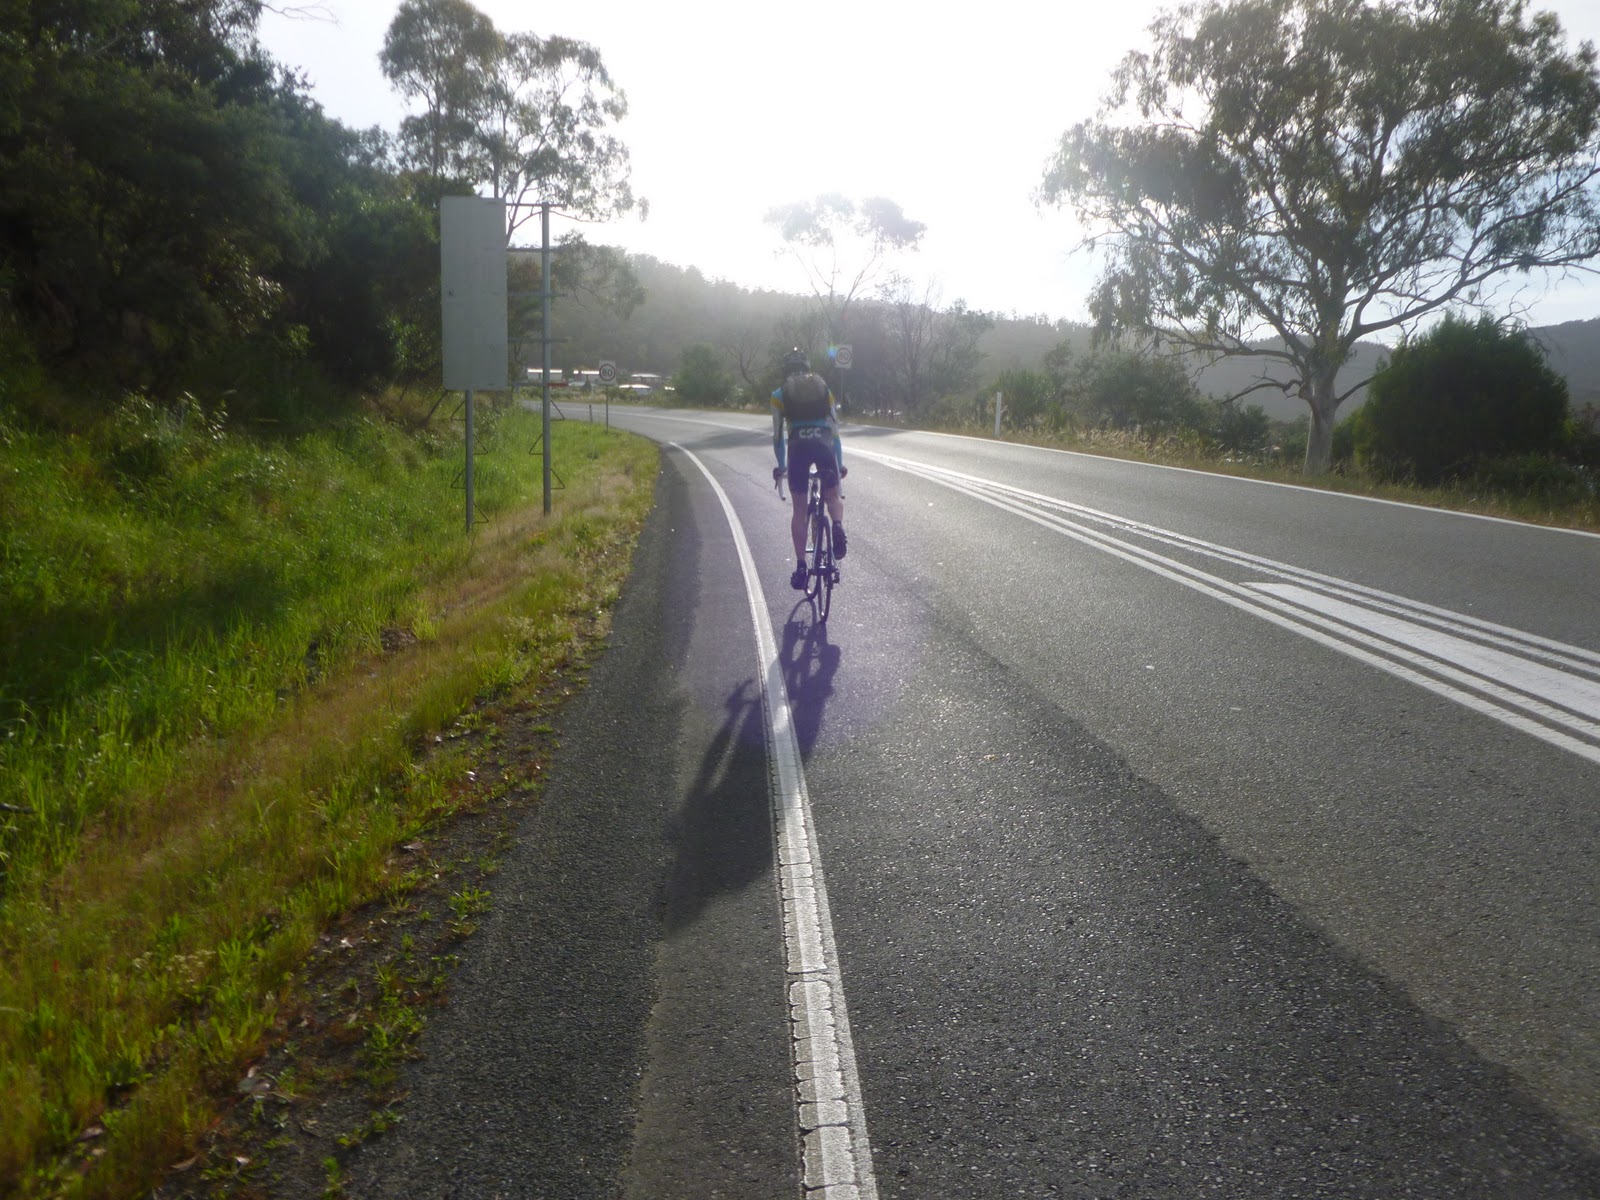
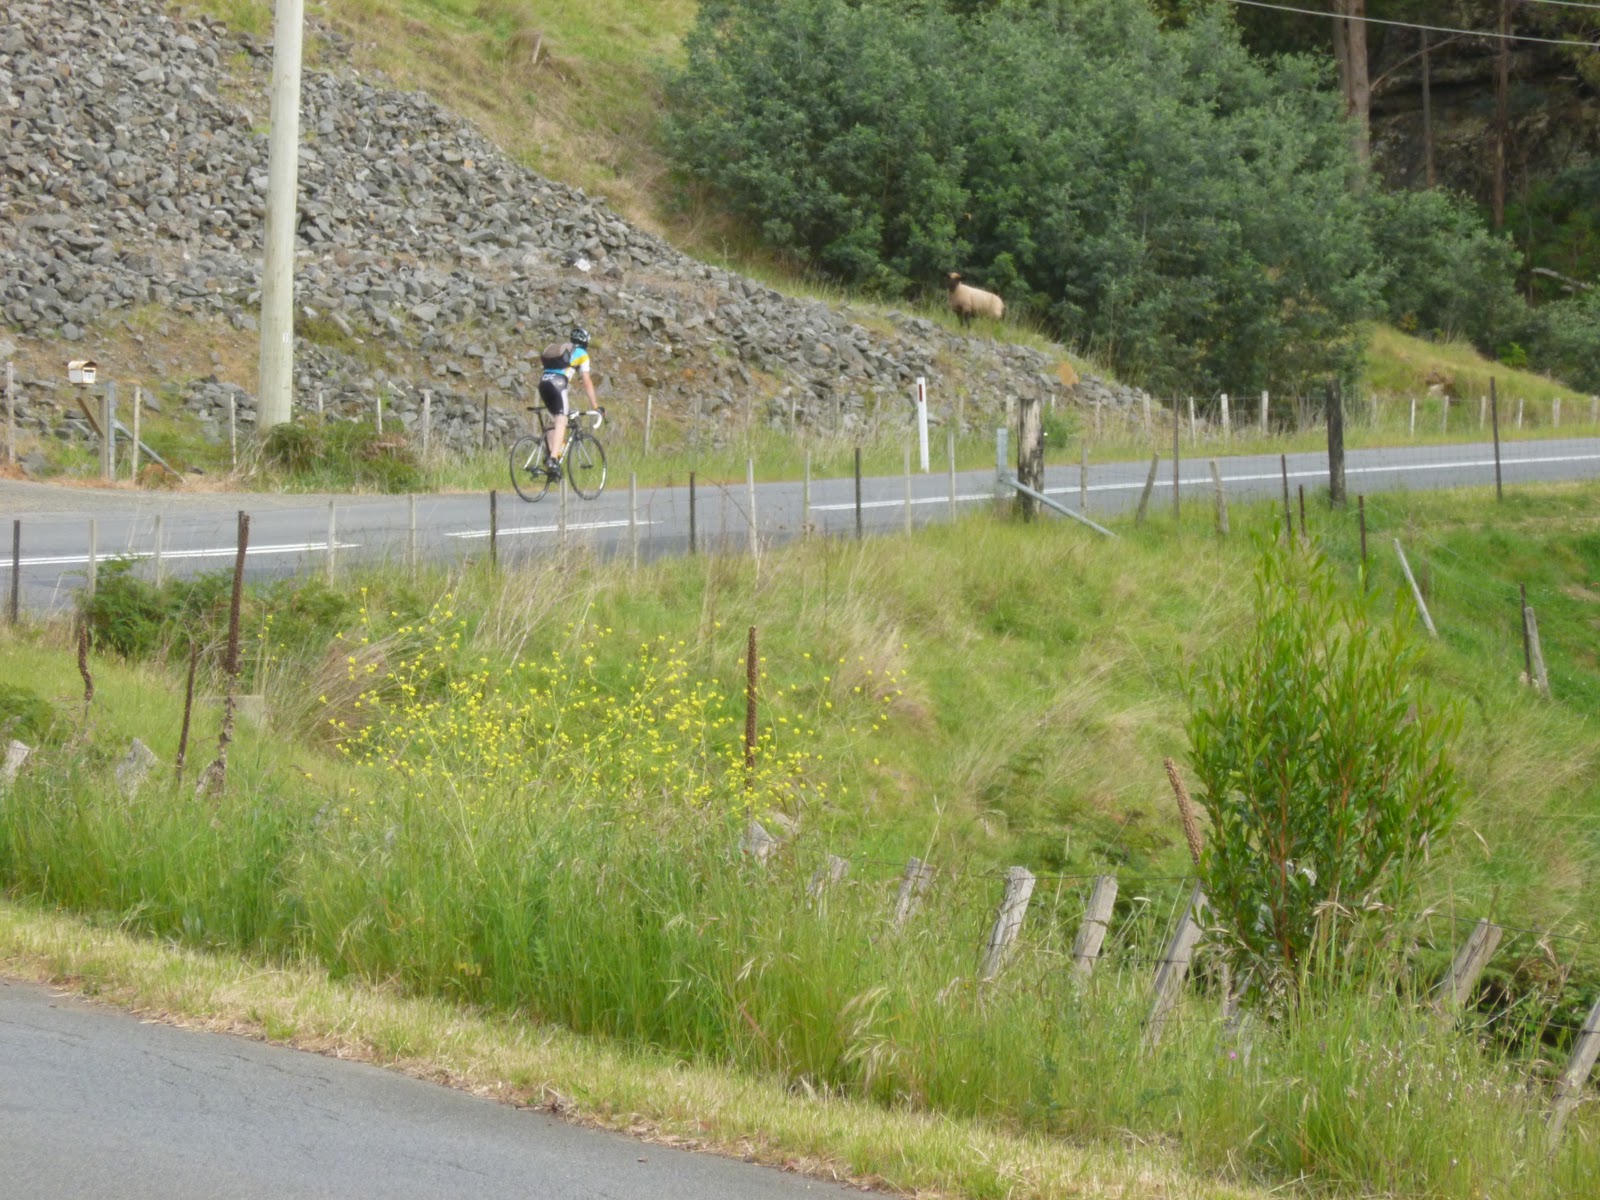
The gradient is deceptive, it doesn’t look as bad as it feels!

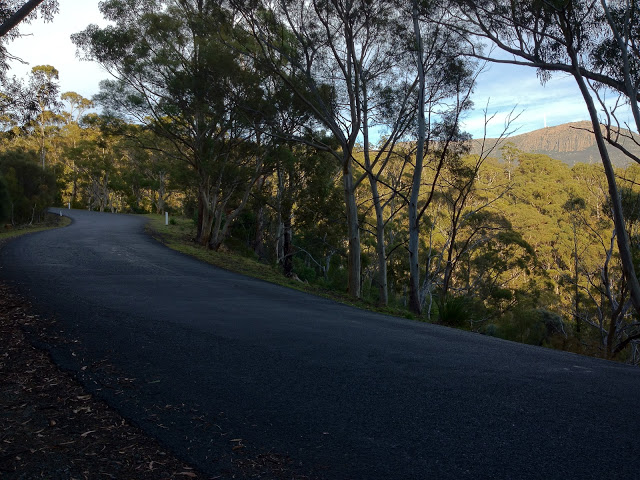
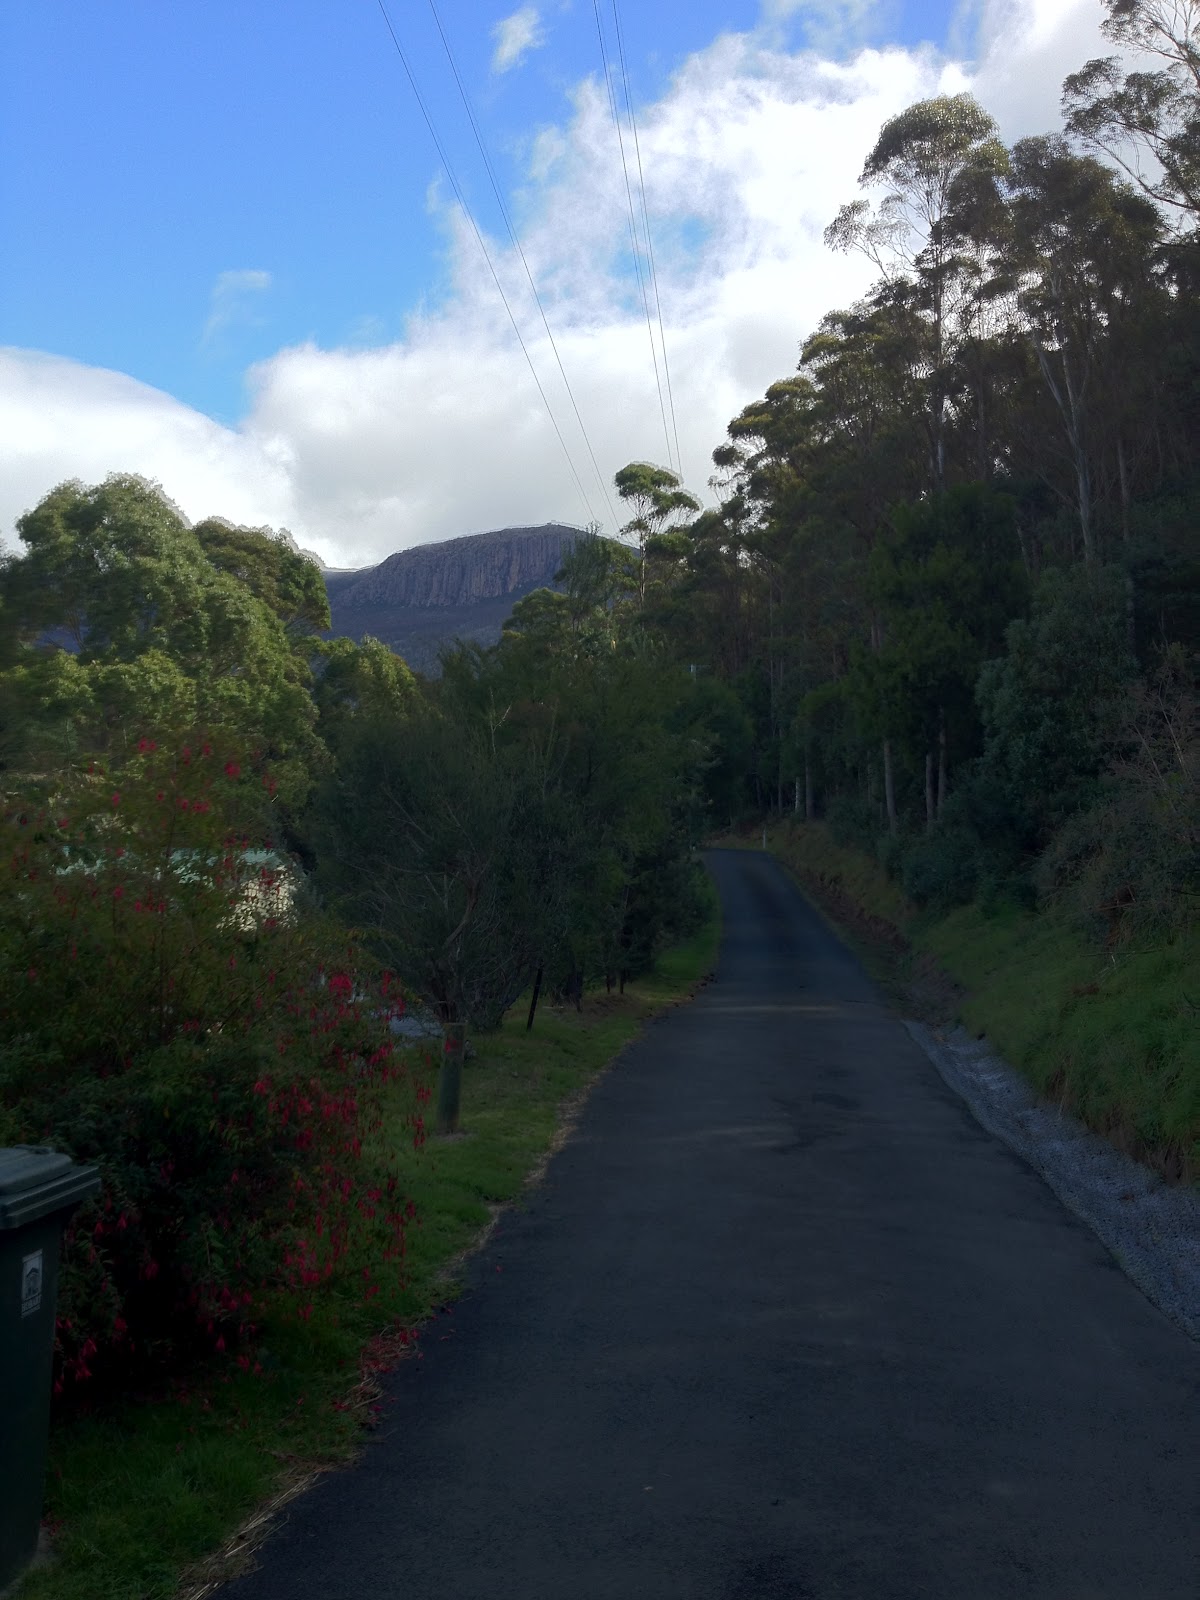
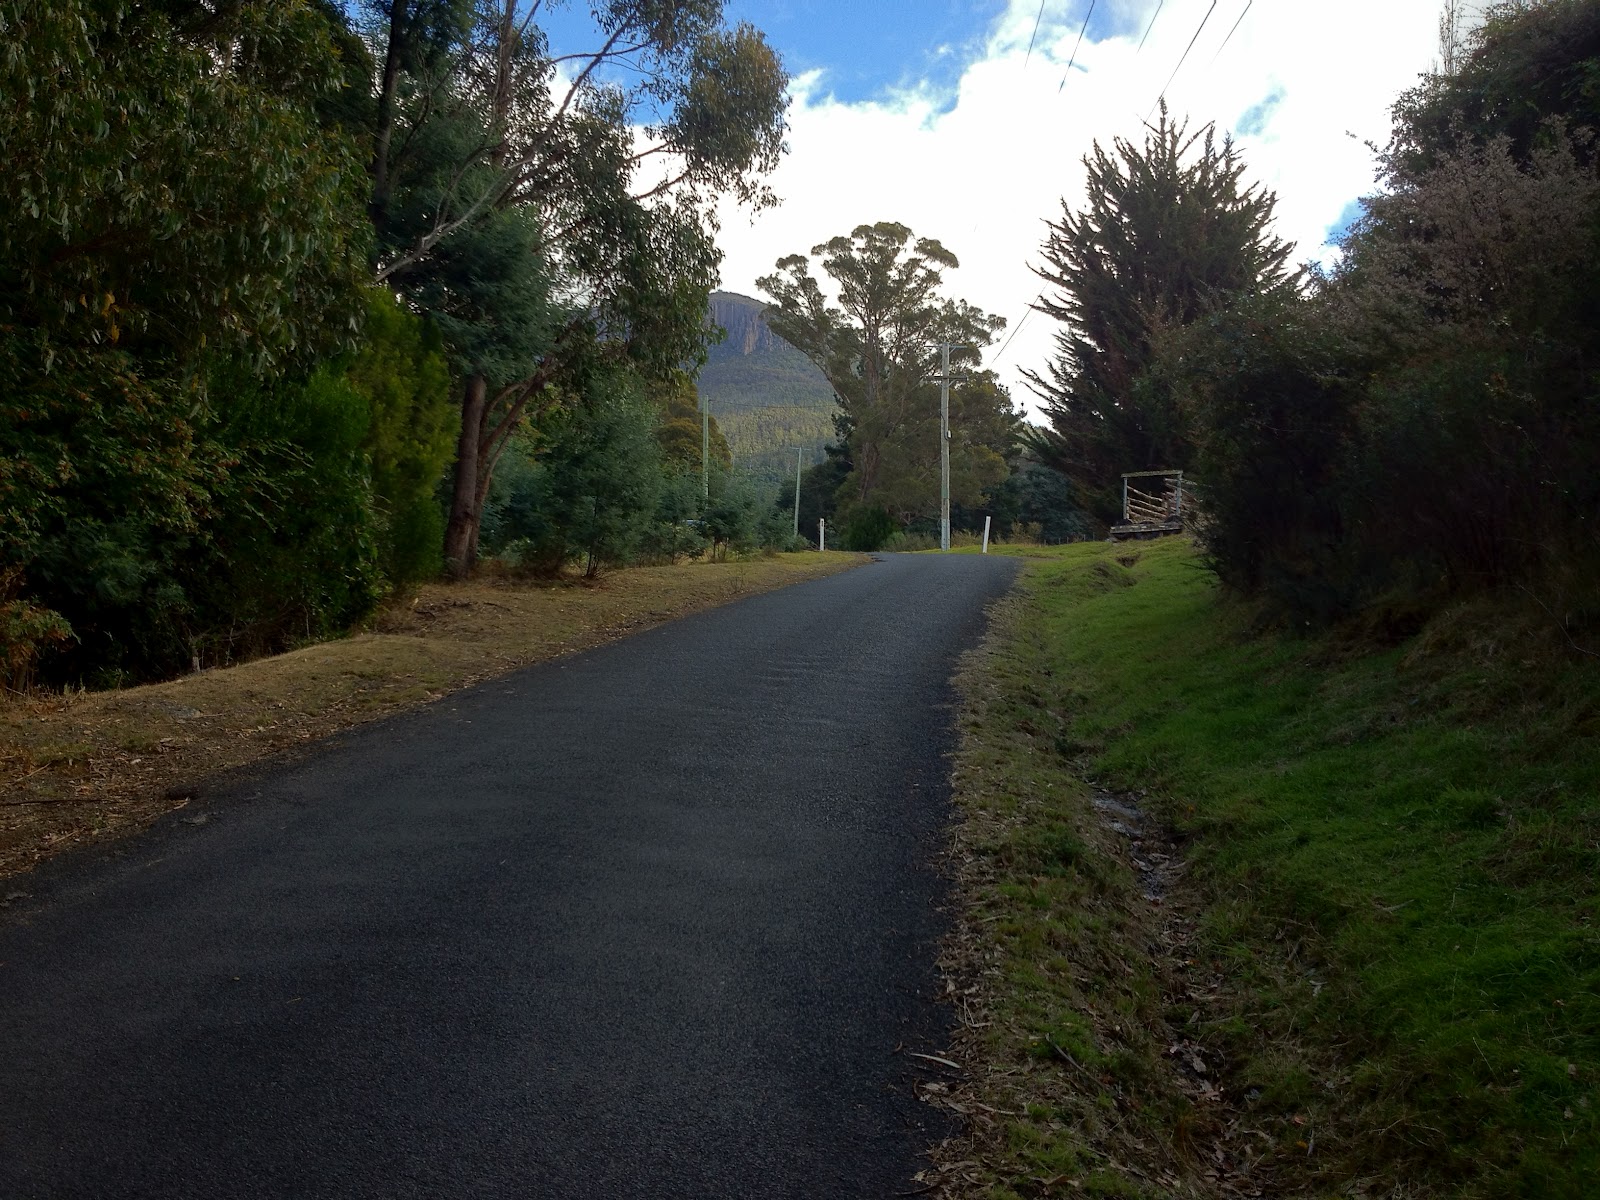
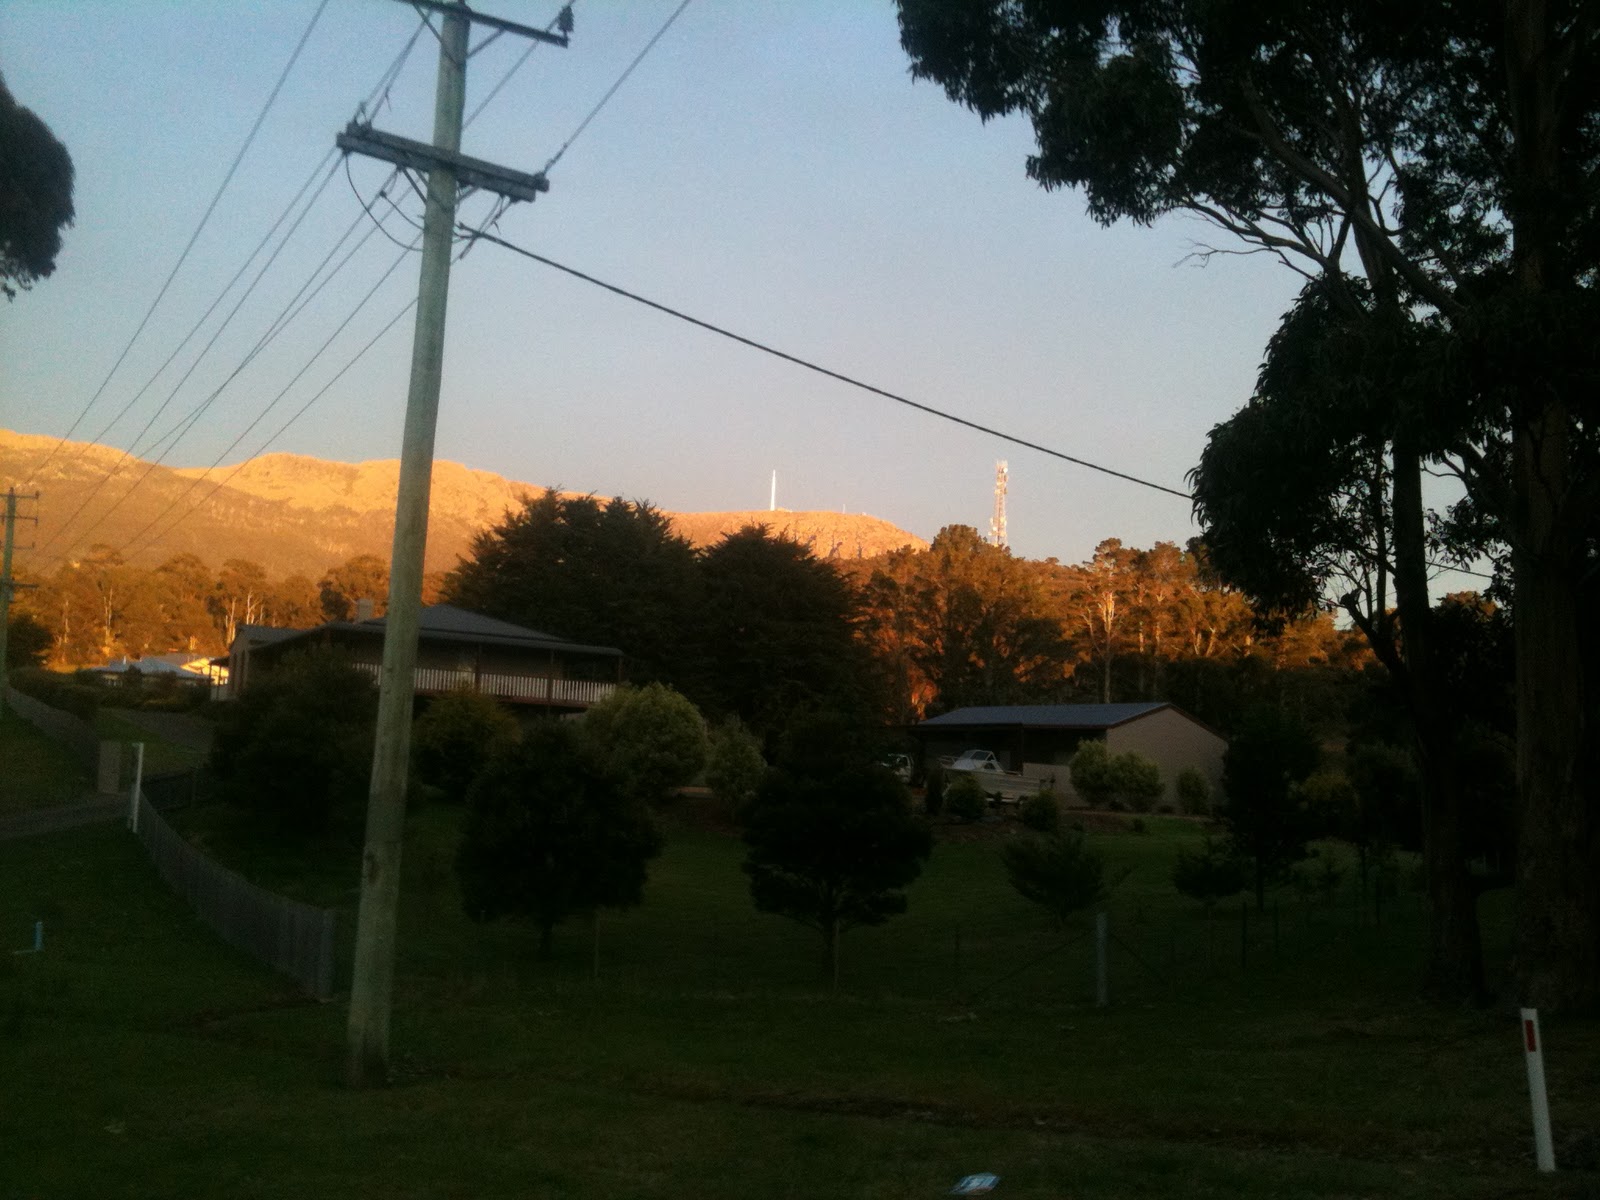
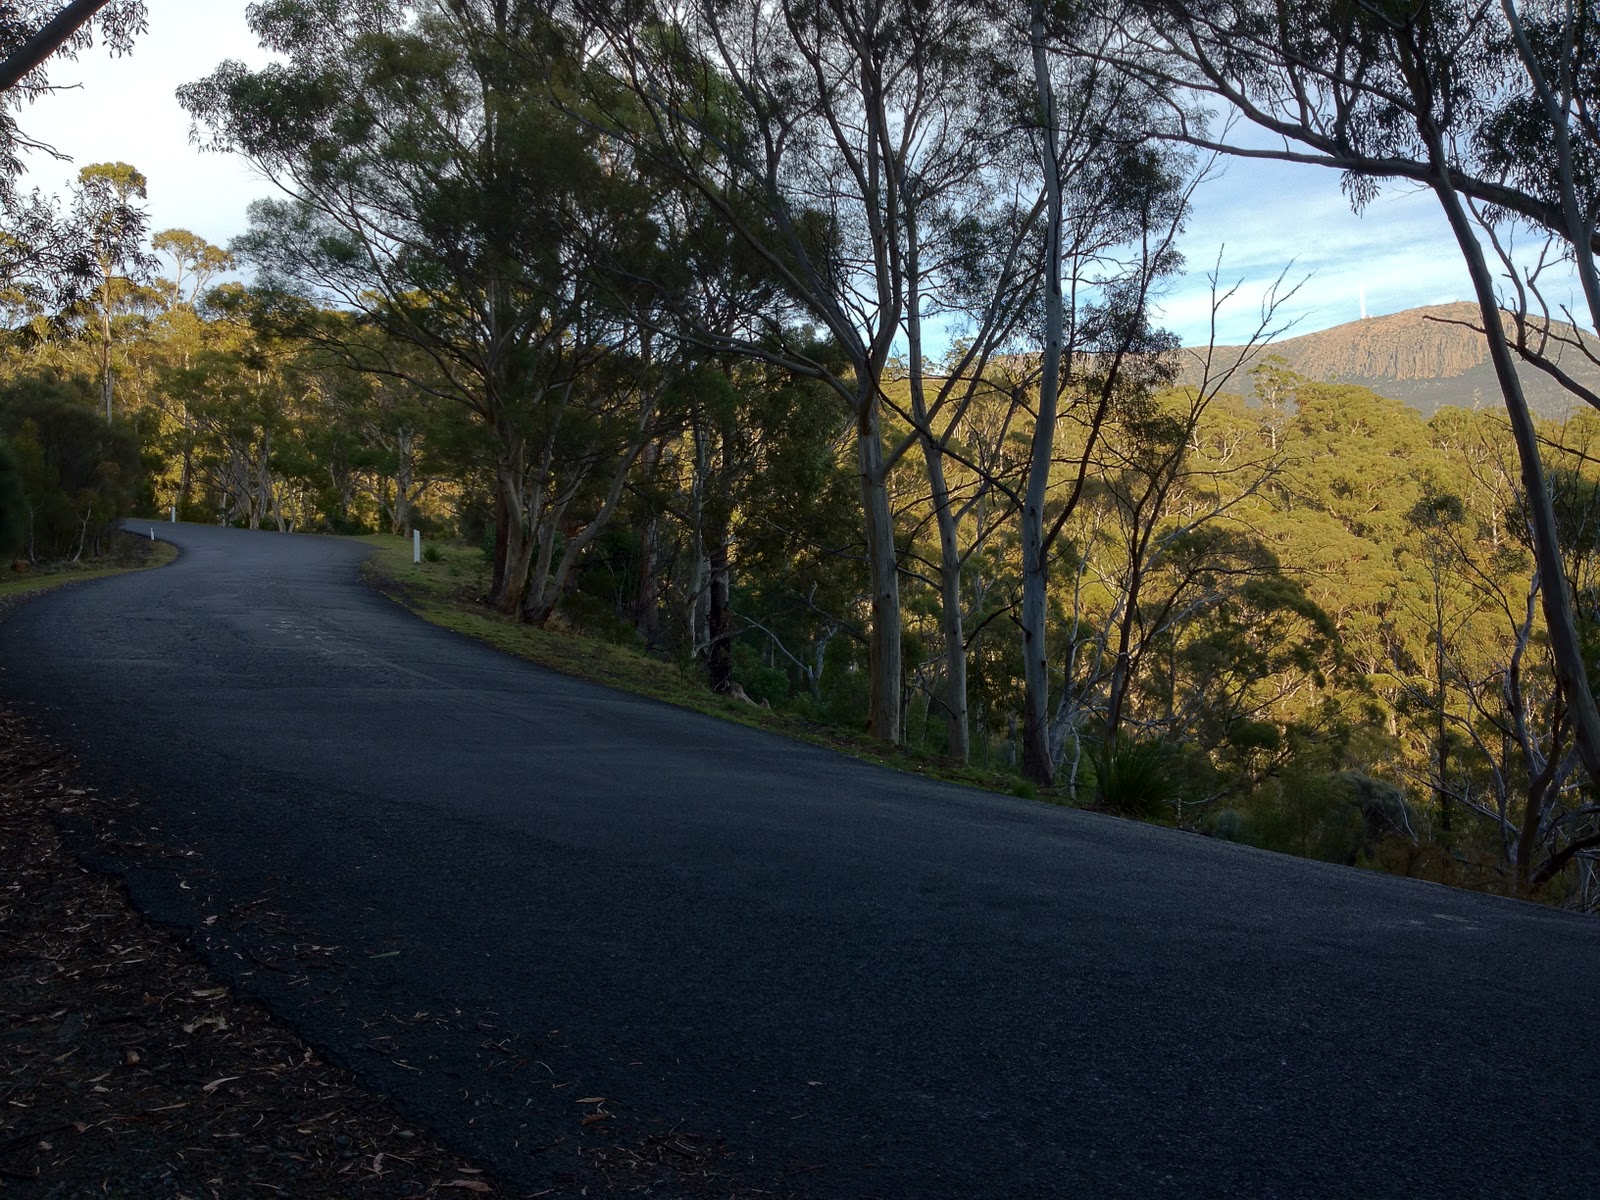
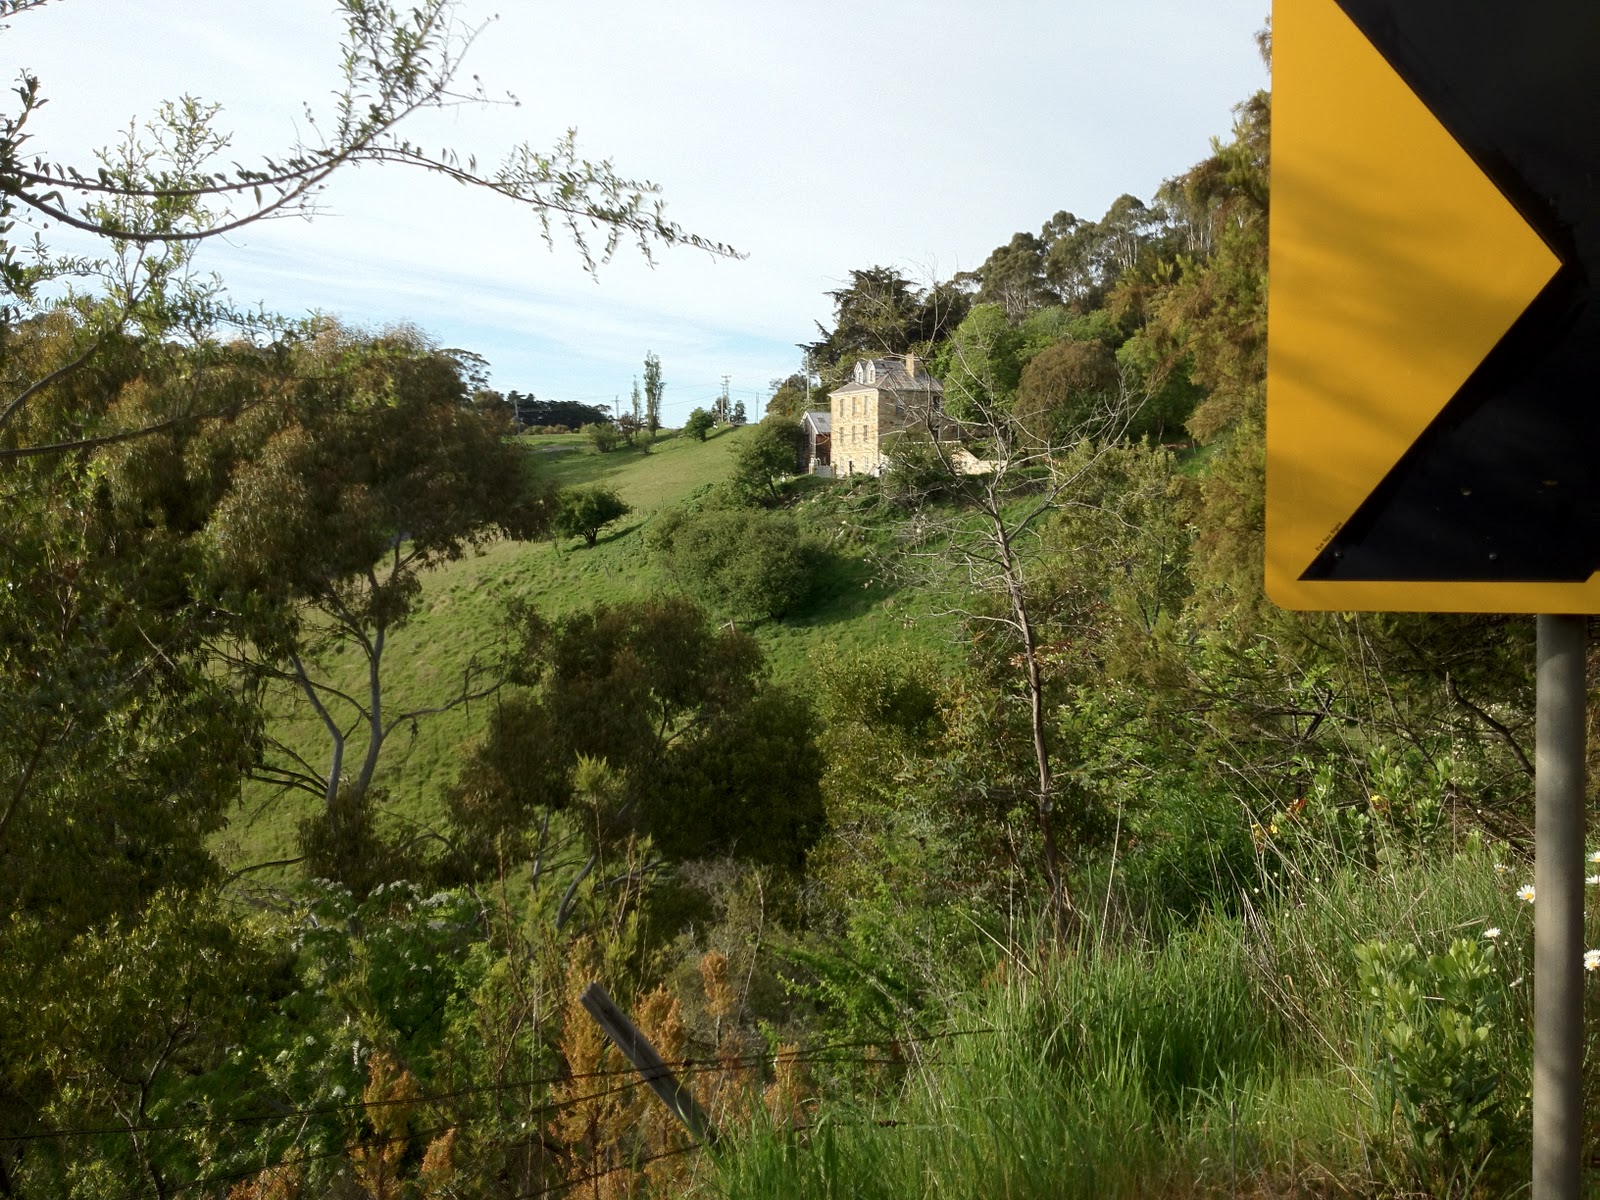
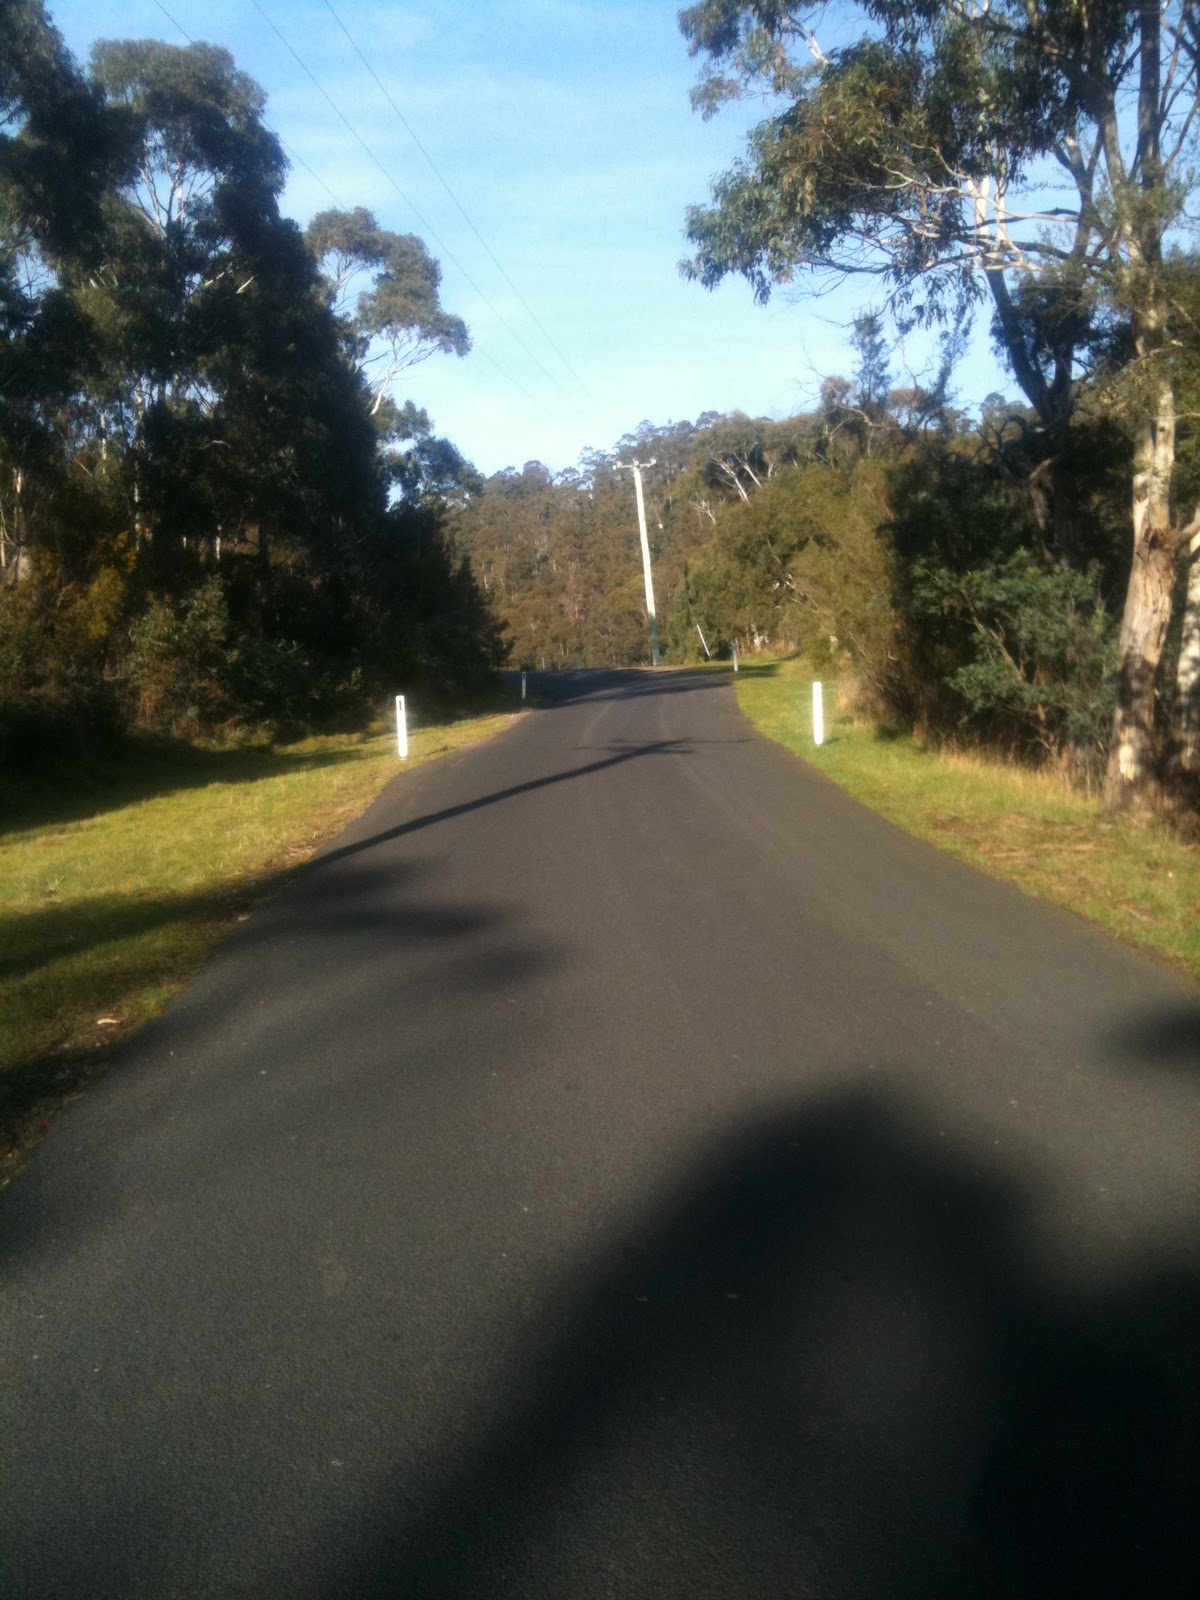
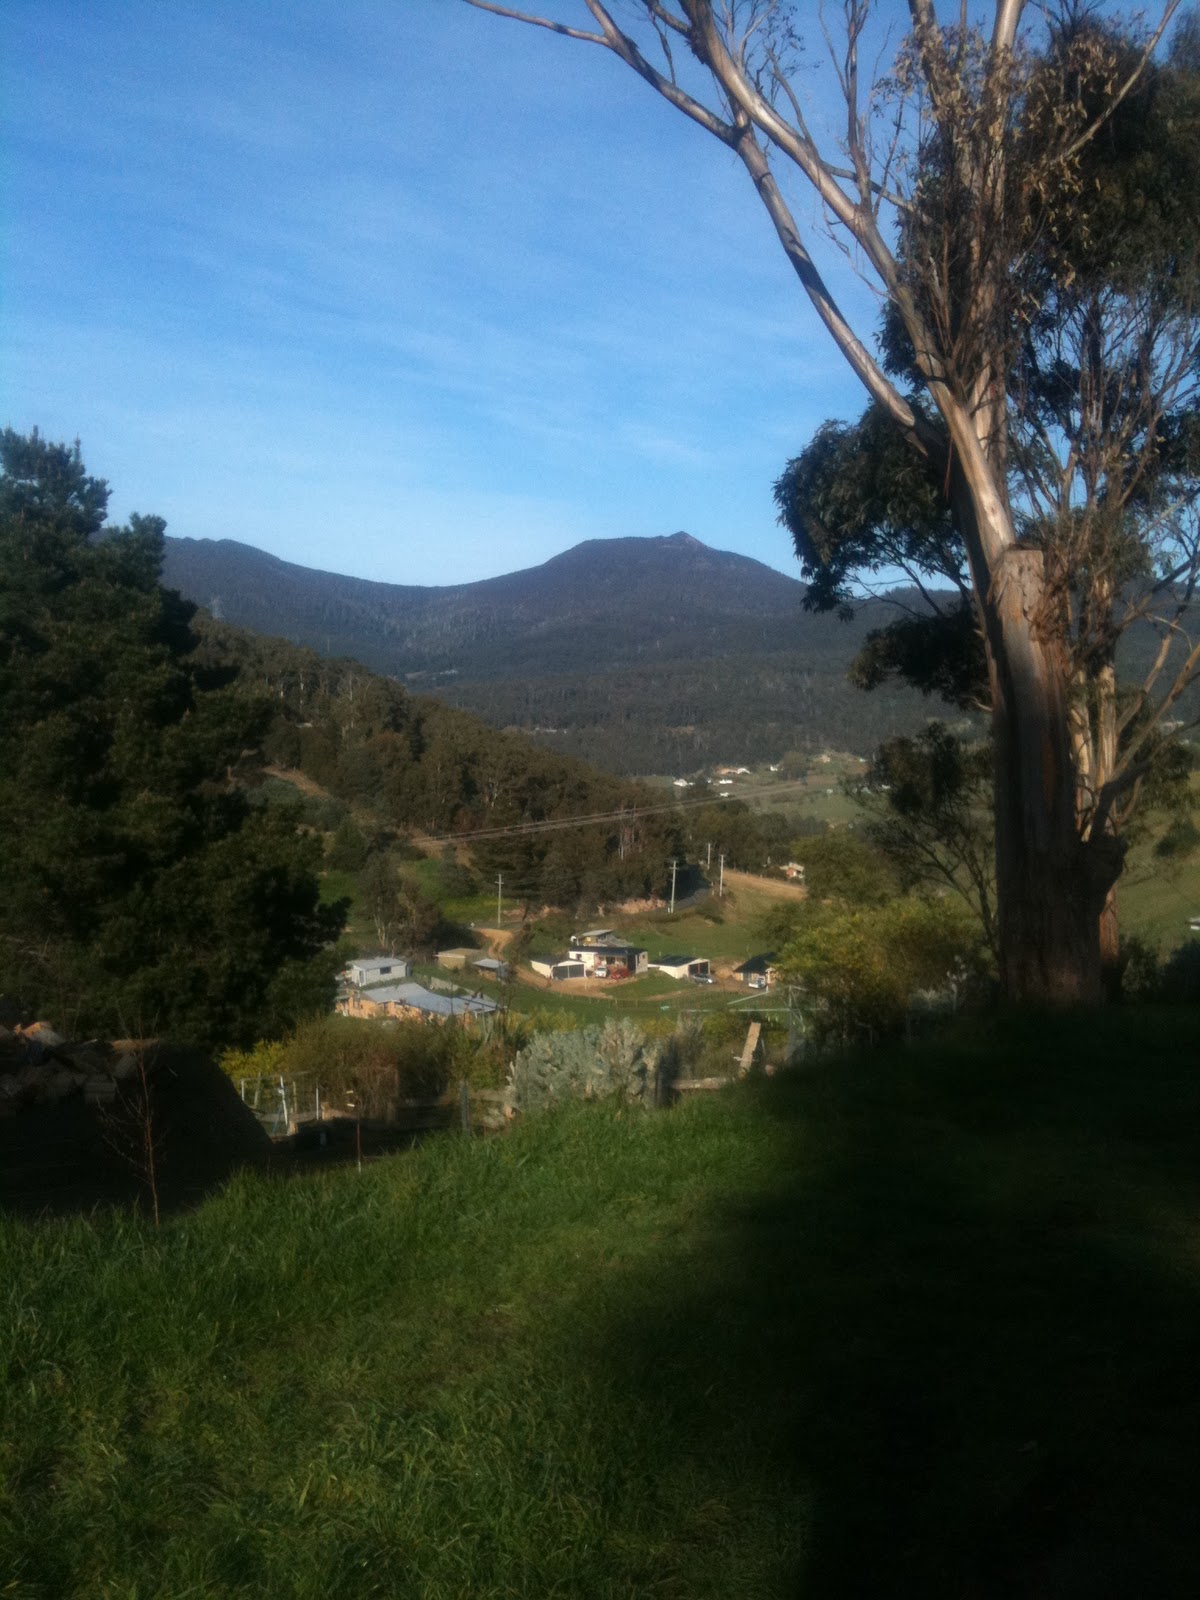
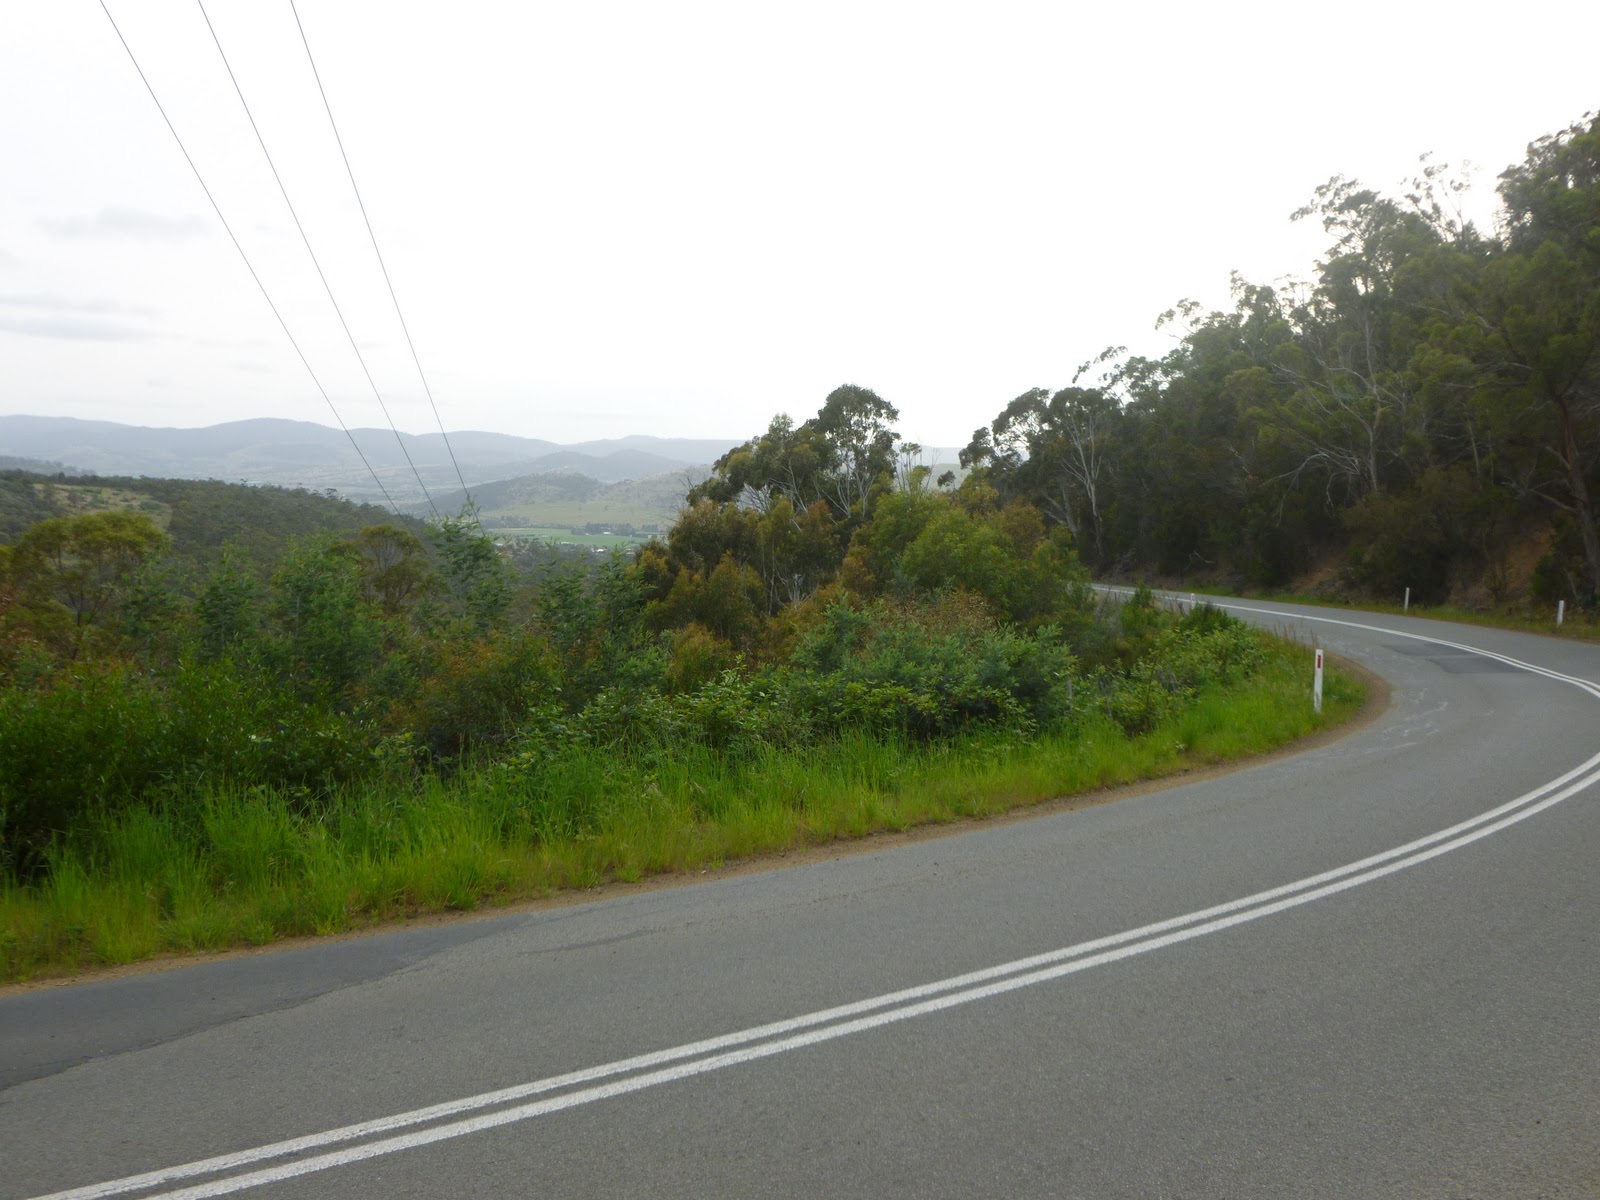
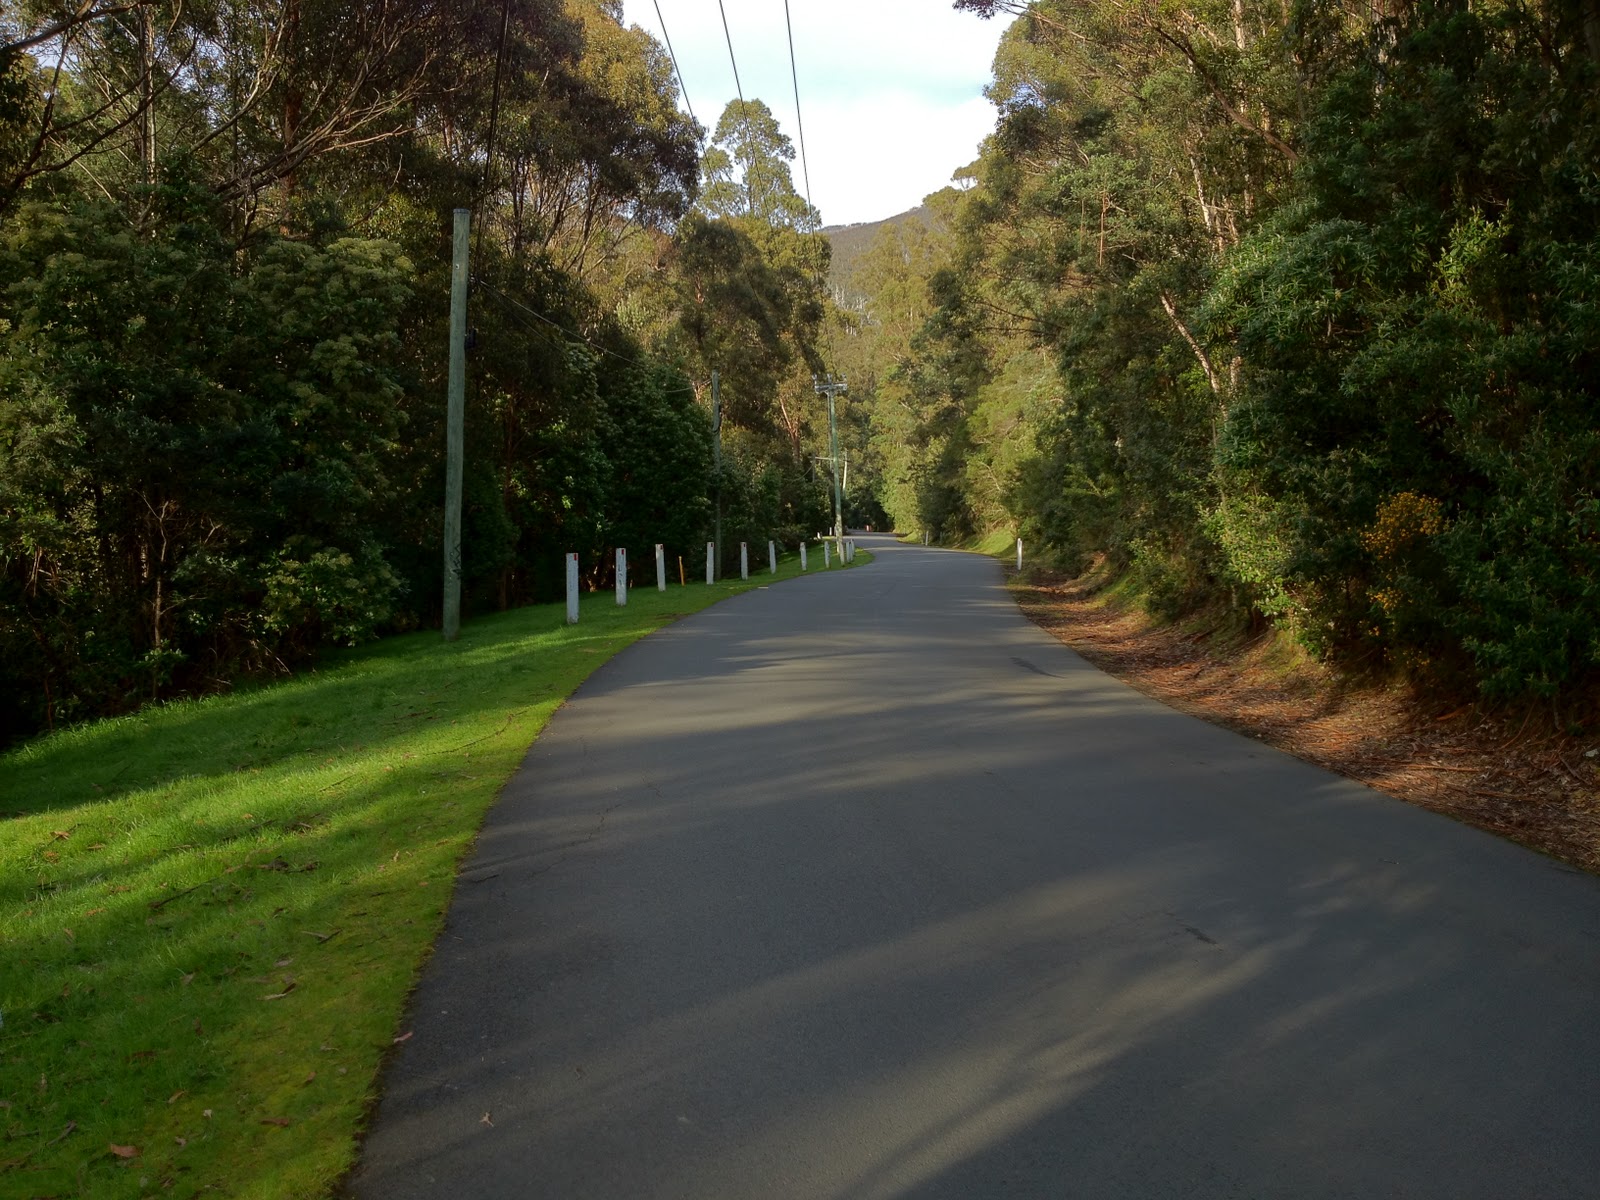
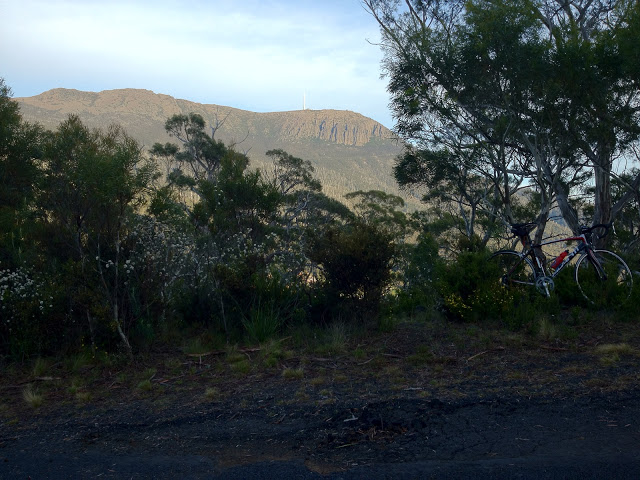
You can see Mt Wellington in the distance, near the top of the first half of the climb

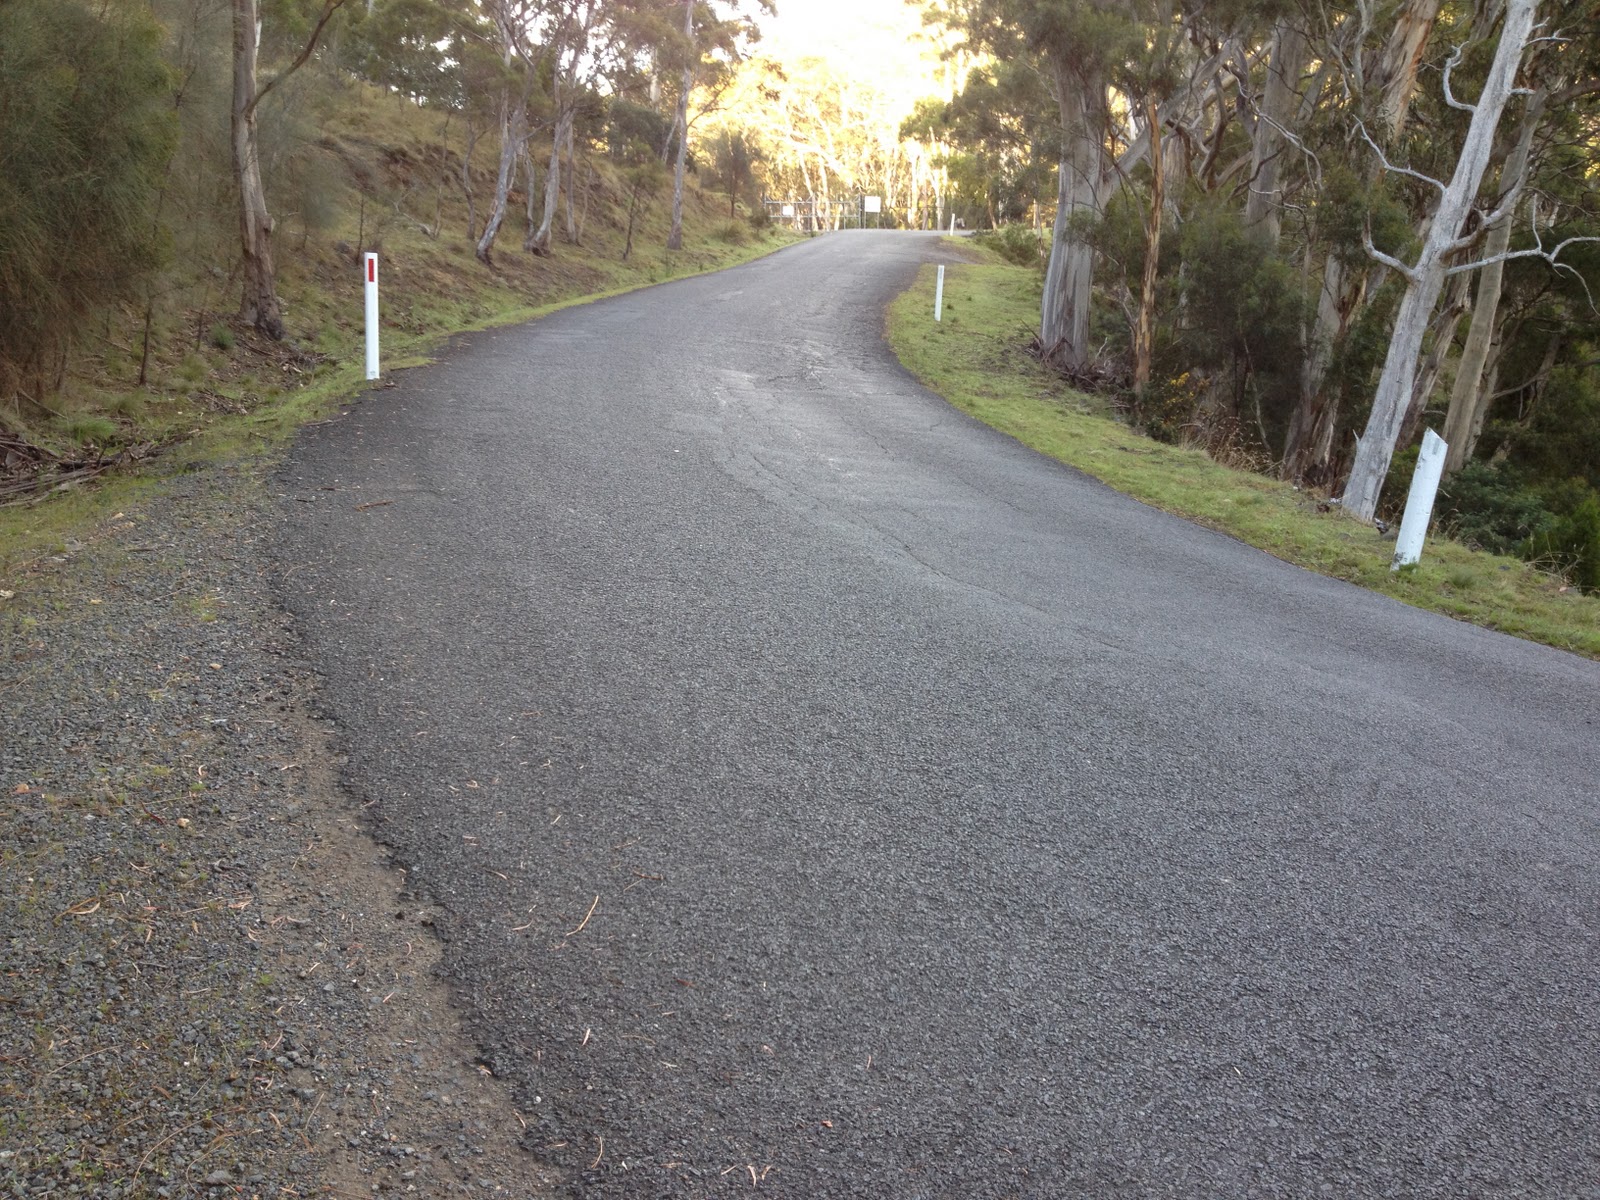
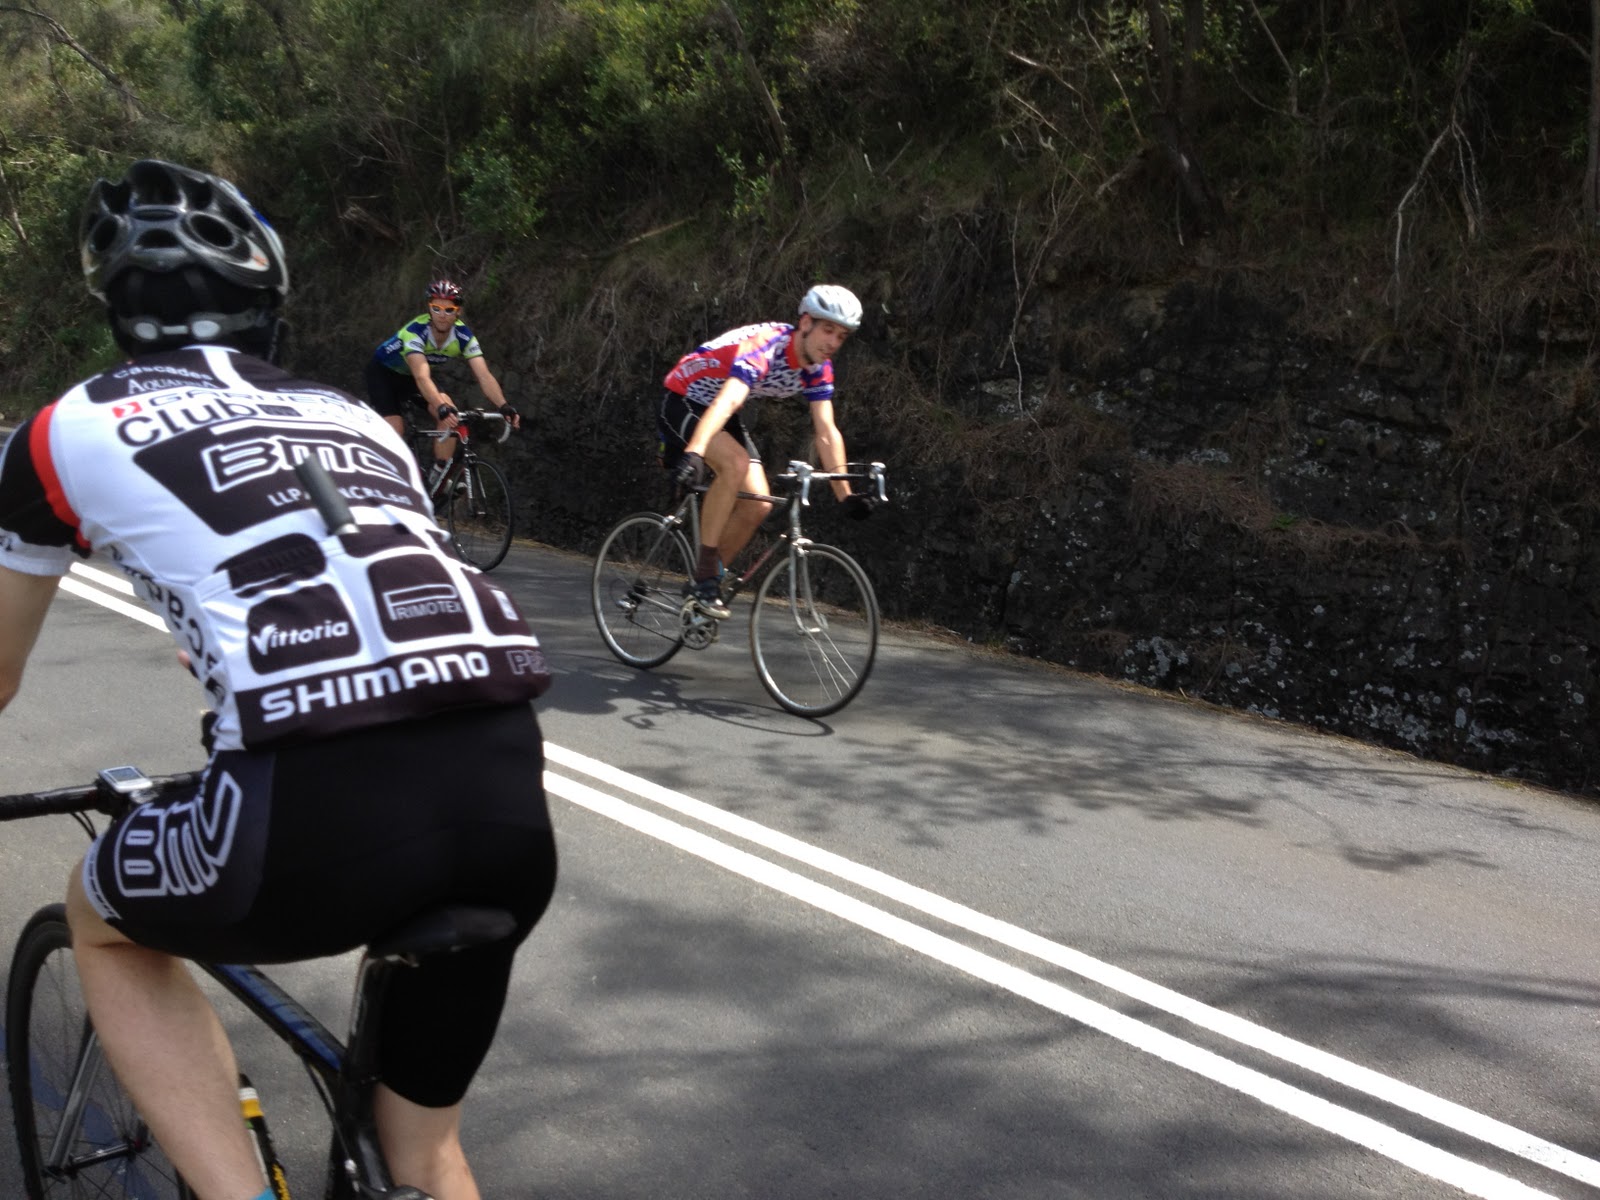
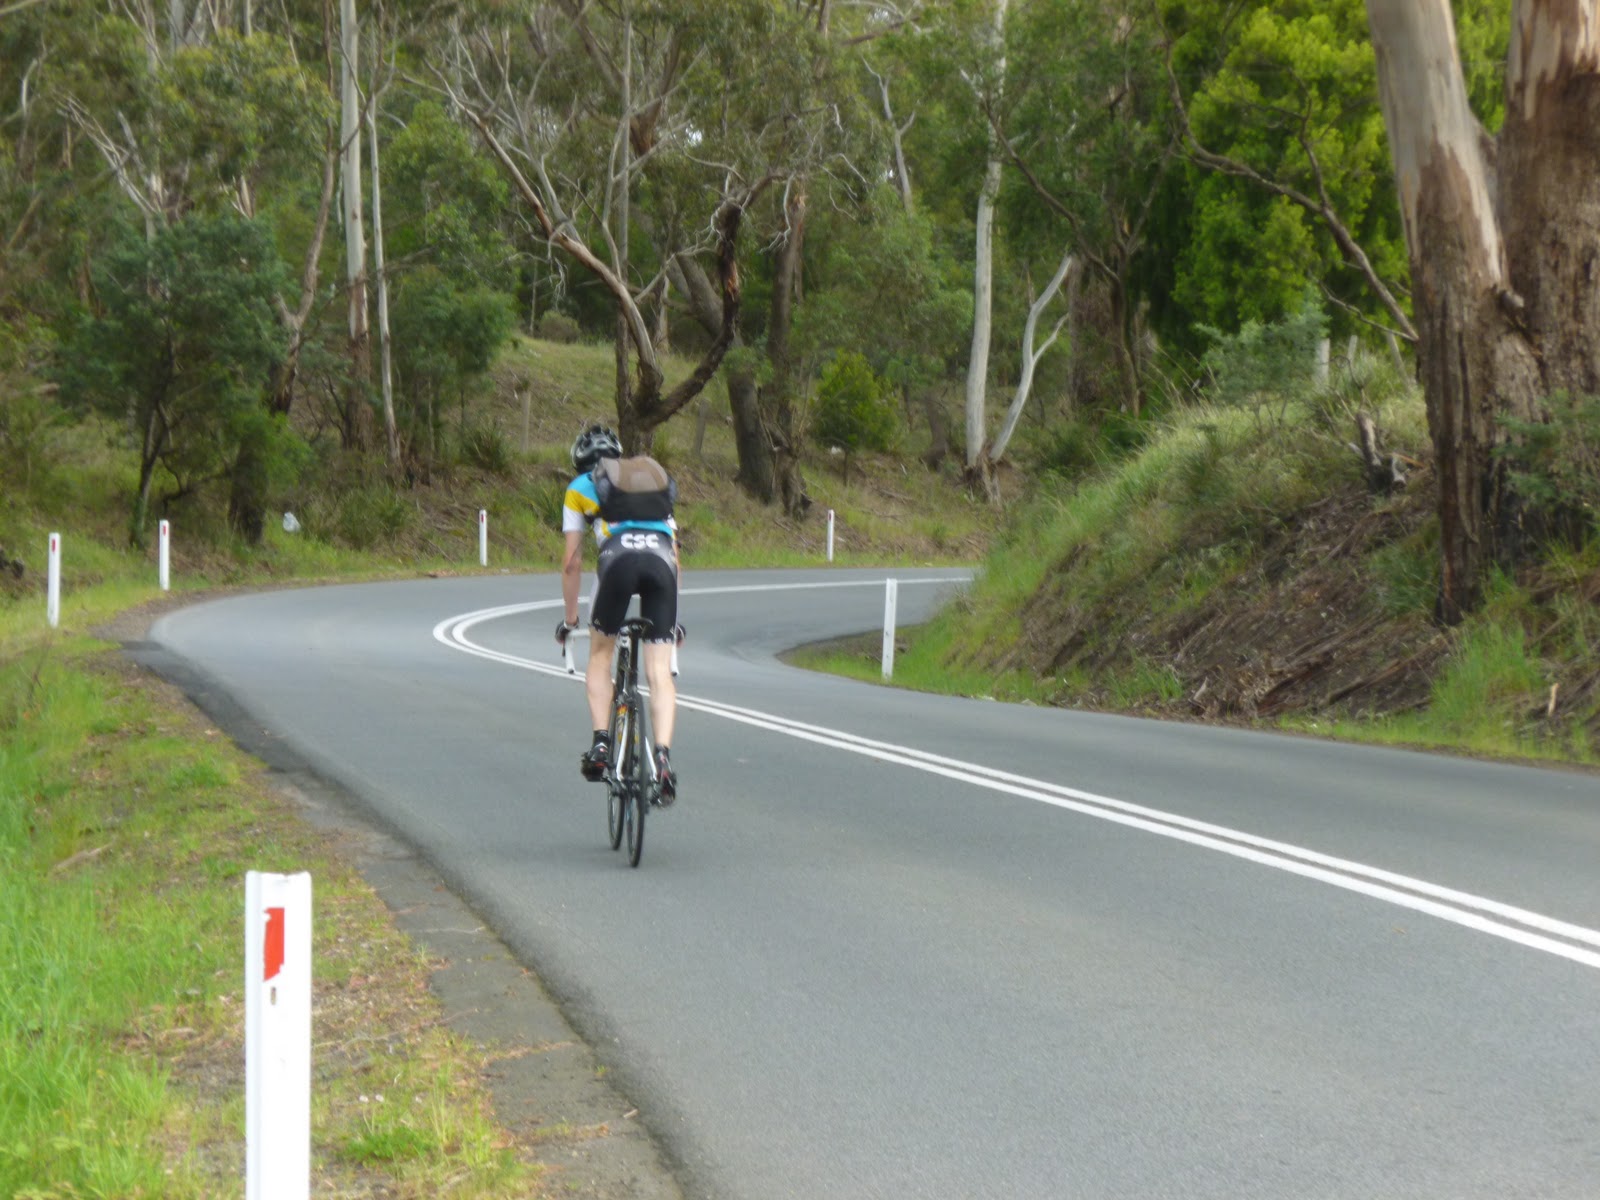
The top of the first steep pinch is within your grasp!

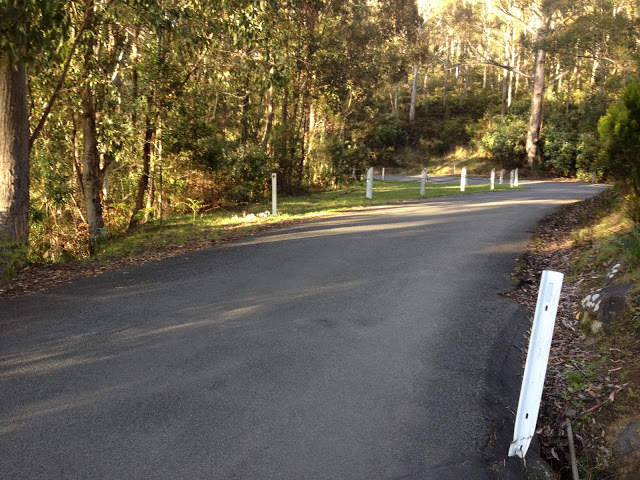
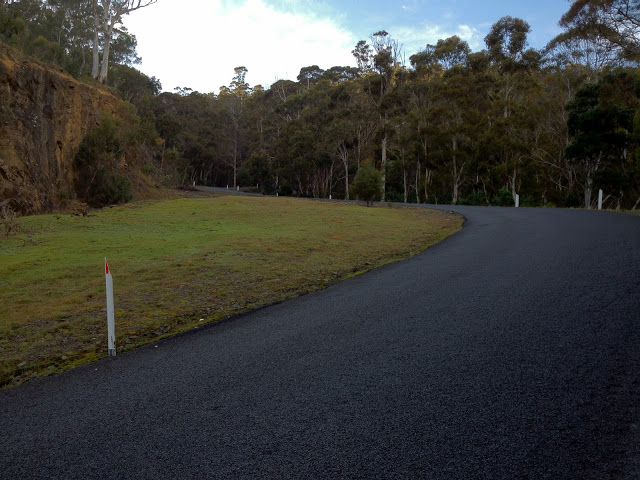
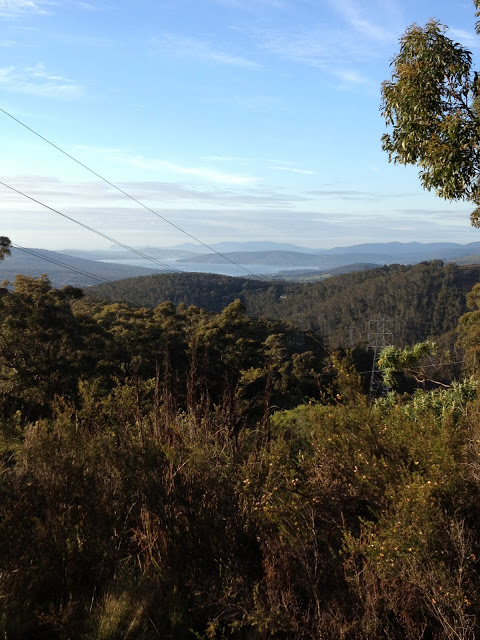
Level road, a relief, time for a breather

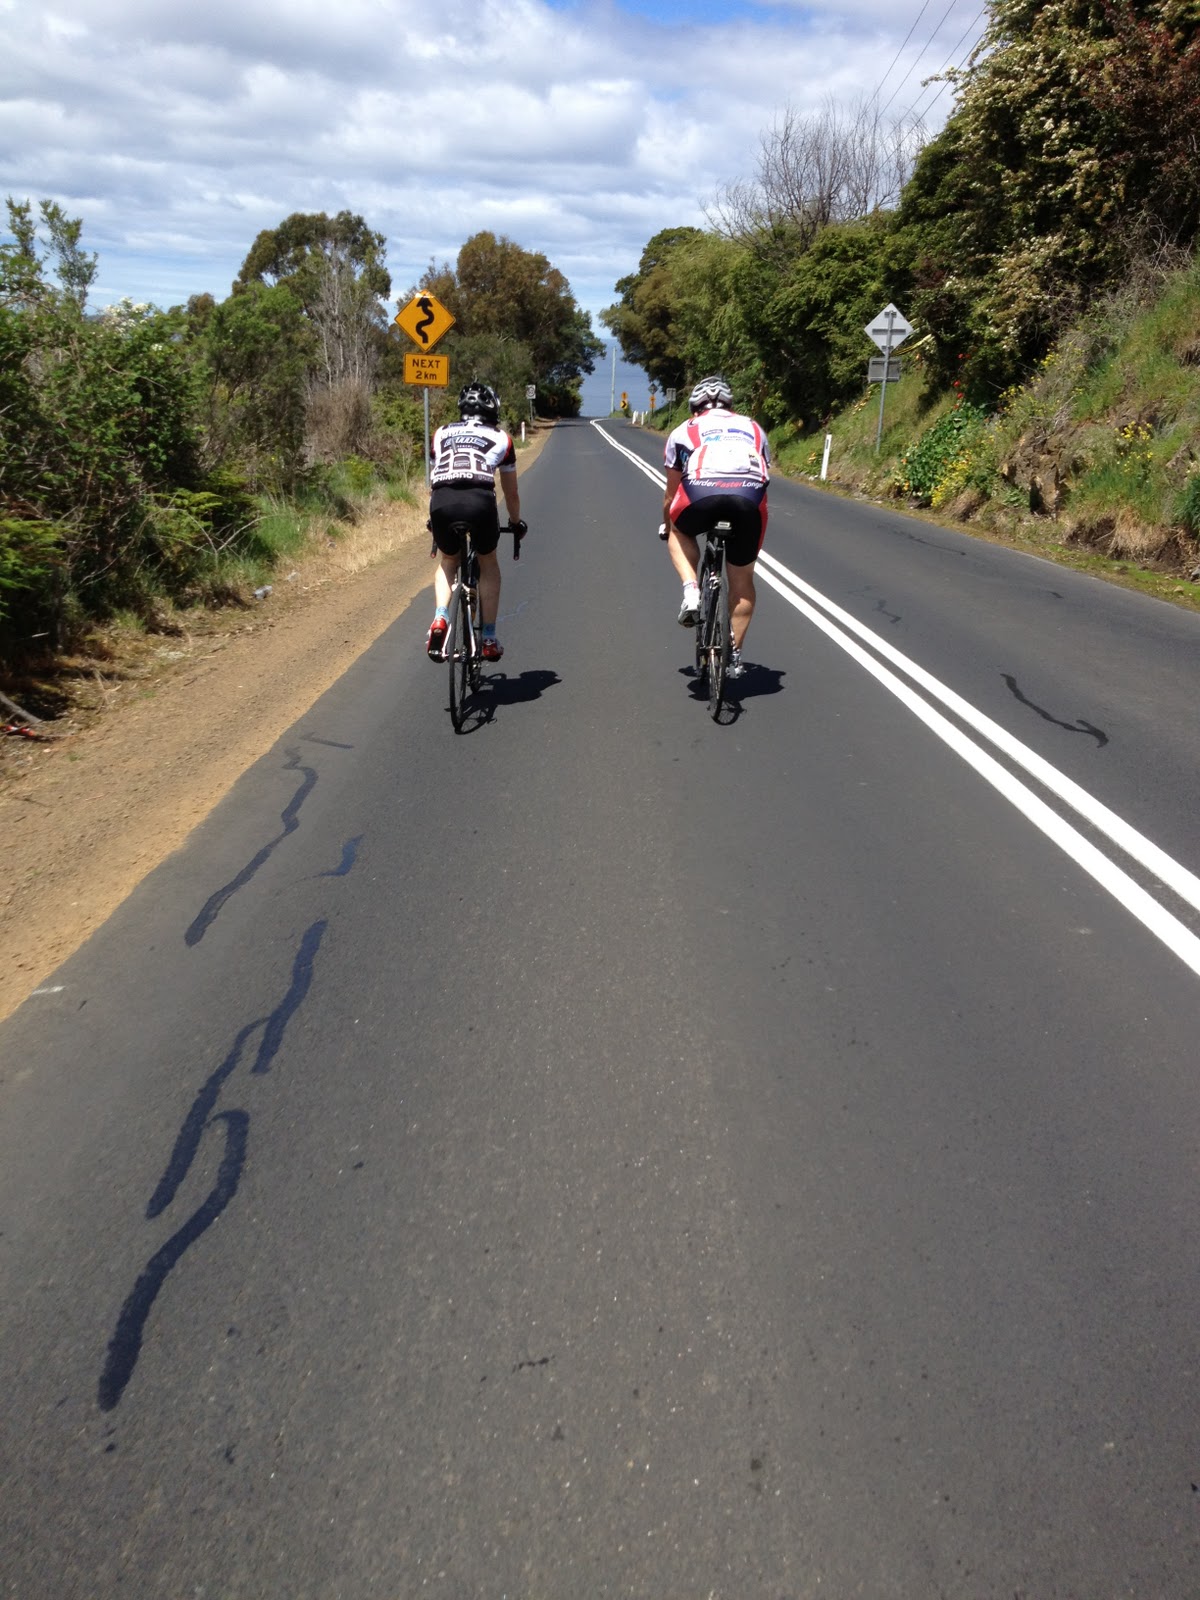
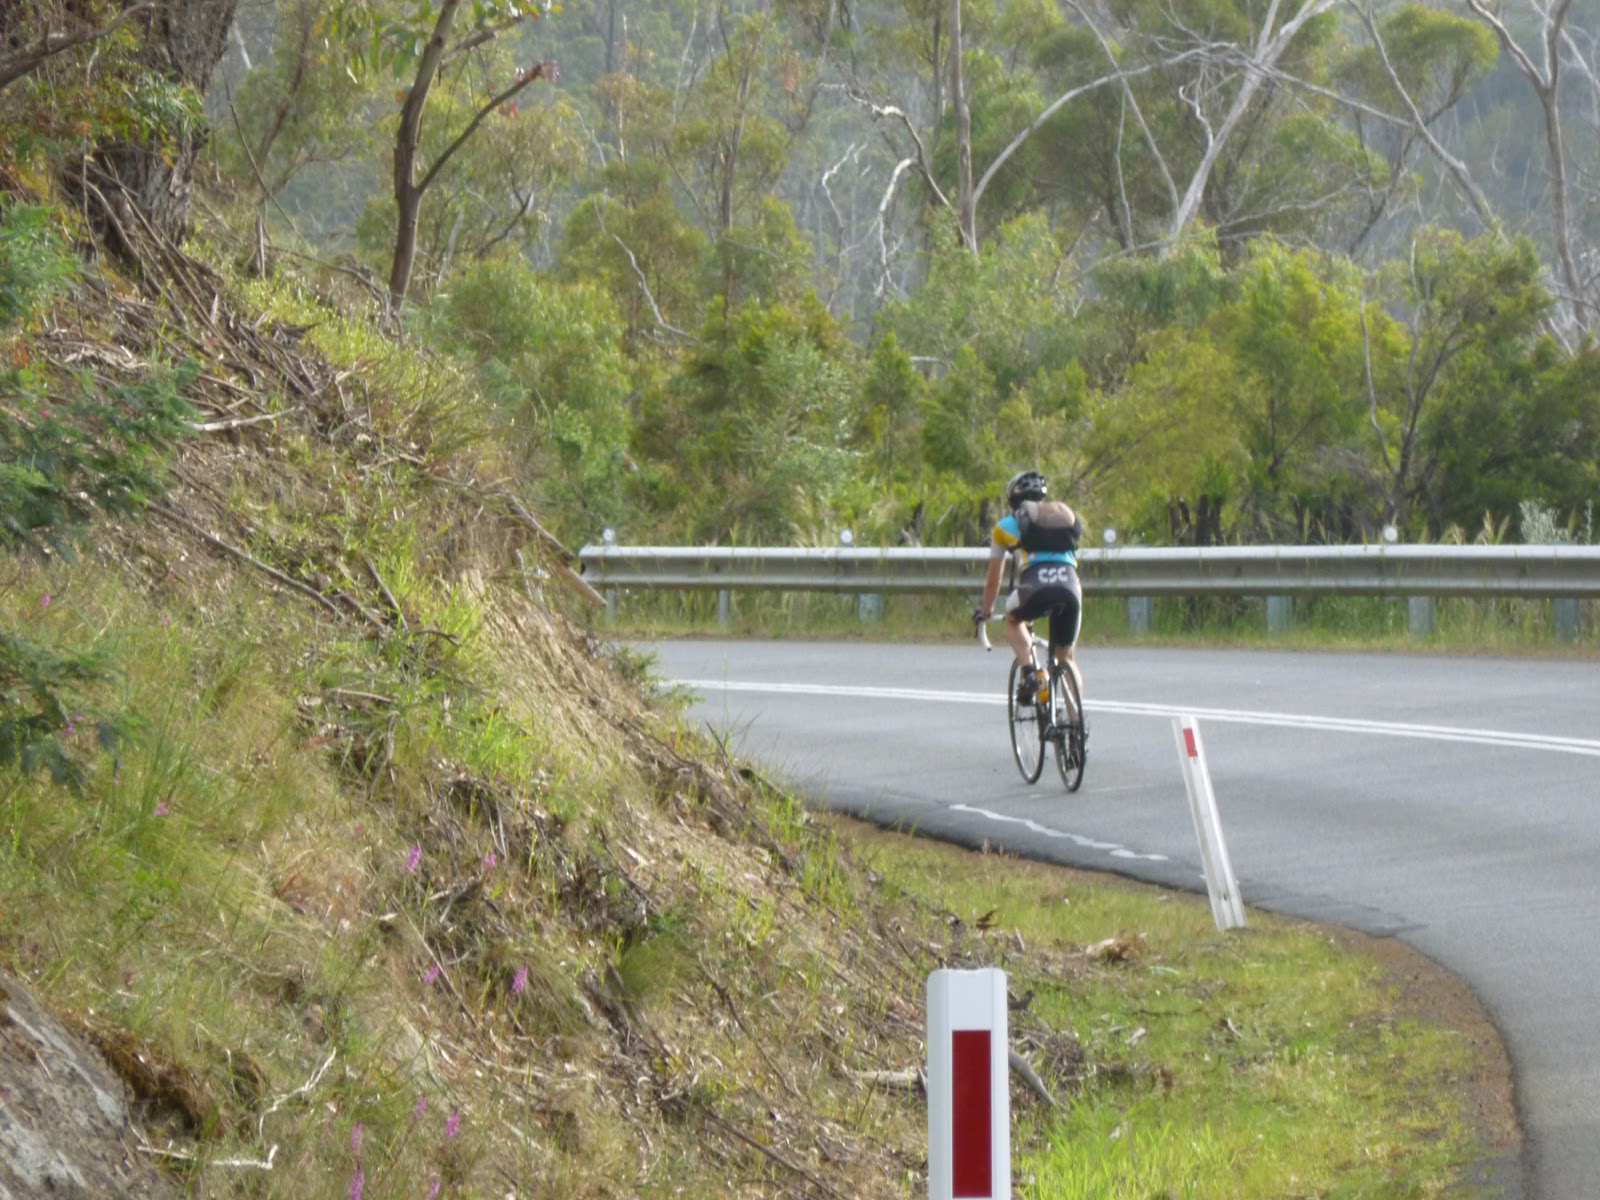
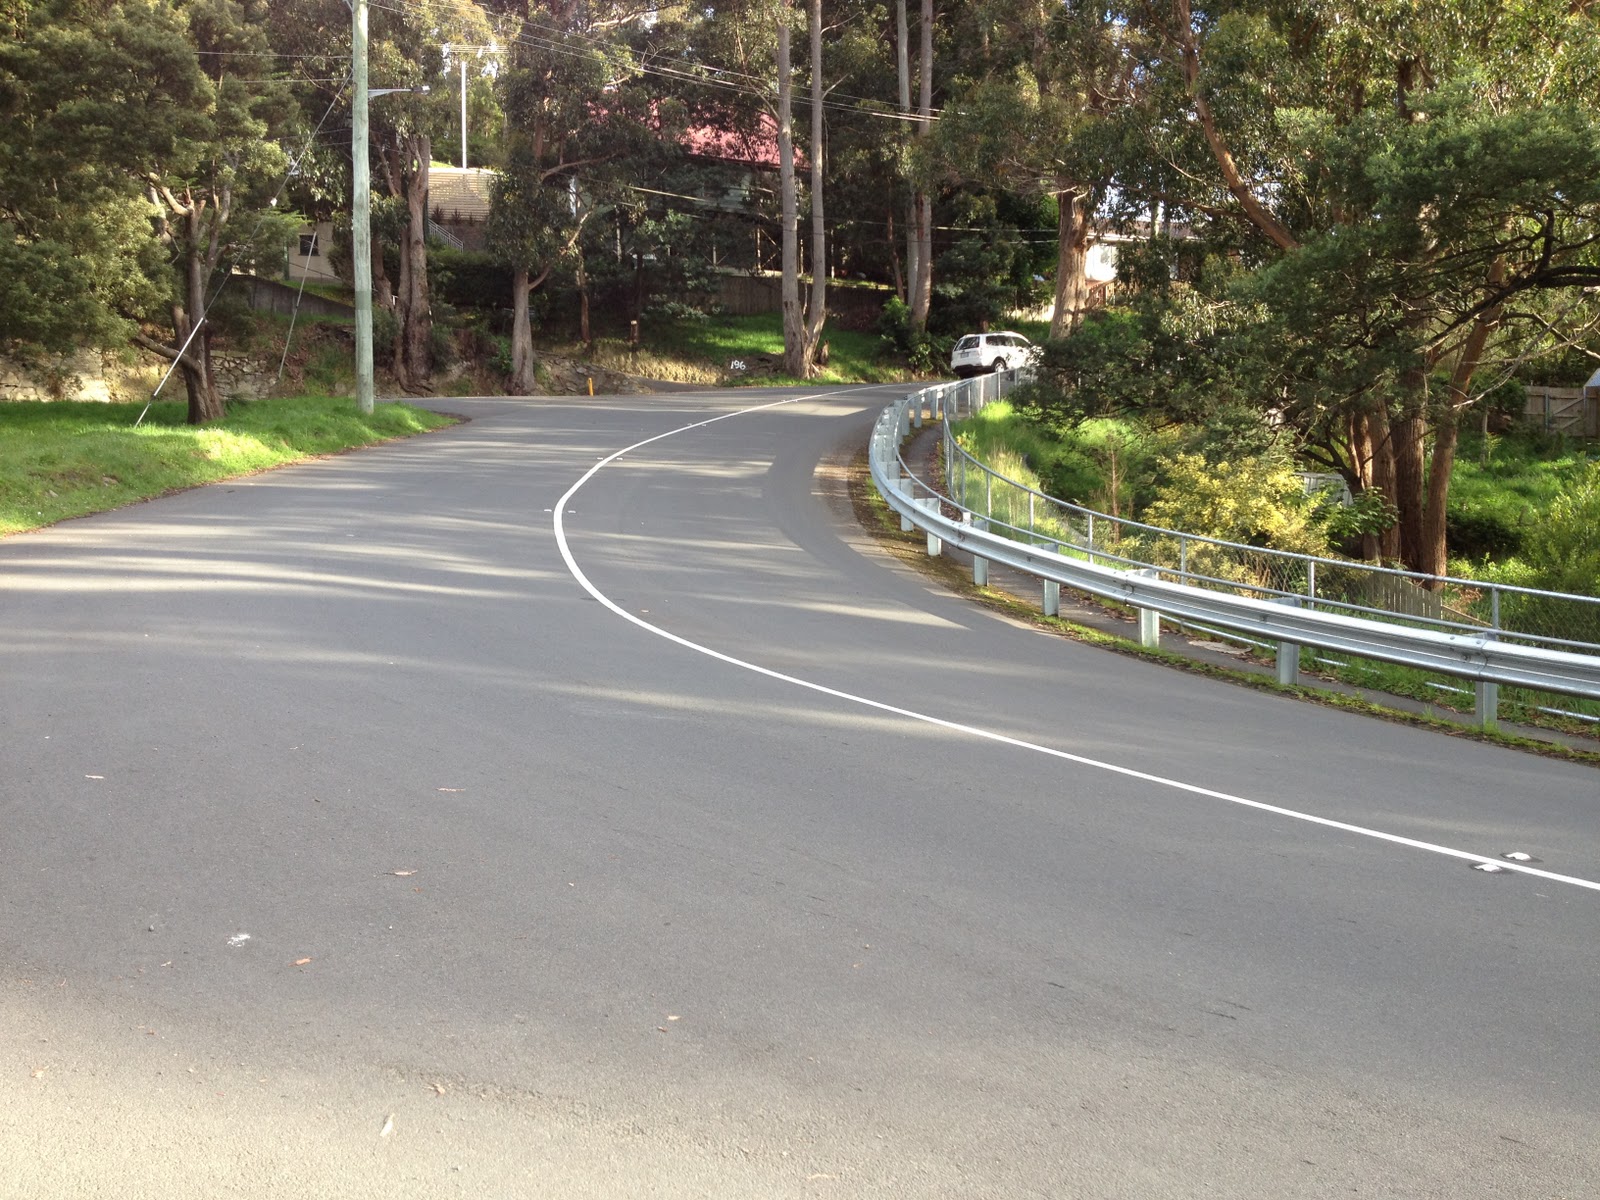
The road tilts up again, a bit too long to sprint

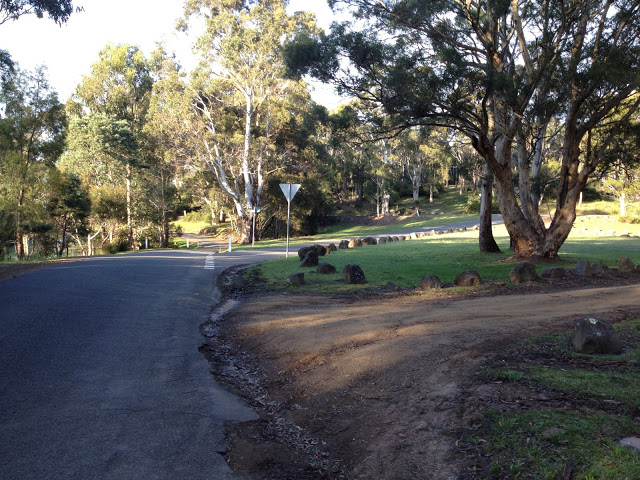
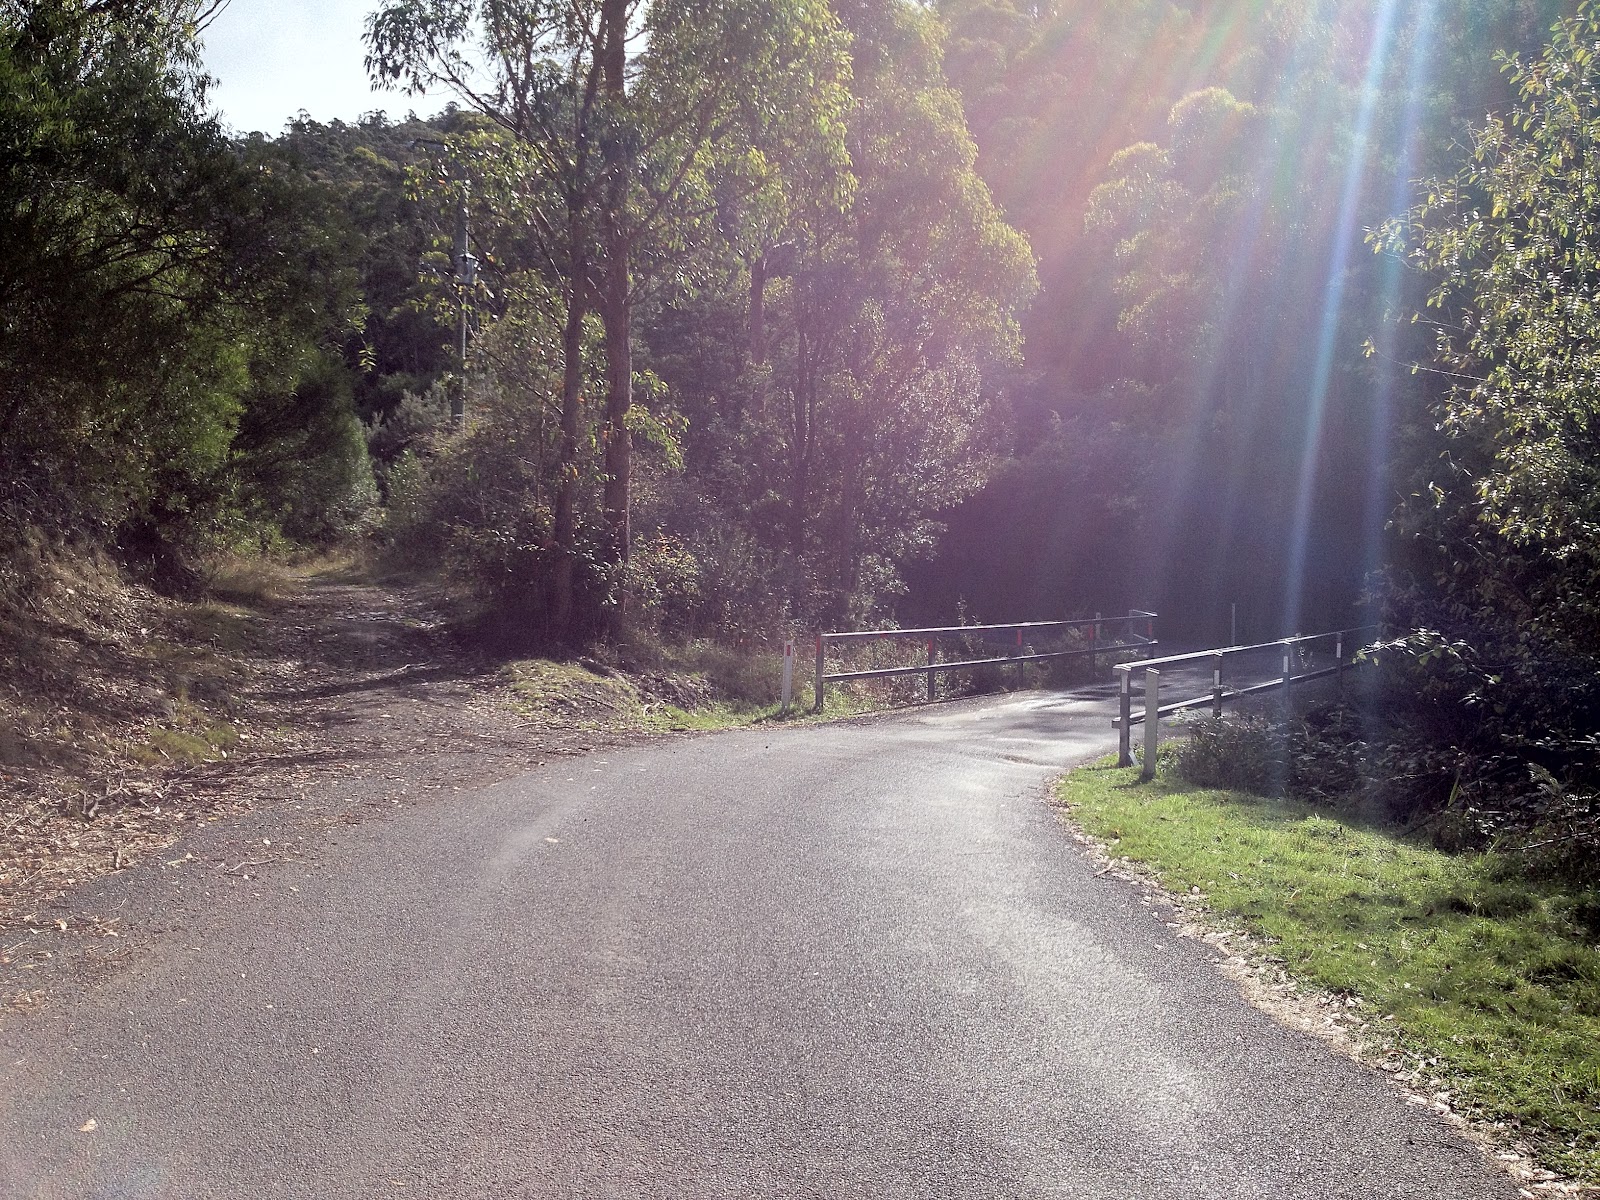
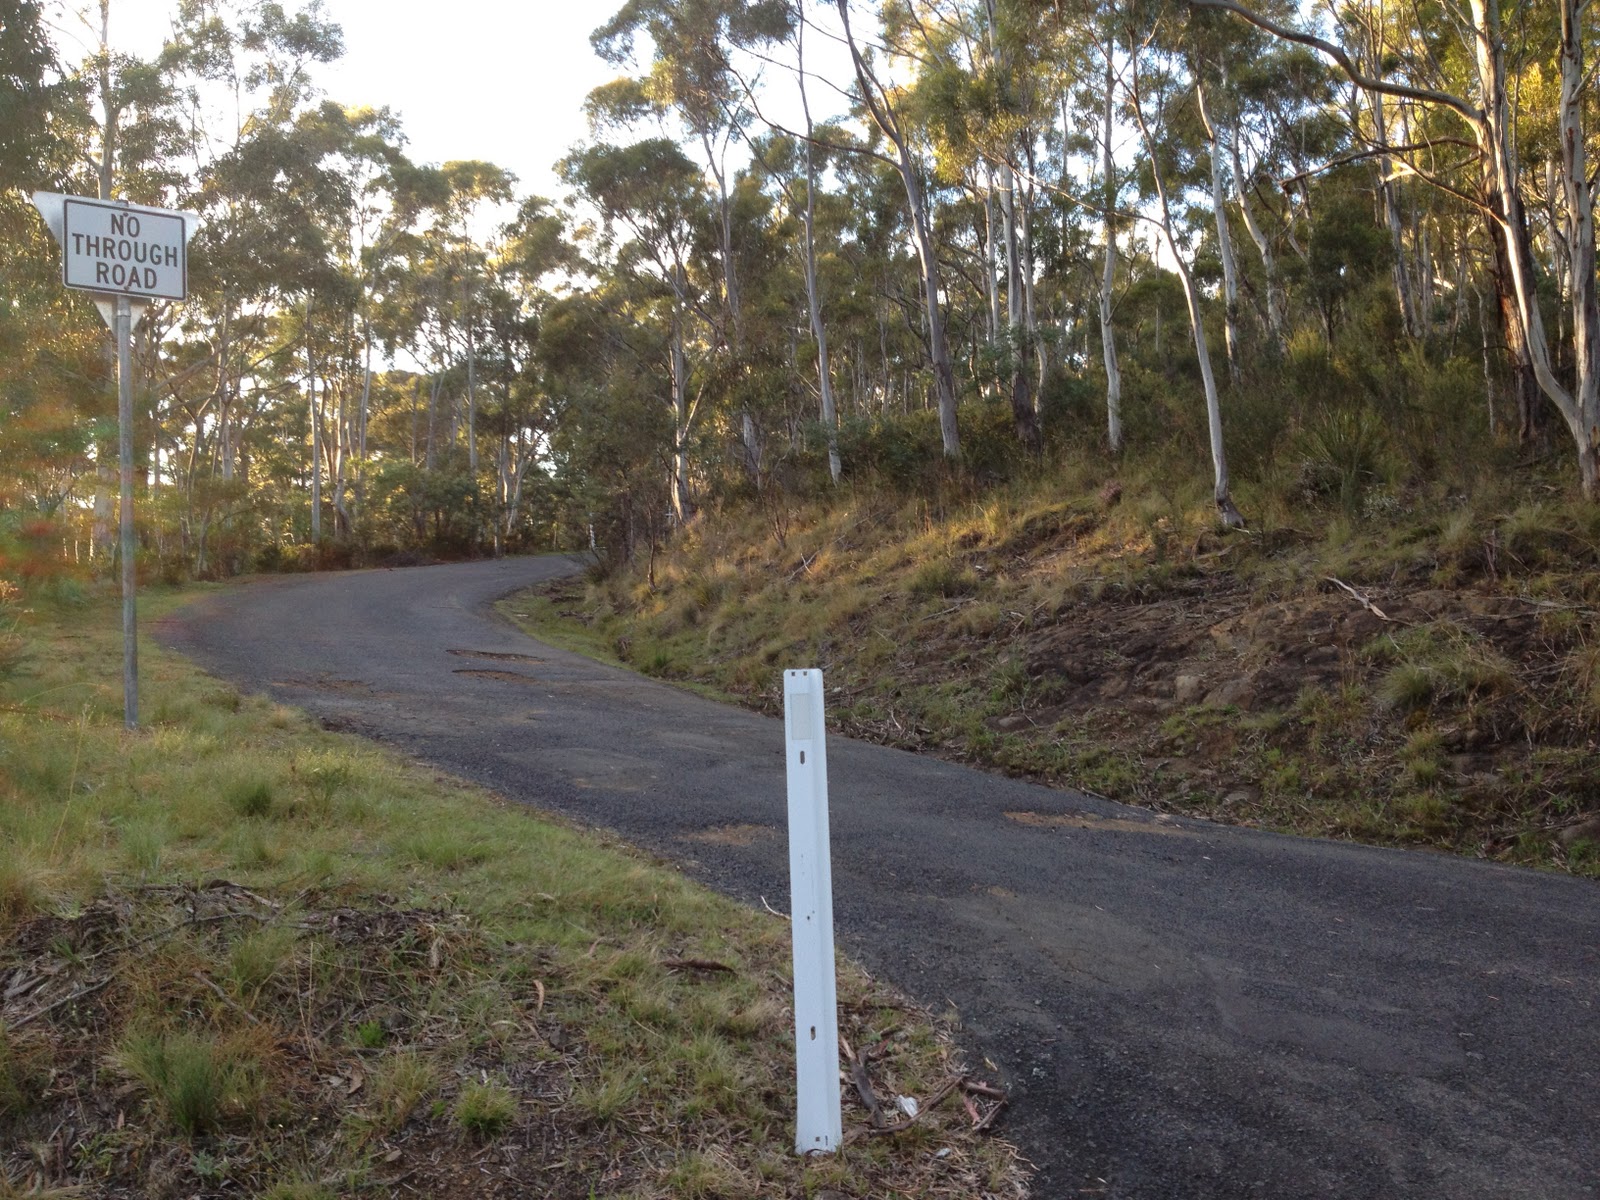
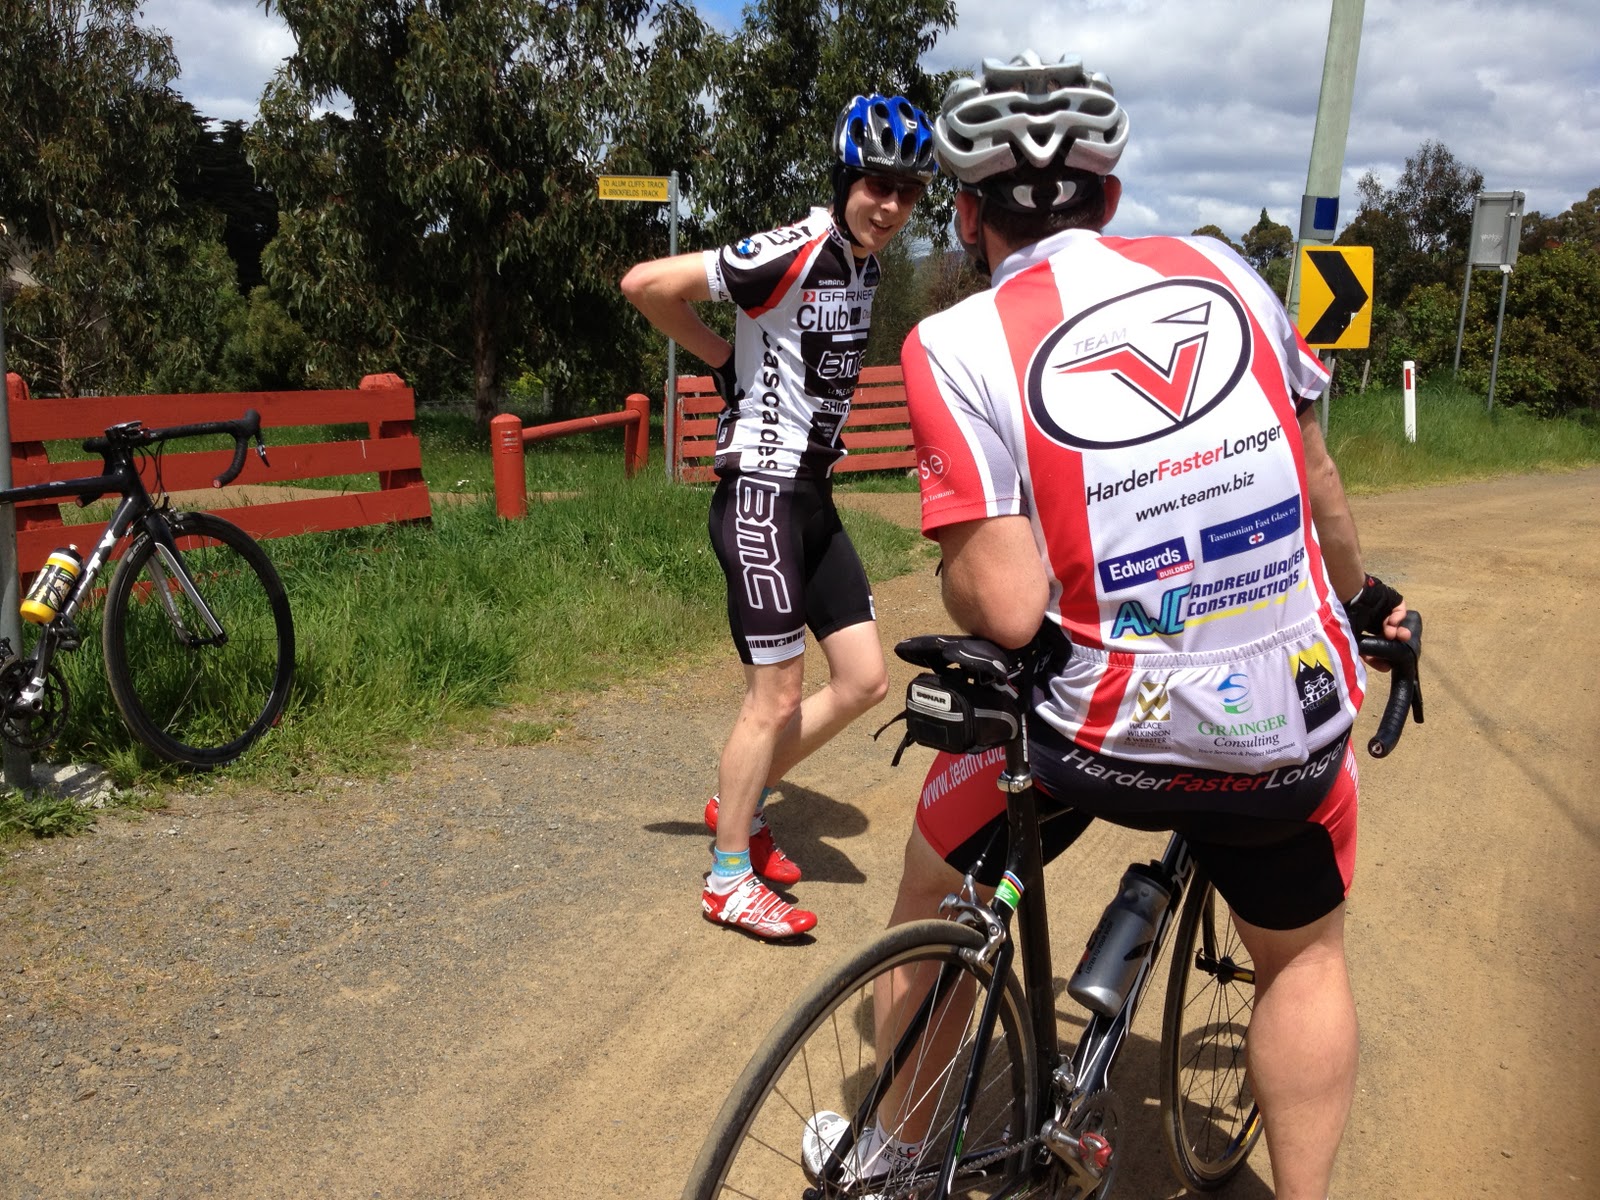
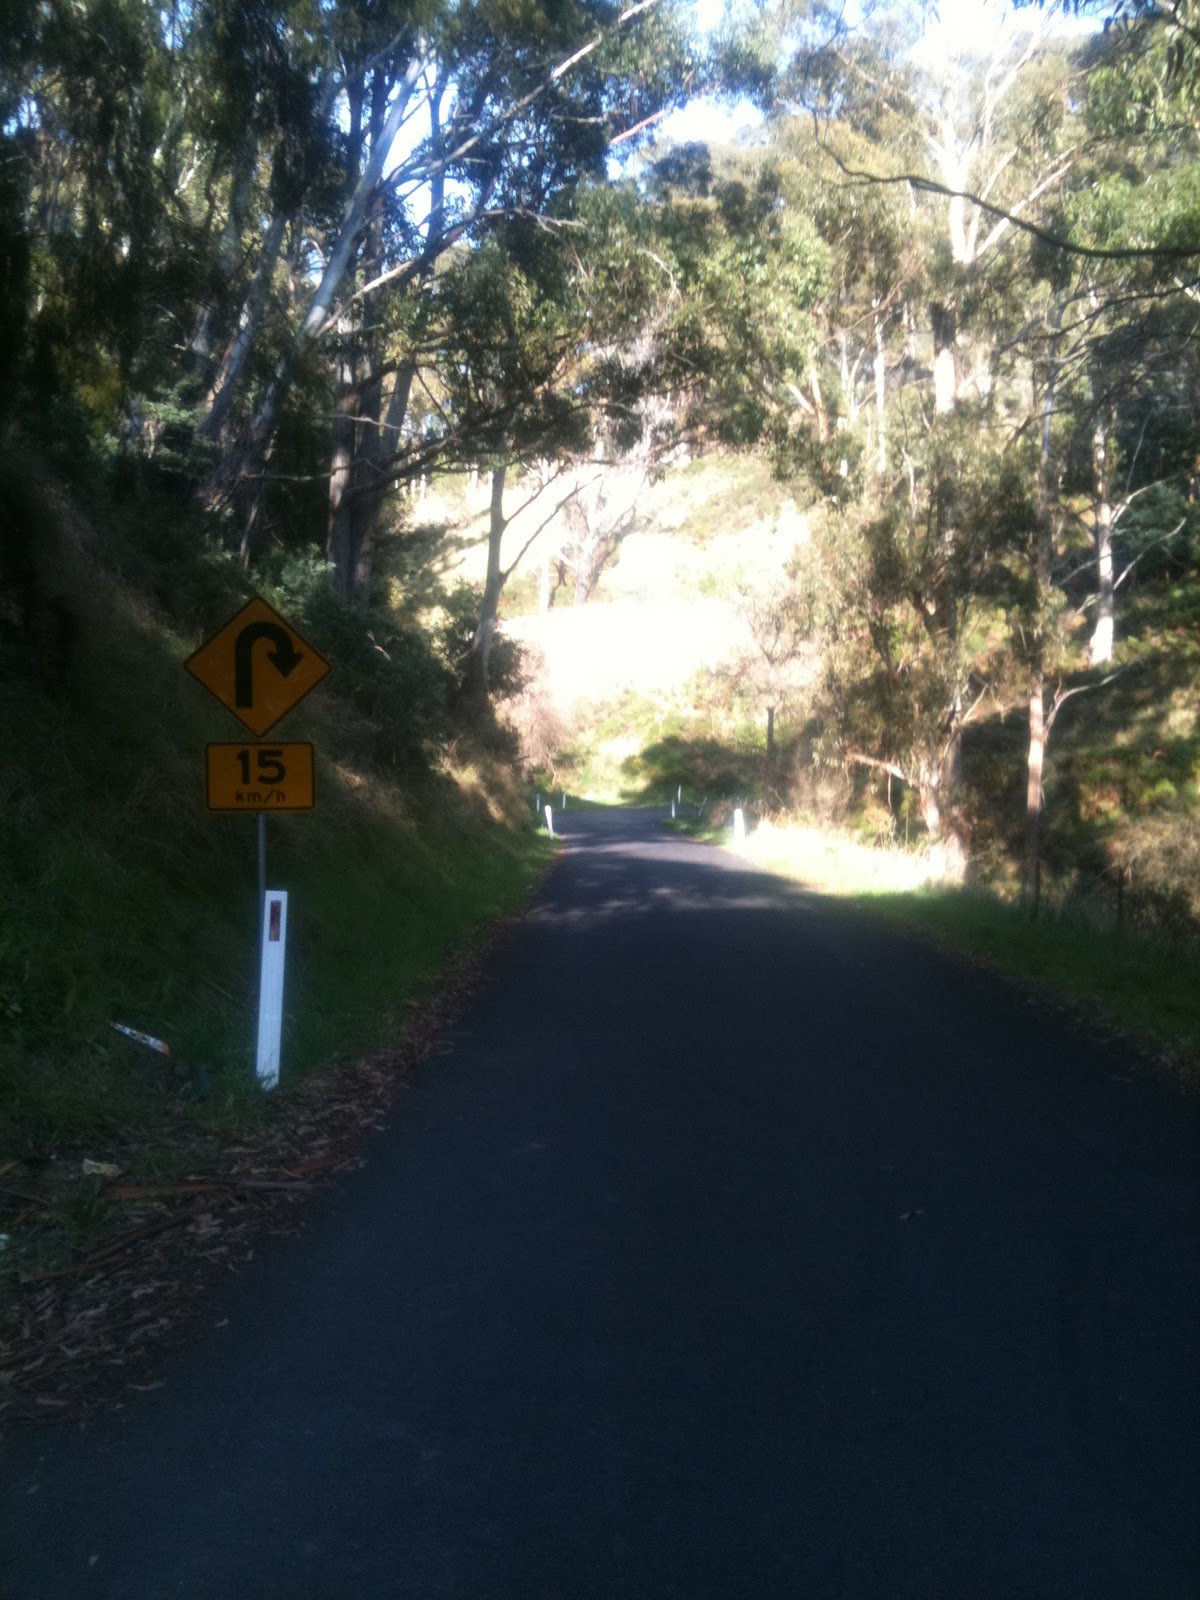
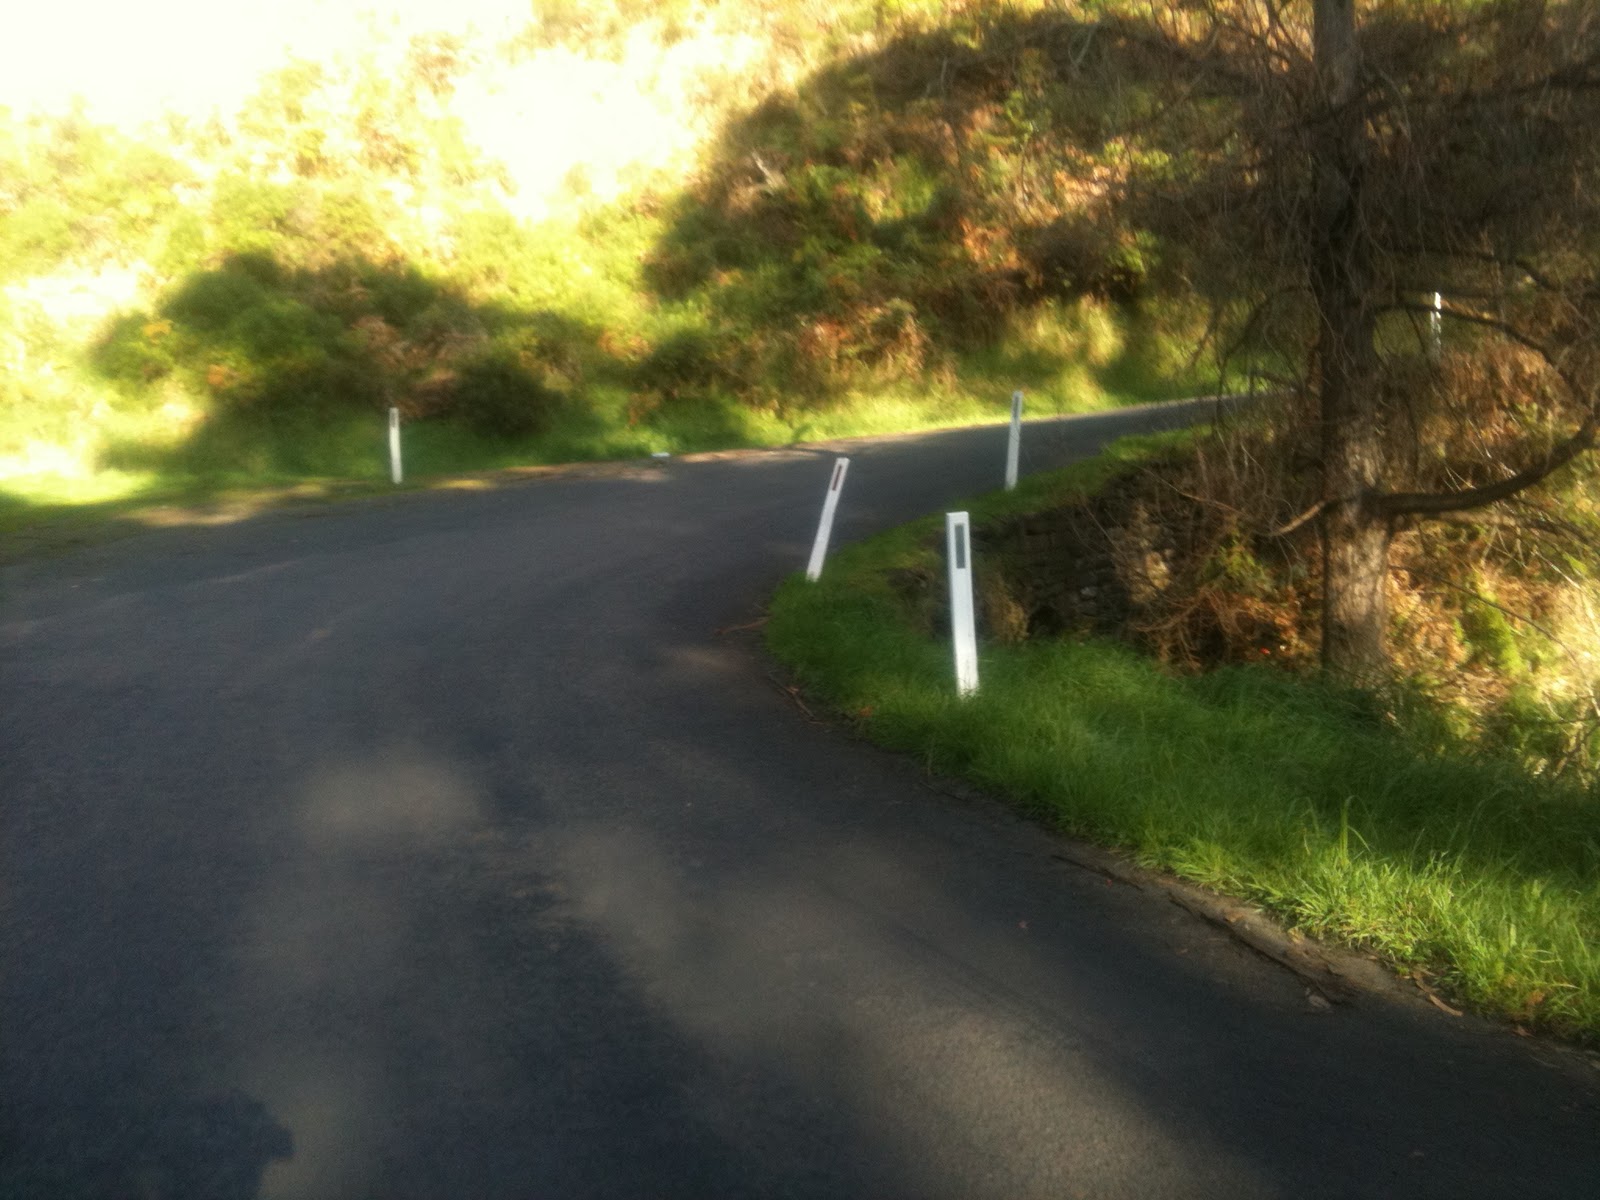
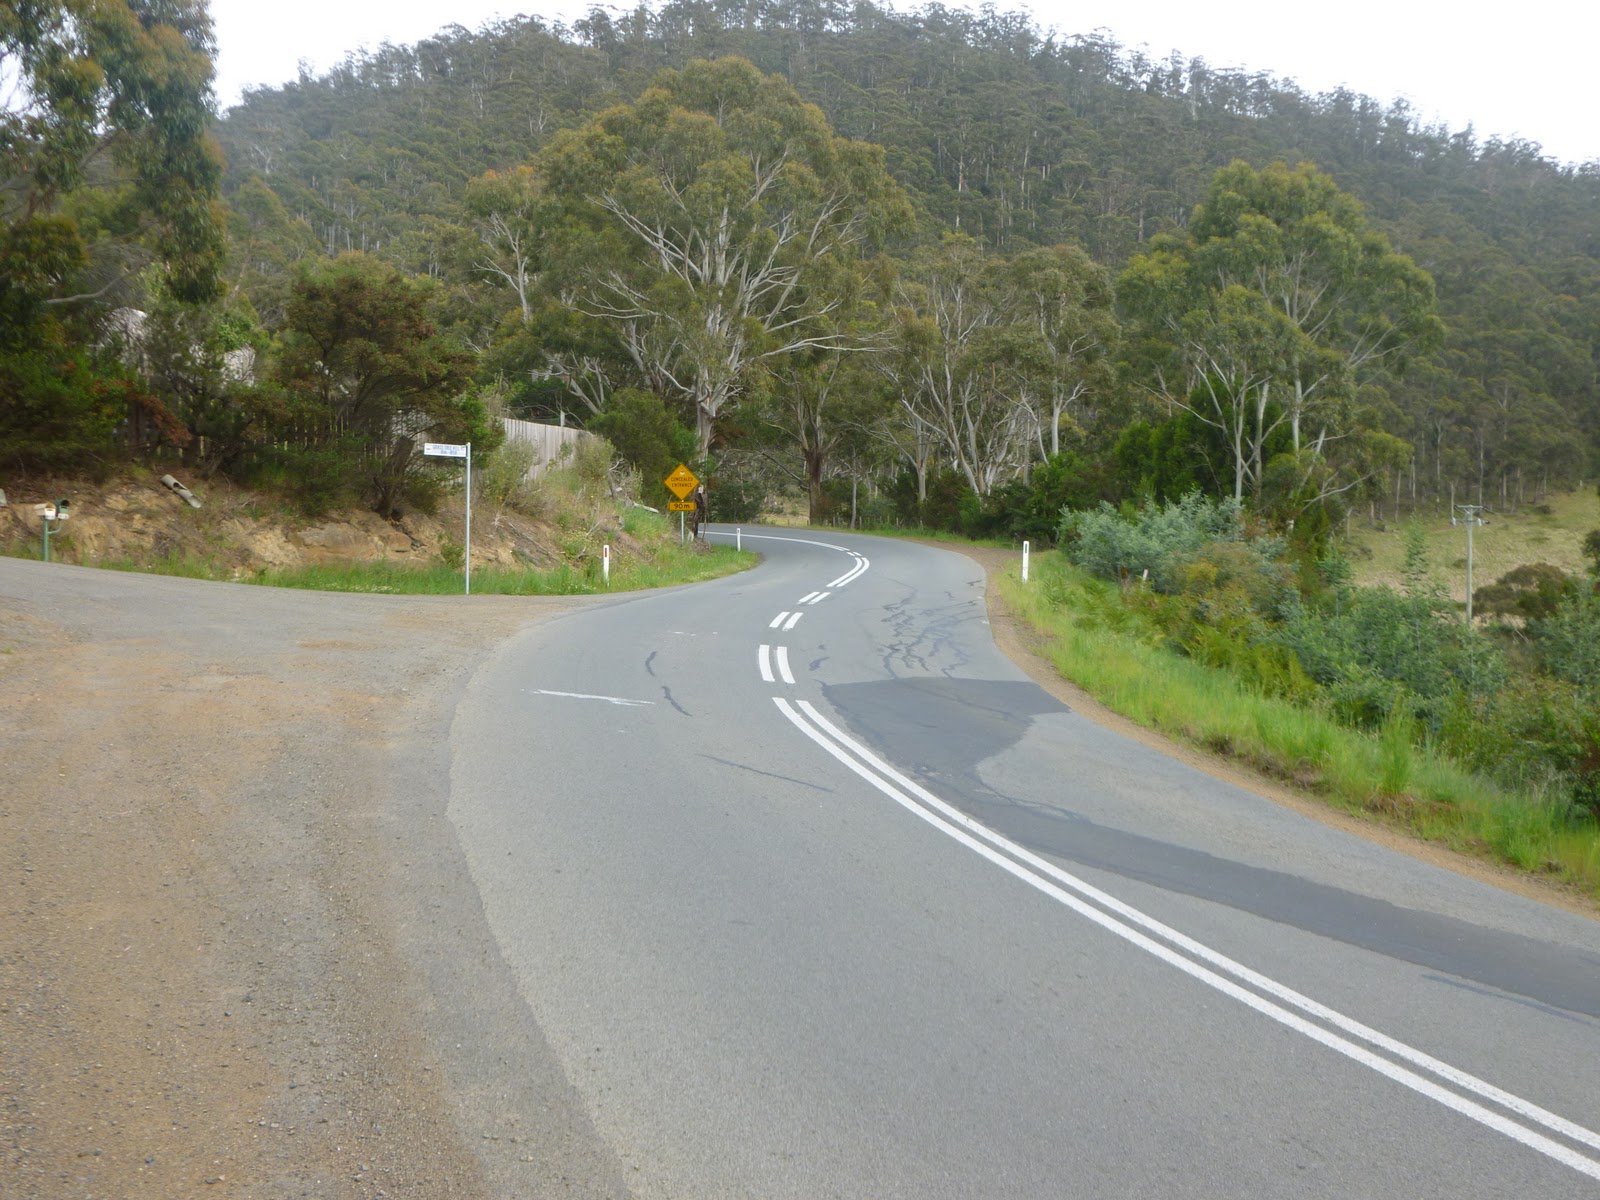
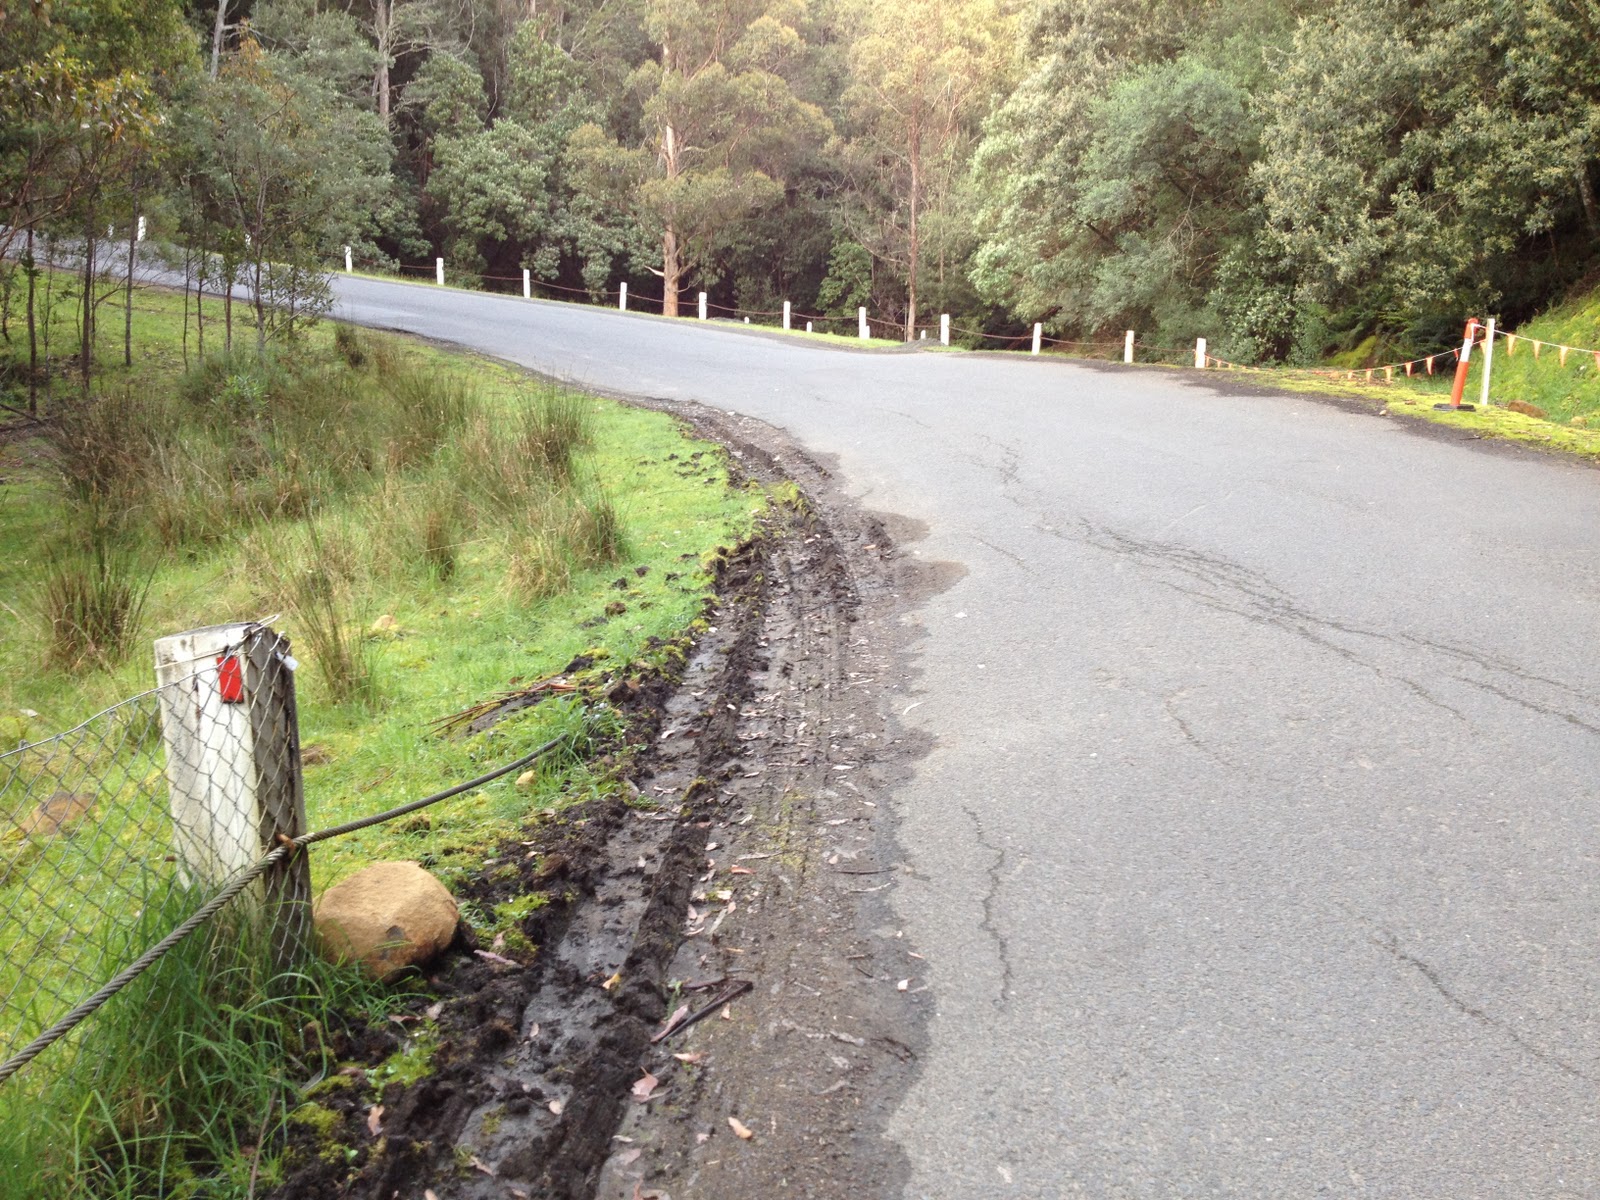
Turn right here to continue the climb

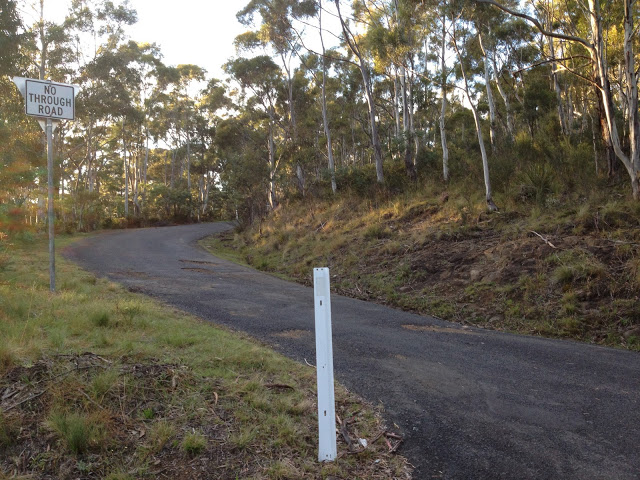
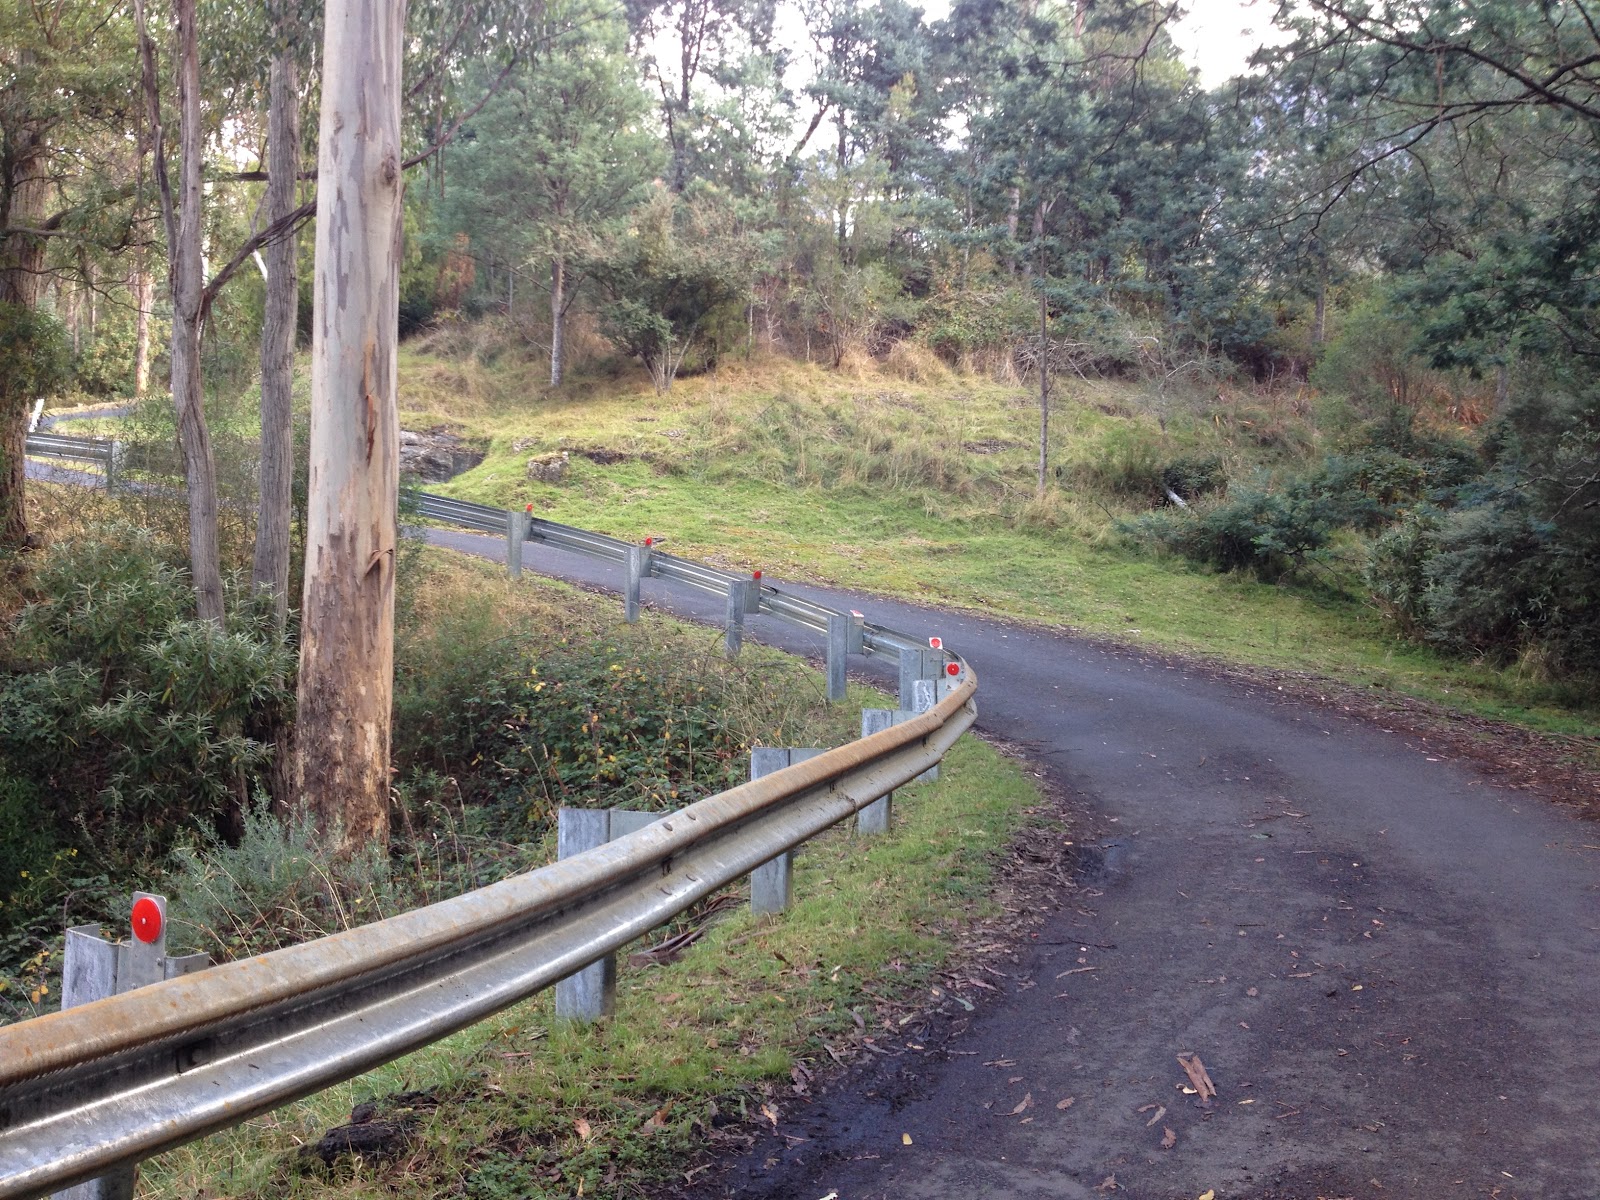
And turn left up this little sweet road

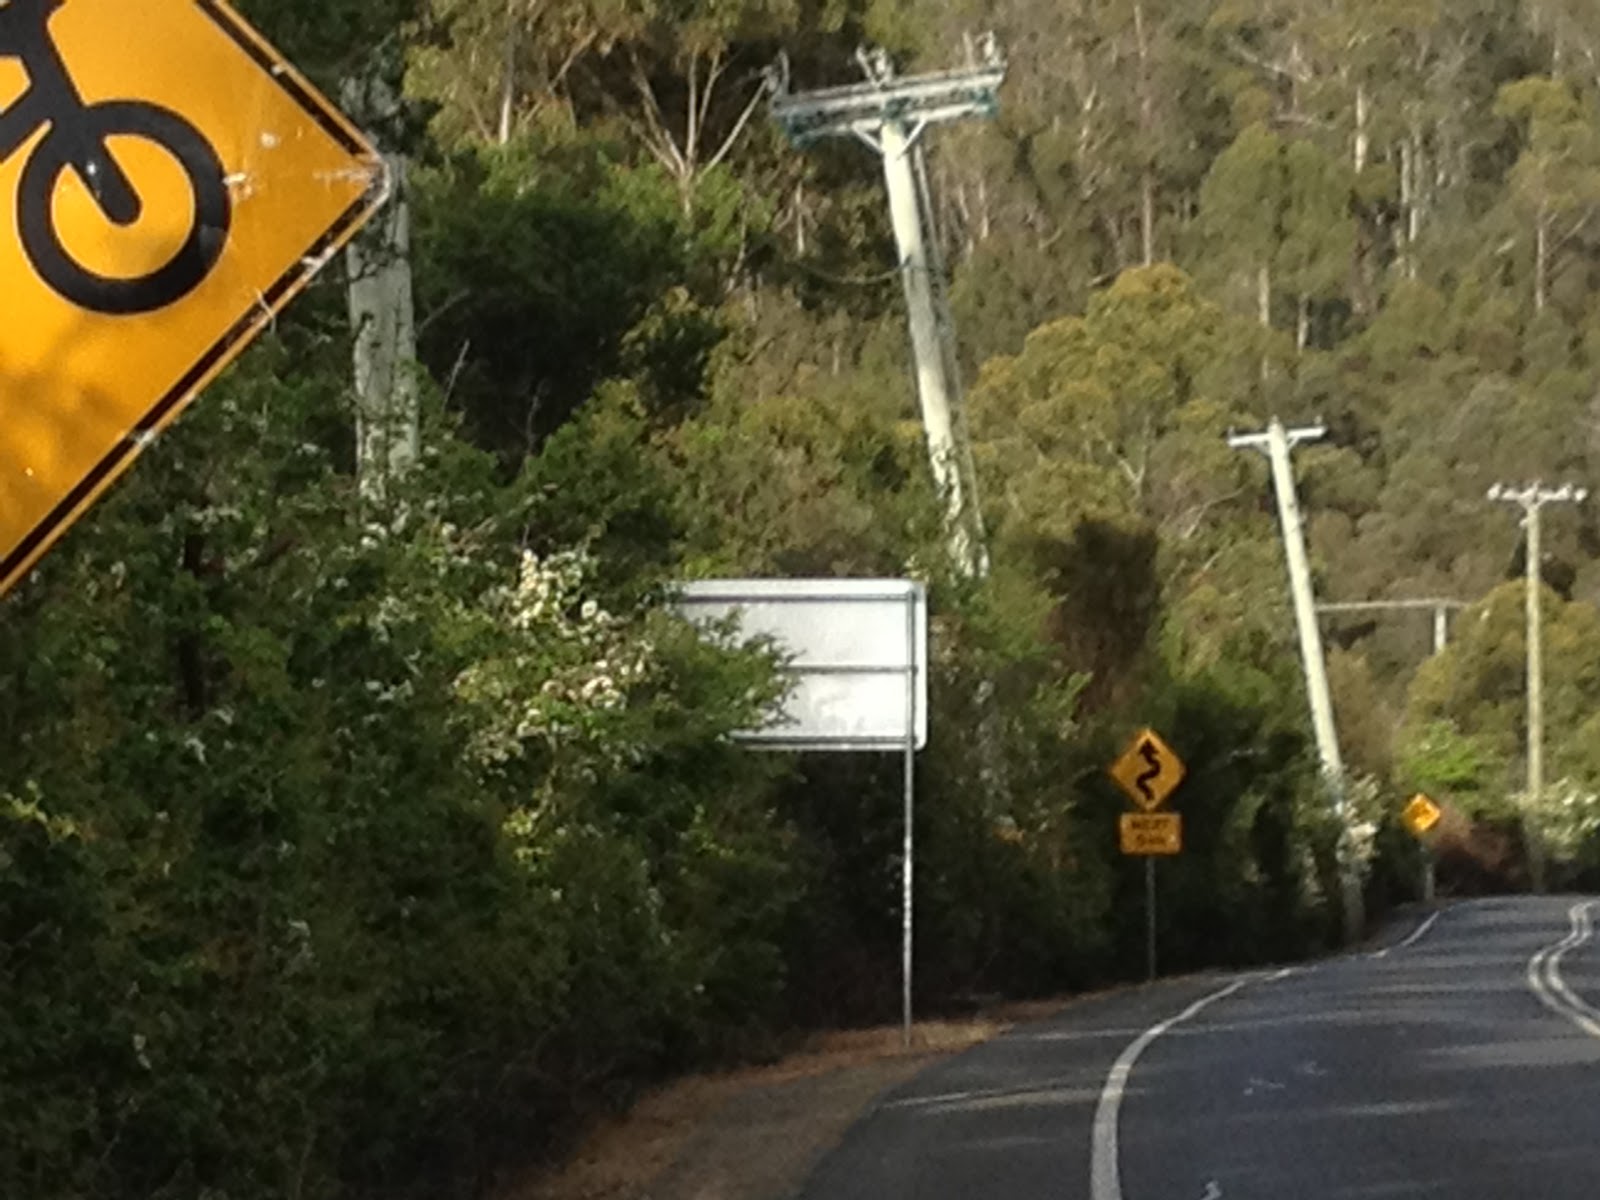
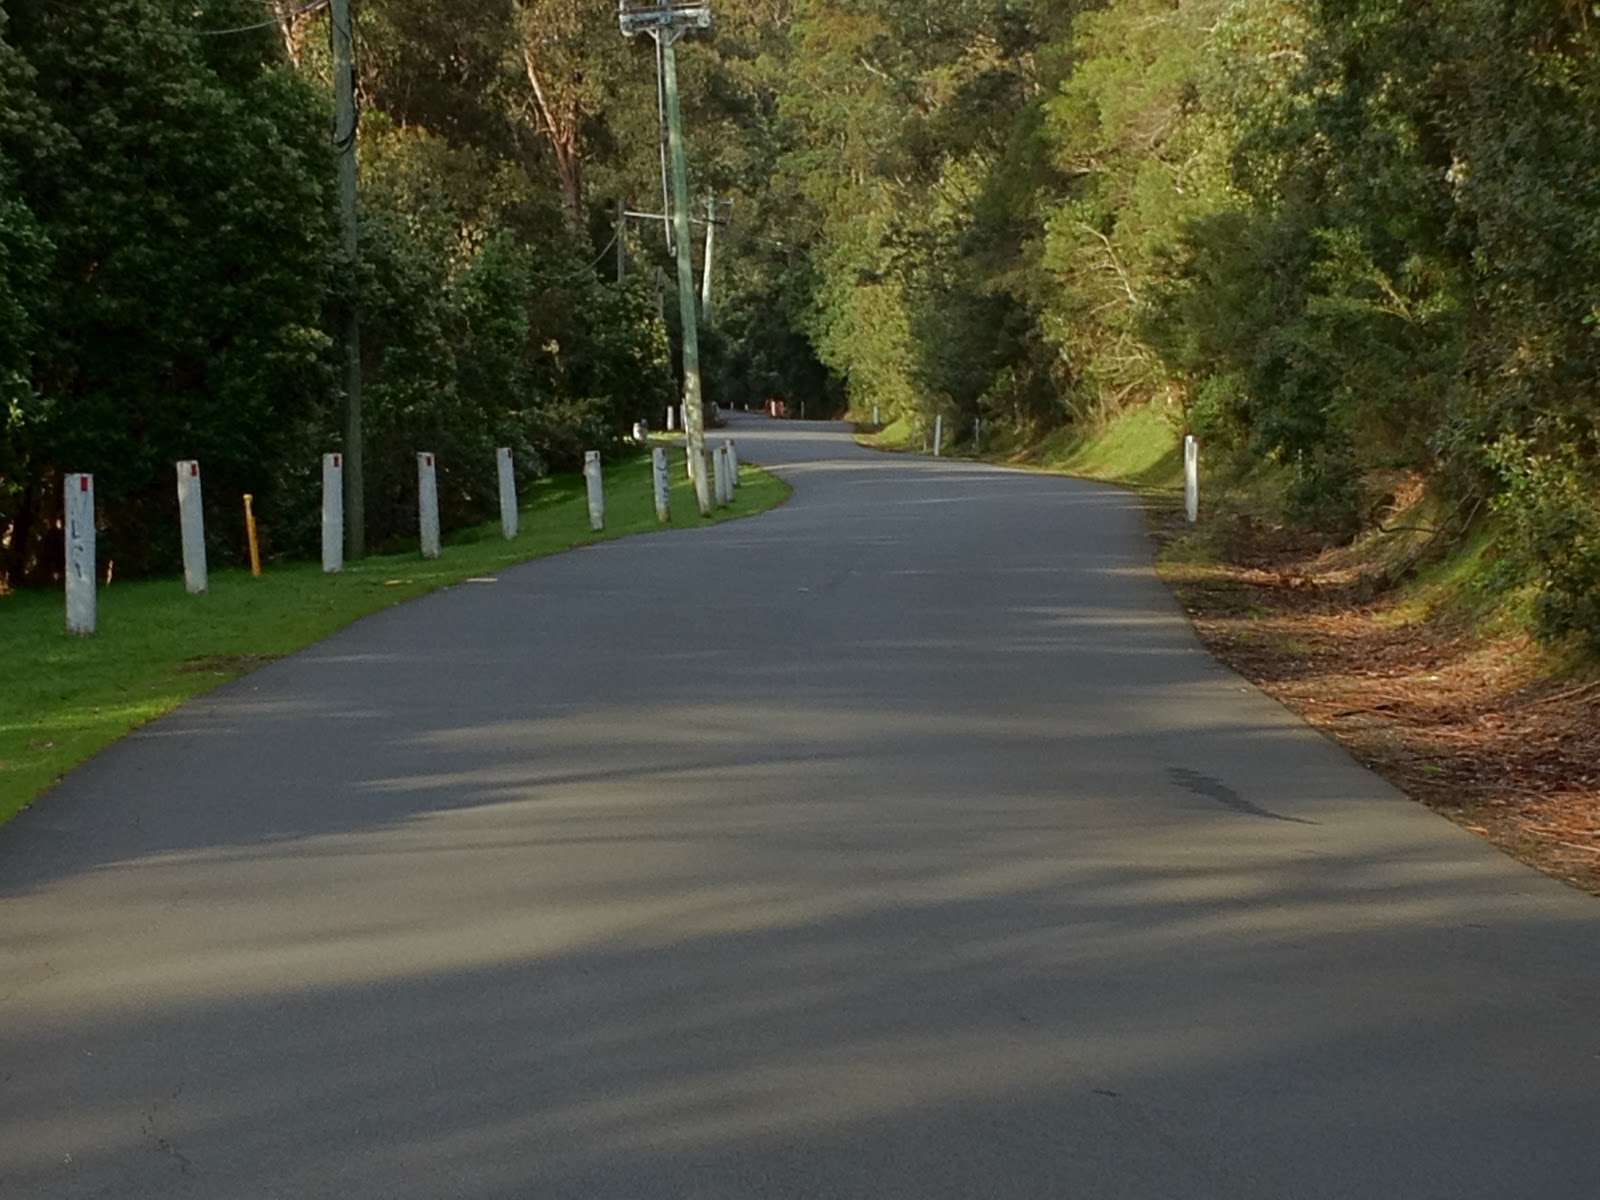
Your guarantee of a car-free climb

Oof, that’s steep.

Holes in the road give you an excuse to weave!

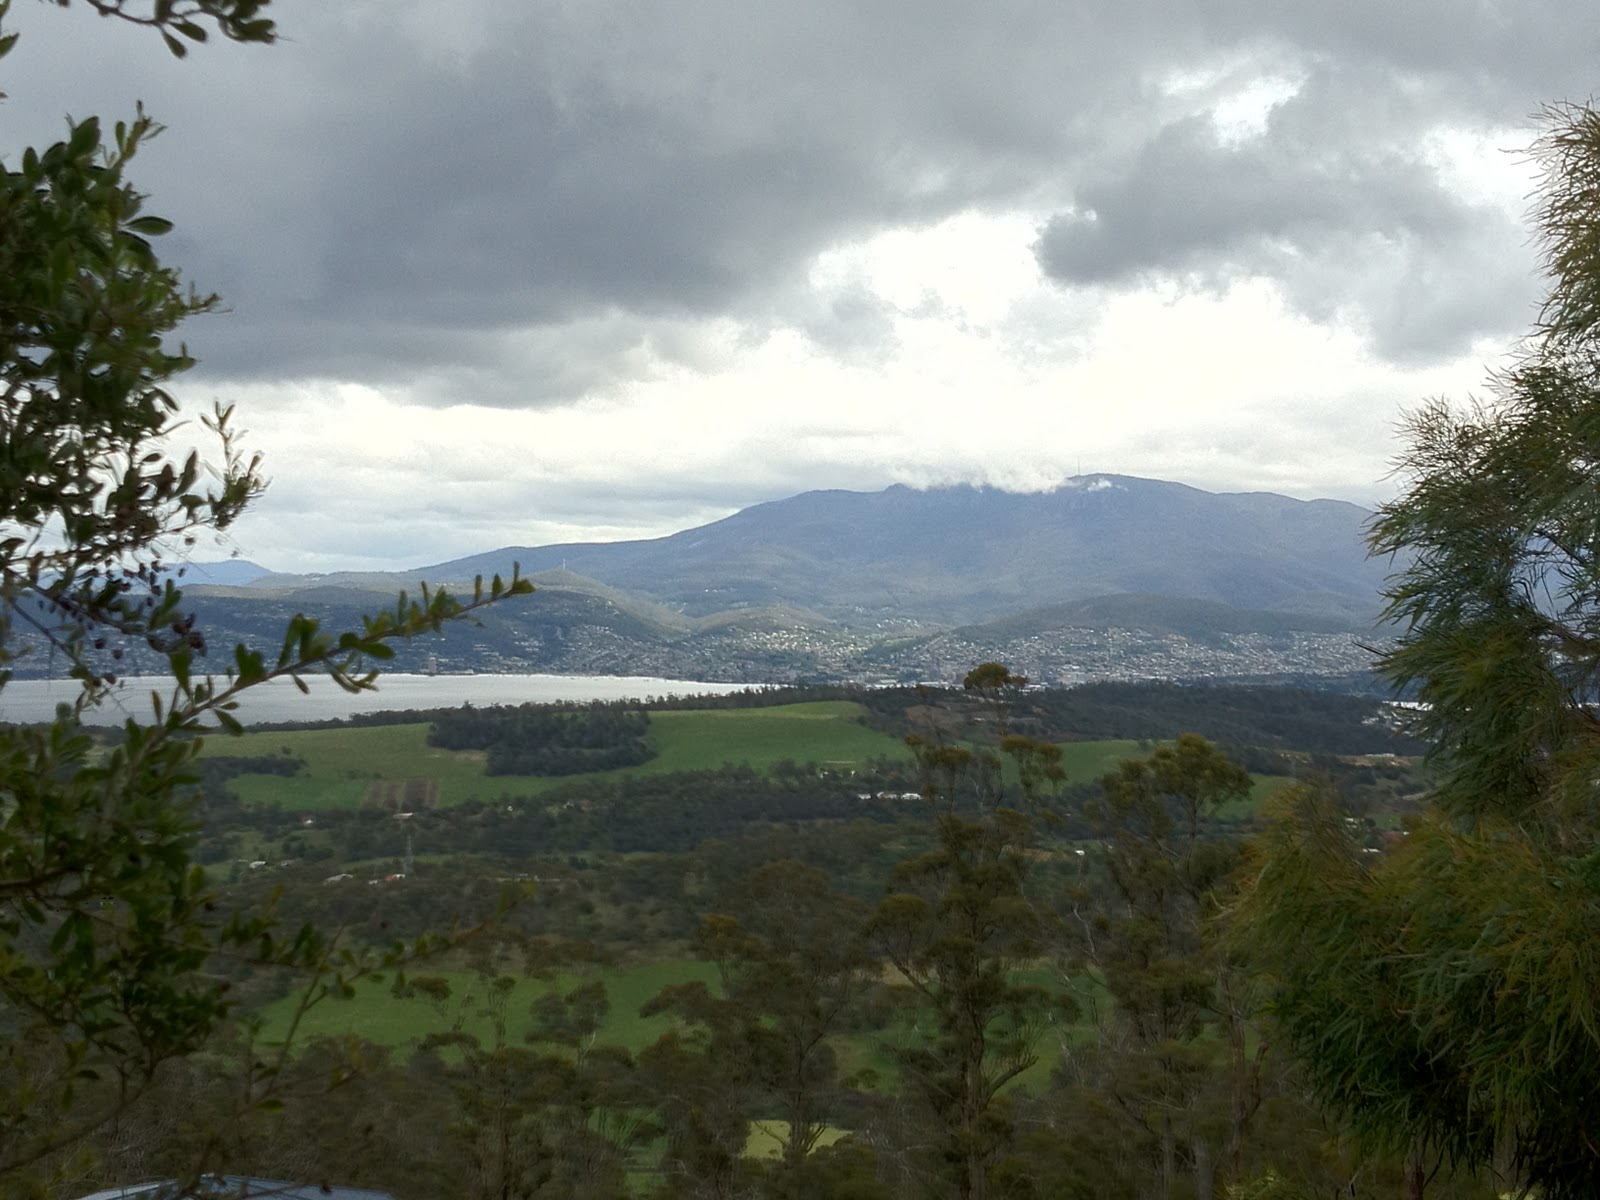
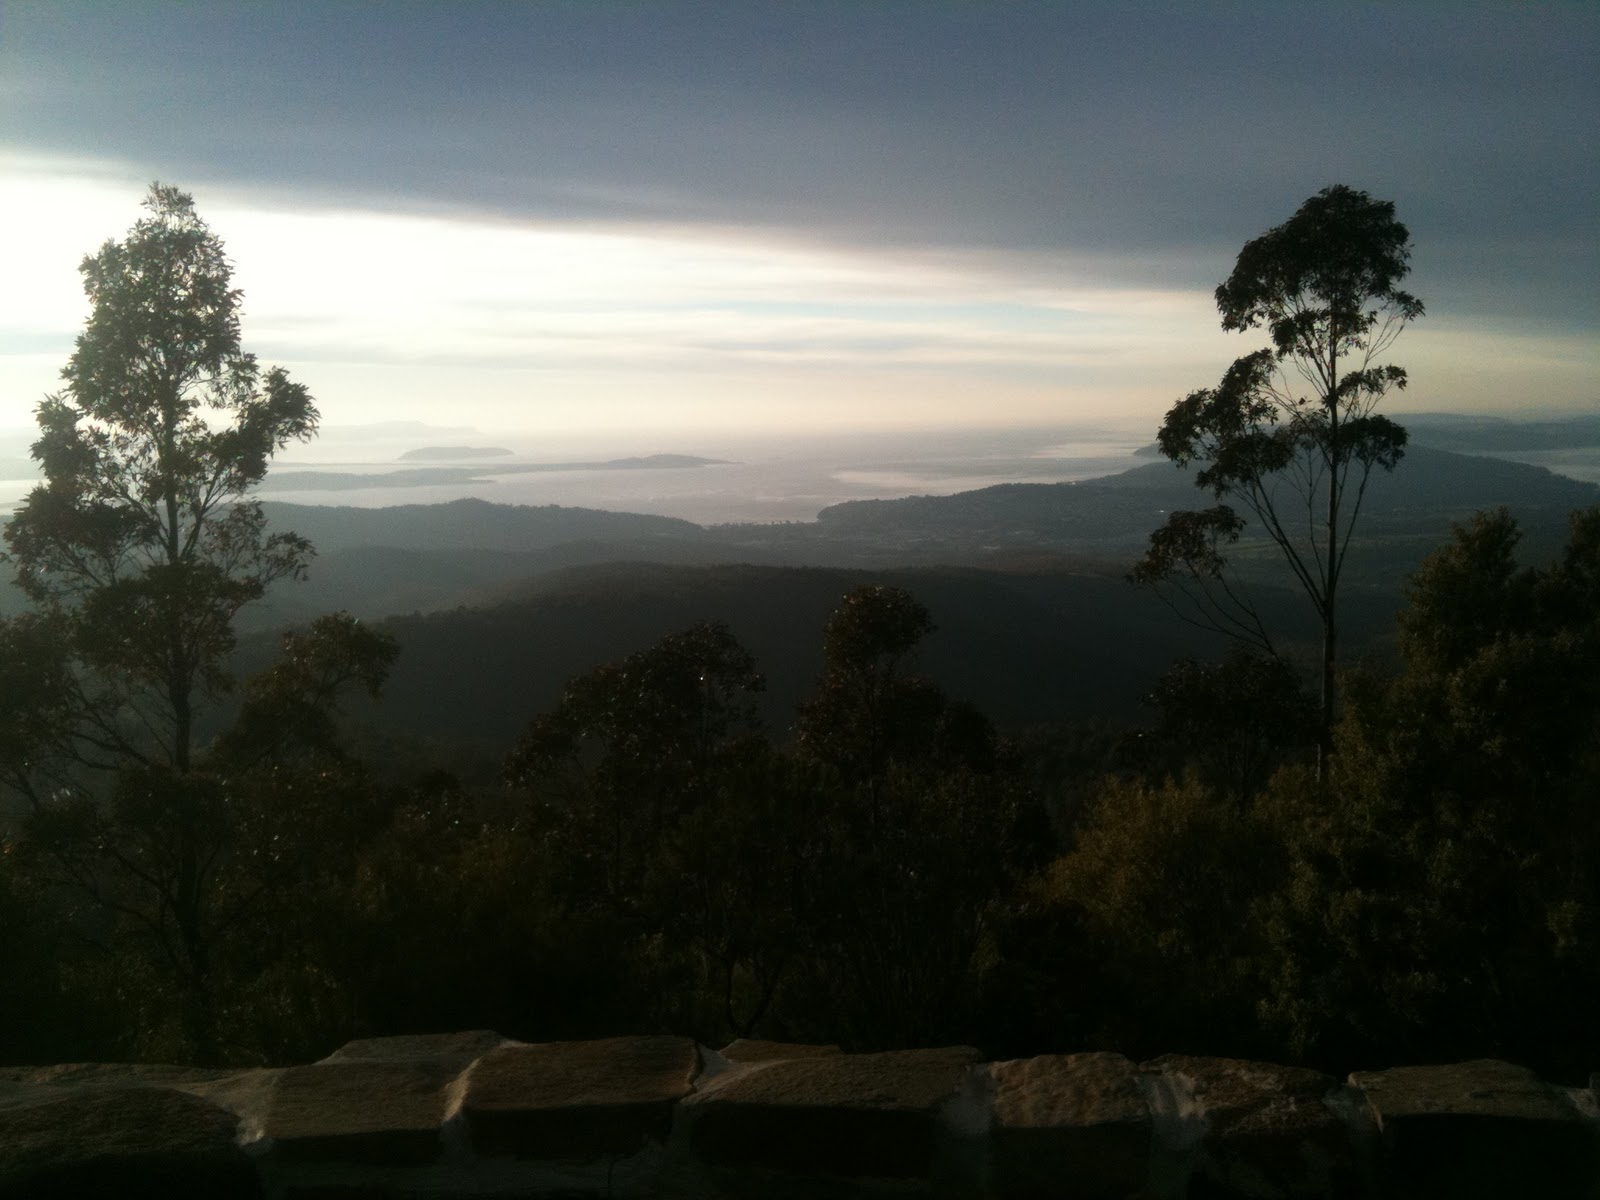
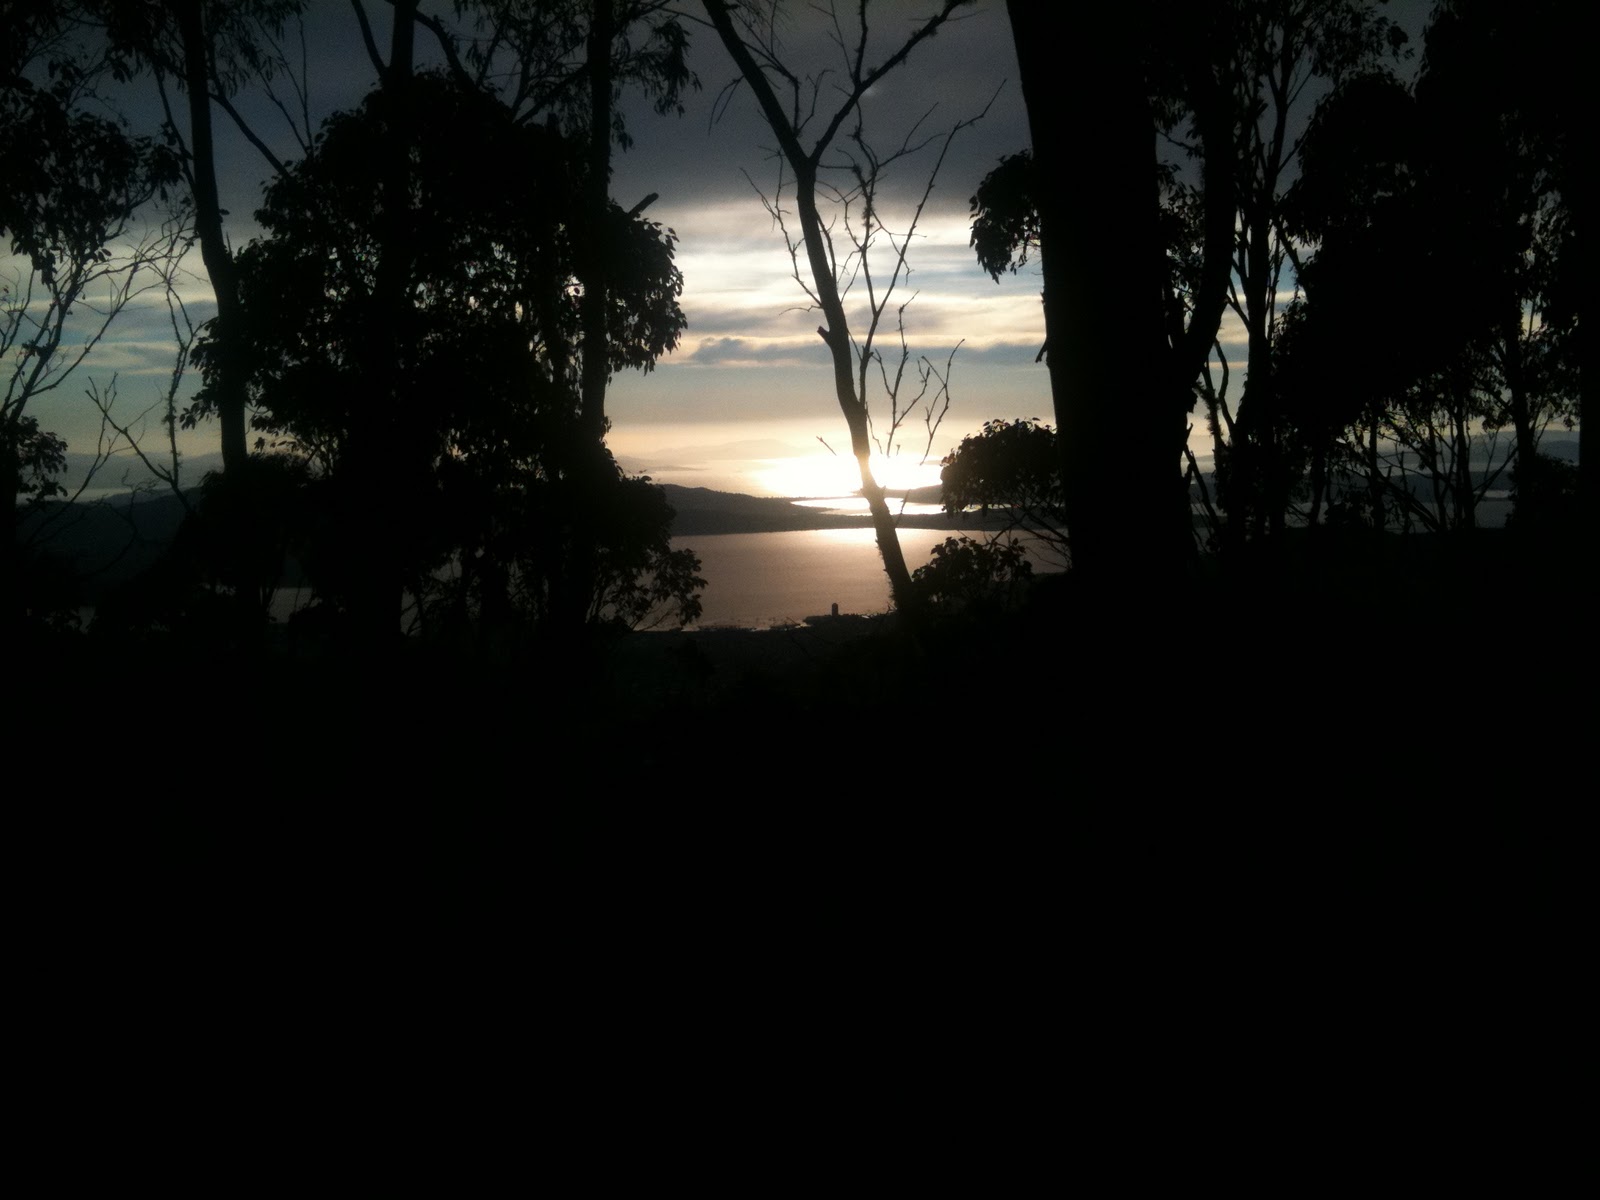
Another view you won’t be seeing

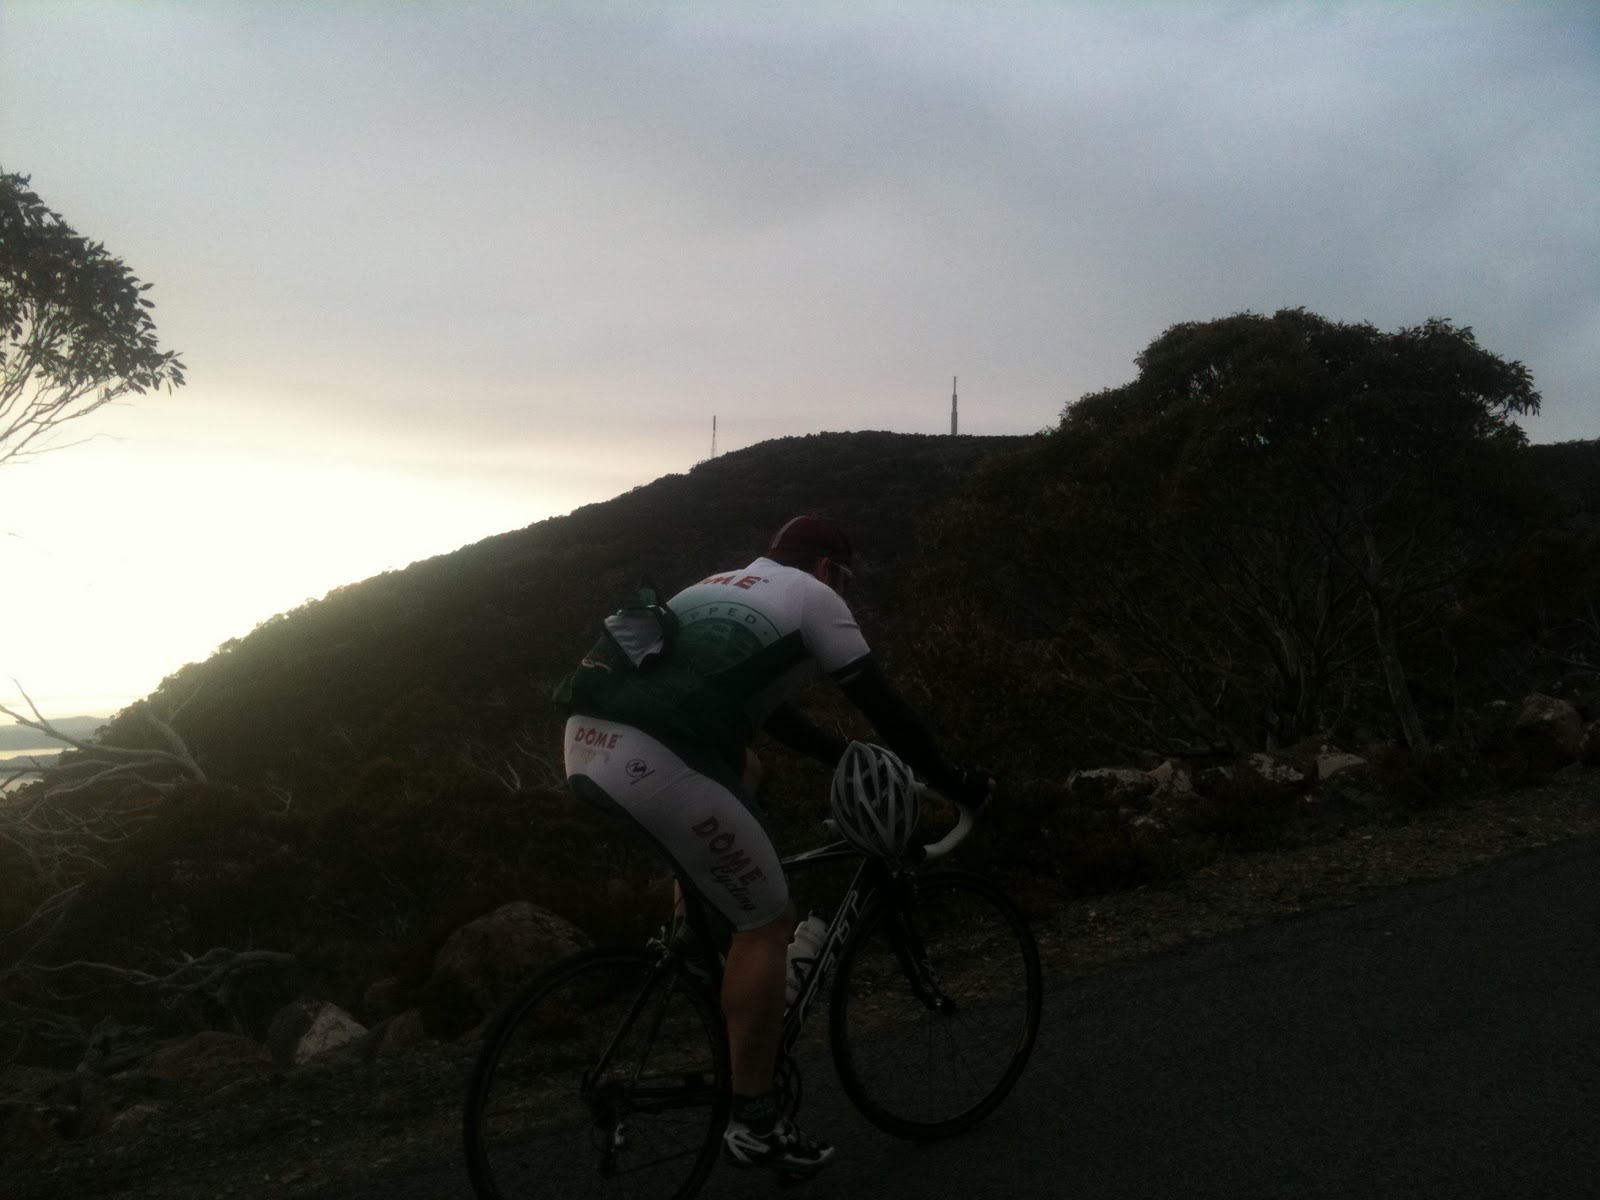
Does the climb ever end?

The debilitating final straight

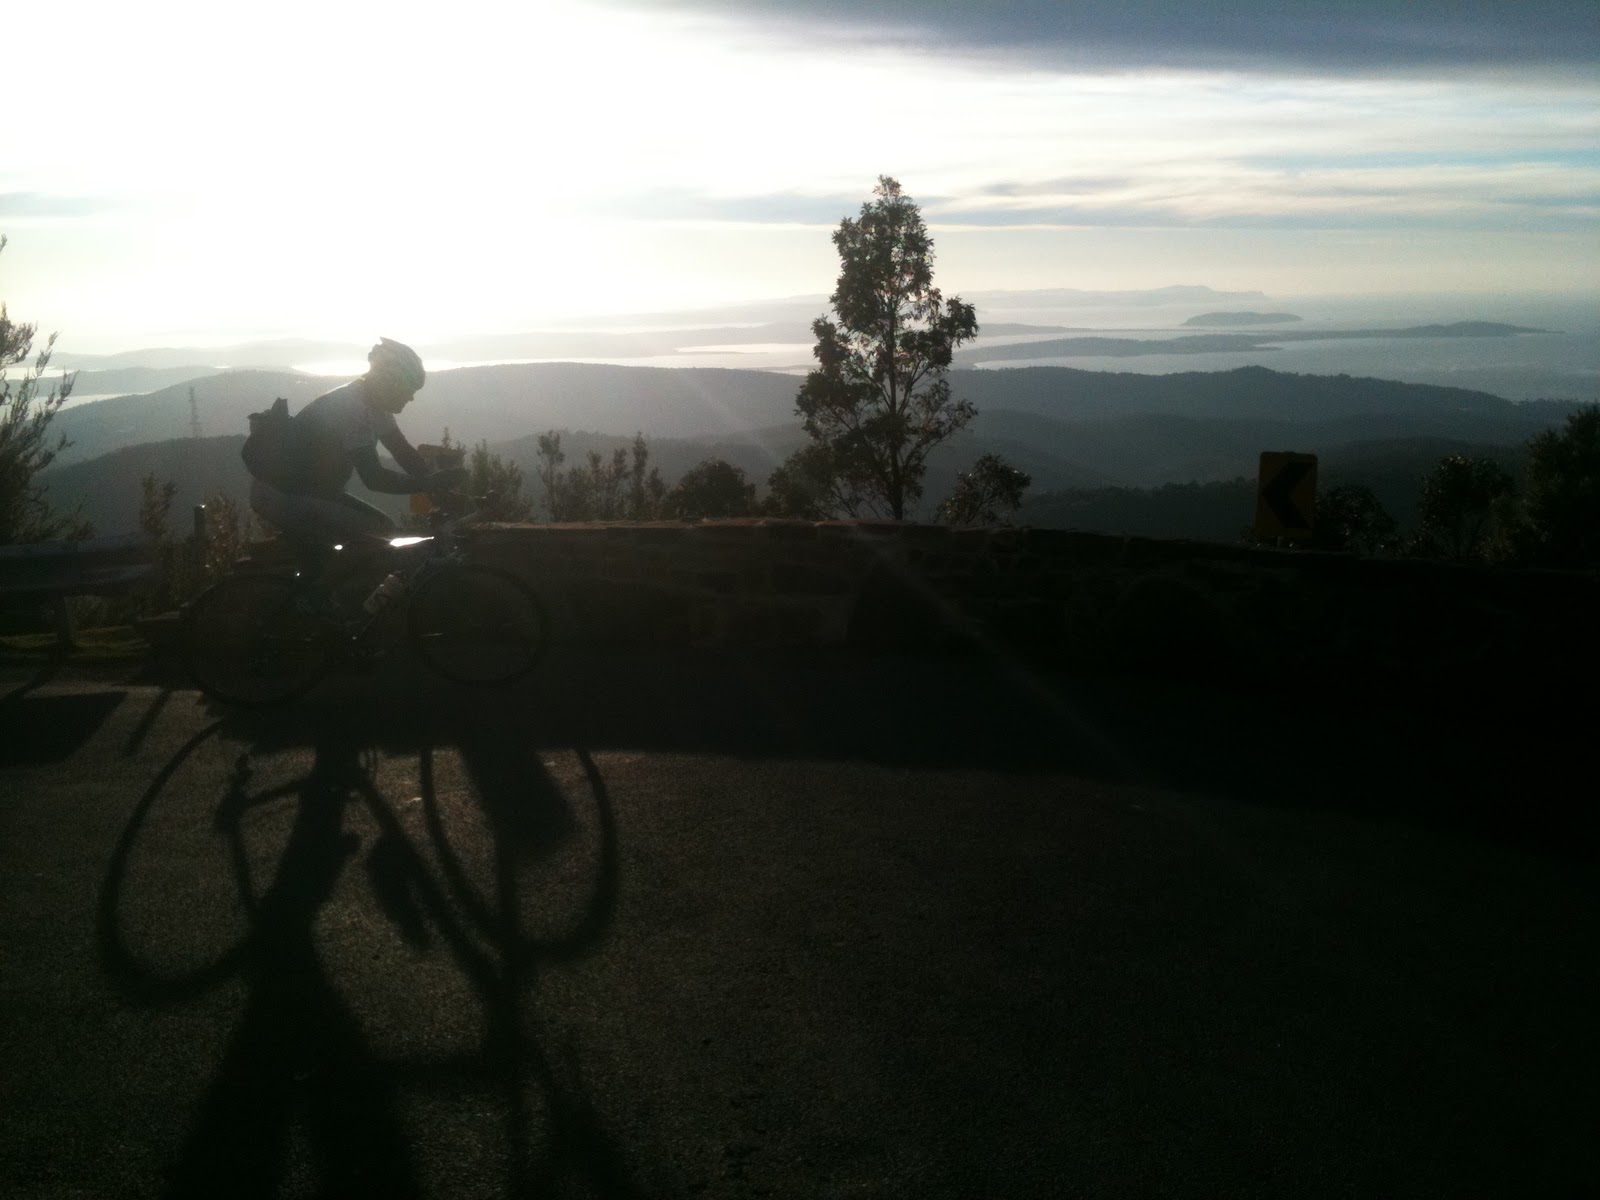
Round the corner, another view

Yes, it’s a steep corner

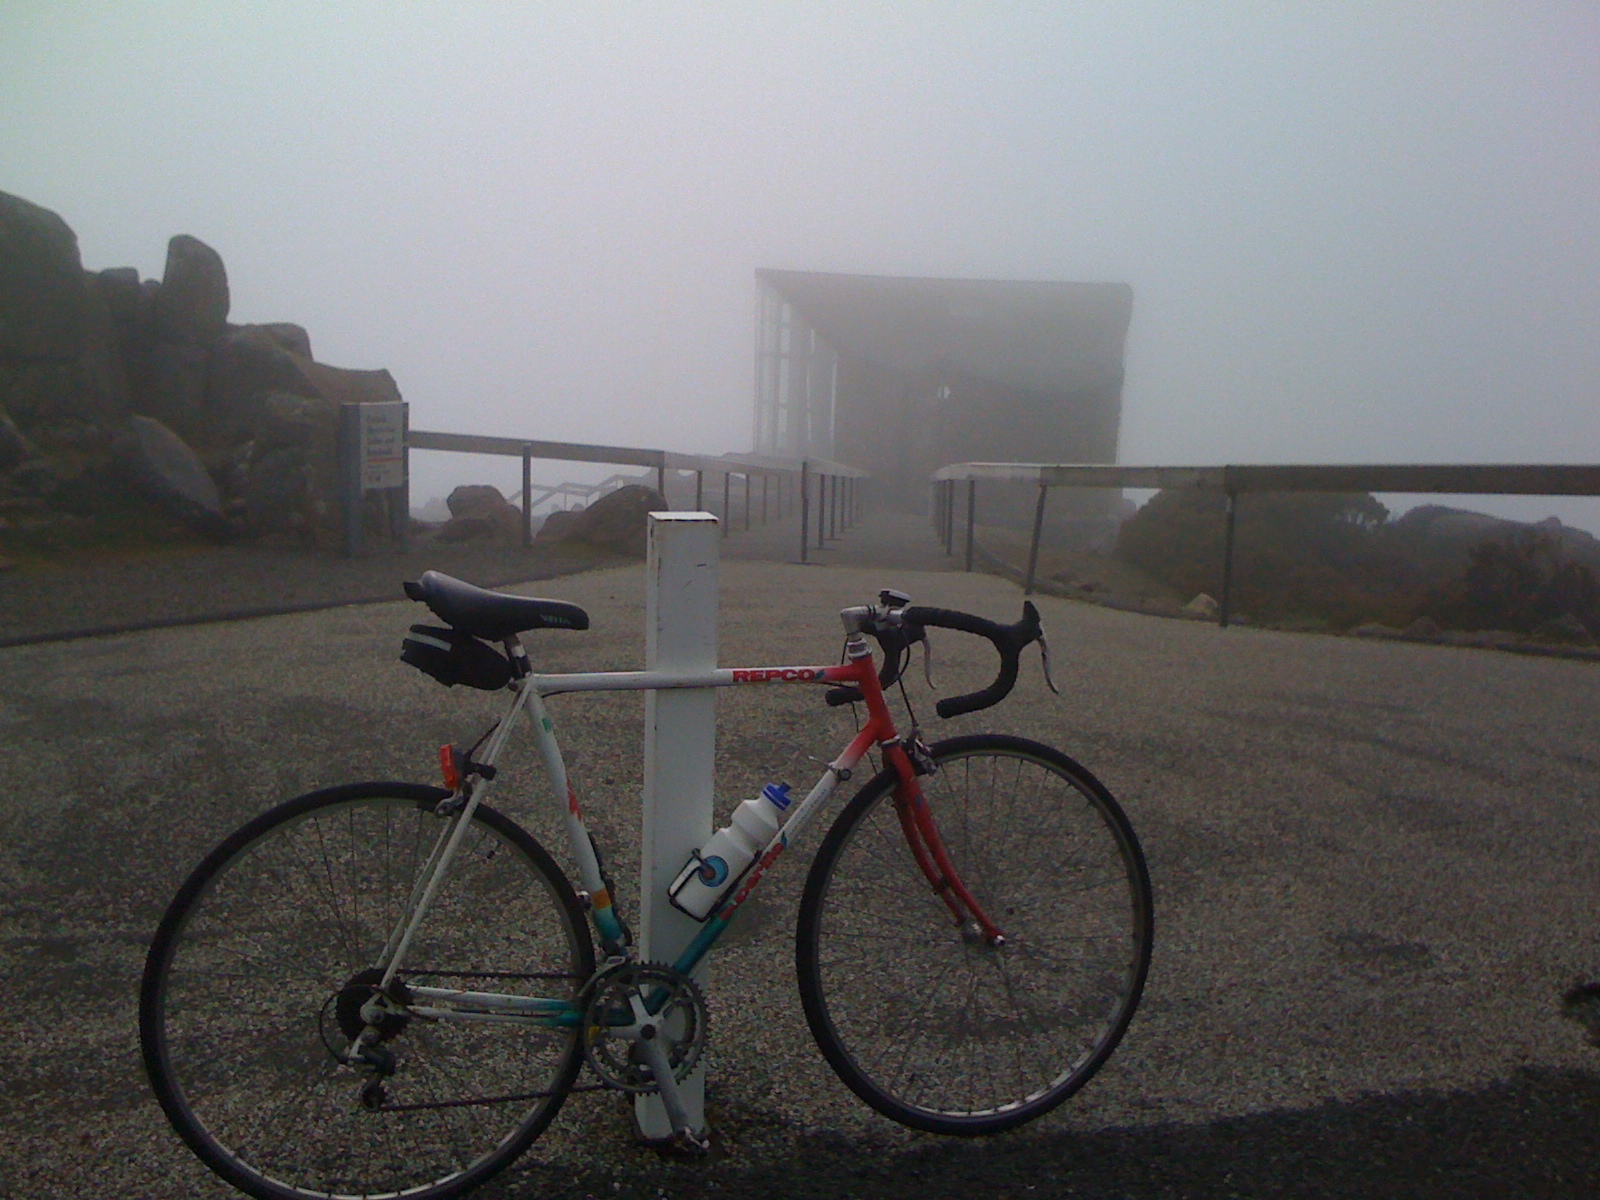
And here’s what you were aiming for!

Other posts in this series:

Hobart’s Top 10 Climbs, #3: Bonnet Hill

Iain climbs Bonnet on casual coffee run Friday

This is the eighth post of a series on some of the great road cycling climbs around Hobart. You can be notified of new posts in the series by following me on Twitter.  What am I doing sitting at the computer when I could be out on one of these climbs?

Earlier in the series:

There is little doubt in my mind that Bonnet Hill is the most popular climb in Hobart. Bonnet Hill lies on the Channel Highway between Hobart and Kingston, just south of Taroona, and is the usual commuting route for most riders from Kingston. It is also very popular in bunch rides. In this blog, I’ll look at both the Northern and the Southern approaches.

Bonnet Hill is not a difficult climb, although the Southern approach is somewhat steeper and longer than the Northern side.

The defining landmark of the Northern approach is the 150 year old Shot Tower, for a time the tallest building in the southern hemisphere. The builder of the Shot Tower practiced by making a small tower on his house first, before constructing the full tower — all without any formal learning on how to do it. The Shot Tower slides into view shortly after leaving the last houses of Taroona behind. There is some dissension on where the climb “officially” starts for competitive purposes, but most riders I know mark the start when they pass the southern end of the Taroona Hotel.

The road winds about before reaching the Shot Tower — this is the “hardest” bit of the climb, and still not hard. Soon after passing the Shot Tower you’ll come across a neglected bike lane — it’s fine on a mountain bike but if you are on thin road tyres you’ll probably prefer to stick to the car lane. From there it’s an easy climb to the summit. Unless you are trying to do it at 30 km/h!

The Southern approach starts with a steep 14% pinch called “Golf Course Corner”. It doesn’t last long, but it does take the wind out of your sails! From there, the climb continues at a much more reasonable gradient, with some great views over Storm Bay on your right. It is a little harder than the Northern approach, but it’s still not a huge climb.

I find that both sides of the climb can be done without much difficulty in the big ring, with an average gradient of less than 5% in both cases. Being a popular climb, there are lots of riders competing for KOM honours; check the Strava links below to see if the medal is within your reach!

The only issue with this climb is that there can be a fair amount of traffic at some times of day. There are no overtaking zones on either side of the hill, and the road is quite narrow. However, as the speed limit is 60 km/h, and there are plenty of places with enough visibility to safely pass, this does not typically pose a big problem; a little courtesy and awareness go a long way.  There have been noises about constructing proper bike lanes on the hill, but no traction so far.

Your challenge for this climb: I’ll give you two achievable options: ride both sides in the big ring, or ride the Taroona side no hands.

Next up, my bête noire

Bonnet Hill (North)
Distance 2.4km
Category 4
Elevation 100m
Gradient 4.2%
Maximum Gradient 7%
Time from city 20 minutes
Traffic medium-high
Strava http://app.strava.com/segments/629724

How to get to the climb: Follow Sandy Bay Road south through Taroona.

Bonnet Hill (South)
Distance 3.1km
Category 4
Elevation 153m
Gradient 4.9%
Maximum Gradient 15%
Time from city 35 minutes
Traffic medium-high
Strava http://app.strava.com/segments/629725

How to get to the climb: Ride the Northern approach, then down the Southern side…

The lower slopes of Bonnet hill are worth smiling about

Just before the Shot Tower

I counted something like 12 bicycle warning signs on Bonnet Hill

The shot tower comes into view

Beware of buses and cars towing boats

Ancient culverts and retaining walls

The bike lane on Bonnet hill

Lots of cyclists on Bonnet Hill

Getting near the top

The top is in sight

Many stop at the top to ‘discuss’ their exploits

Descending on the Kingston side

The 15% Golf Course Corner is the start of the Kingston approach

Golf Course Corner

Rob on Bonnet Hill (Kingston side)

Bonnet Hill

More riders out on the climb

The final ‘straight’ has its own segment on Strava

Other posts in this series:

Hobart’s Top 10 Climbs, #4: Collinsvale Rd

Collinsvale Rd: Devoid of traffic, narrow and windy – fantastic climbing on a bike!

This is the seventh post of a series on some of the great road cycling climbs around Hobart. You can be notified of new posts in the series by following me on Twitter.  If you’ve climbed all the climbs I’ve described so far, you’ll have climbed a total of 1537m.  Lots more climbing to come yet!

Earlier in the series:

Whenever I look at a map and see an old road and a new road heading up a hill, I know there’s a great chance I’ll find a beautiful climb on a quiet, winding road. That’s the case with Old Willunga in South Australia and it’s certainly the case with this climb to Collinsvale. The climb starts at the beginning of Collinsvale Rd, signposted as an alternative route. The road passes a handful of houses in the suburban fringe before turning on the charm in earnest.

With tight hairpins, old ruins, ancient retaining walls and fern-covered culverts, every metre of this climb is fantastic. When I last rode the climb and took the photos for this post, I saw only one car.

As you come over the crest of the climb, you are greeted with a wonderful panorama of Collinsvale, surrounded by mountains such as Collins Cap and Collins Bonnet.

After you reach the summit, continue down the hill on the far side, and turn left at the T junction into Collinsvale to find more great climbs, or turn right for a rip-roaring descent on the new road through Glenlusk.

I think this is my new favourite climb! And your challenge, should you choose to accept it is to ride the complete climb and descent twice in an hour.

In my next post, I review a climb I am pretty familiar with as I ride it on average 6 times a week…

Collinsvale Rd
Distance 3.5km
Category 3
Elevation 287m
Gradient 8.1%
Maximum Gradient 15%
Time from city 40 minutes
Traffic pretty much nonexistent
Strava http://app.strava.com/segments/632895

How to get to the climb: Take the intercity cycleway North. After passing through Glenorchy, turn left on Riverway Rd, turn right onto Main Rd, left onto Mary’s Hope Rd (not a bad little climb itself), and left at the roundabout onto Berriedale Rd. The climb starts 1km down the road.

Take the road less travelled by — the left fork

4km of pure joy or pure agony, depending on your point of view

Just a few houses to get past at the base of the climb

And then the climb gets into the bush

The scenery varies as you climb … with occasional houses …

… and tree lined paddocks …

… to ancient ruins (sorry for the poor photo quality)

Winding over ancient culverts

No, it’s not the summit yet!

The climb goes up the ridge

Riding past small farms

The view from the top into Collinsvale

Other posts in this series:

Hobart’s Top 10 Climbs, #5: Grasstree Hill

Iain cruising on Grasstree Hill

This is the sixth post of a series on some of the great road cycling climbs around Hobart. You can be notified of new posts in the series by following me on Twitter.  How many of these climbs have you done?

Earlier in the series:

Grasstree Hill is located on the Eastern shore of the Derwent River, behind the suburb of Risdon Vale. It is a category 3 climb, with a smooth and constant 5% gradient which is ideal for a tempo climb. The road surface is in good condition and is quite smooth, unlike many climbs in Hobart. The climb forms part of a popular cycling route to Richmond in the Coal Valley; many riders do a loop over Grasstree to Richmond and return south over Tunnel Hill or north via Brighton.

The western side of the climb is sheltered from many of the winds of Hobart, and hence is a pleasant climb at almost any time of the year. It gets sun quite early despite being on the western side, and is thus a great route for an early morning loop before work.

The eastern side has a bit more variance and is considerably more exposed to wind. The corners are a bit sharper, the road feels a little less smooth, and the gradient is a little less constant. Even without spectacular views that are a feature of nearly every other climb in Hobart, it is still an enjoyable ascent.

At times there can be potential for conflict with cars as some drivers in this area are not very considerate towards cyclists, so be aware of traffic. Grasstree Hill is also very popular with motorcyclists, some of whom travel considerably above the 60 km/h speed limit.

Both sides of the hill make for a great descent, not overly fast at 5%, but with little need to touch the brakes at almost any point.

Your Challenge: Ride each side of the climb 3 times in a row. Improve your time on each attempt. (This will require a couple of hours)

Next, I’ll talk about a climb I recently rediscovered that could be my new favourite climb…

Grasstree Hill (North approach)
Distance 4km
Category 3
Elevation 197m
Gradient 4.9%
Maximum Gradient 7%
Time from city 60 minutes
Traffic low-medium
Strava http://app.strava.com/segments/627923

How to get to the climb: Ride to, and up the South approach, then down the other side…

Grasstree Hill (South approach)
Distance 5.3km
Category 3
Elevation 219m
Gradient 5.3%
Maximum Gradient 8%
Time from city 40 minutes
Traffic low-medium
Strava http://app.strava.com/segments/622786

How to get to the climb: From the Cenotaph, ride north on the bike track until you reach Elwick Rd. Turn right, ride to the end, then dogleg right onto Goodwood Rd.  Follow this road about 6.5 km to the base of the climb (straight through the roundabout)

Early morning climb with Iain

Iain isn’t sure if he should be riding or stopping

Lots of corners

Great road for a relaxed ride

Oops… how did a photo of me get into this blog?

The sheep watch suspiciously

Iain rides towards the summit

Summit just around the corner (southern approach)

Summit just ahead, northern approach (full power on)

A glimpse into Coal valley just past the summit

Fast descending, great curves.  Just don’t go over the roadside barriers

Roadside Shadows

Other posts in this series:

Hobart’s Top 10 Climbs, #6: Strickland Avenue

Strickland Ave: my favourite stretch of the climb, climbing towards Big Bend

This is the fifth post of a series on some of the great road cycling climbs around Hobart. You can be notified of new posts in the series by following me on Twitter.  No matter what you may think, this is the definitive list of climbs in Hobart. At least until someone else comes up with a better one!

Earlier in the series:

Strickland Avenue is one of Hobart’s best known climbs, winding its way through South Hobart and The Cascades into the foothills of Mount Wellington. It’s one of several approaches to Mount Wellington, and probably the most popular route to get there from Hobart by bike.

I ride Strickland Ave several times a week as it is part of one of my commute routes. Despite the familiarity, I still enjoy the climb and still find new scenery to look at each time I ride – unless I’m trying to beat my personal best time up the hill, in which case I really don’t see anything as I ride in a vortex of pain…

Strickland Avenue was the first part of the Team Time Trial route for Stage 1 of the 2011 Tour of Tasmania. The TTT then continued to the summit of Mt Wellington.

The climb starts at Cascade Brewery in South Hobart, a mere 10-15 minute ride from the city centre along Macquarie St. I break the ascent into 3 sections, with Hobart Rivulet crossings forming the divisions between the sections. The first section from Cascade Brewery to the bridge is wide and flowing and it is tempting to ride hard and fast along it, as the road is smooth and relatively easy going. So you can set a cracking pace here but you may regret it!

At the bridge over Hobart Rivulet, the road curves steeply back on itself, and narrows dramatically, with overhanging gum trees providing welcome shade on hot days. Soon on the right you’ll see a yurt-like house as you climb a steep bend (go up a gear and power up it!). The climb continues at a steady 6%, winding through Cascades until you reach the second crossing over Hobart Rivulet, on a corner which is also the steepest pinch. After the pinch comes a gentler section that finishes at a T-Junction with Huon Rd.

Turn left to roll back to Hobart, or right to continue on what I think are some of the best cycling roads in Australia. No joke. Also turn right if you are heading to Mt Wellington.

Your Challenge: beat Andrew Crawley’s KOM of 10:48 (25.4 km/h). Did I say the challenges have to be achievable?

Coming up, a great climb for nearly any day of the year…

Strickland Ave
Distance 4.6km
Category 3
Elevation 247m
Gradient 5.4%
Maximum Gradient 15%
Time from city 15 minutes
Traffic medium
Strava http://app.strava.com/segments/627474

How to get to the climb: Ride up Davey St to the Southern Outlet, then turn right and left onto Macquarie St. climb starts at Cascade Brewery (you won’t have trouble finding it).

I did say you wouldn’t be able to miss Cascade Brewery

The bridge which marks the end of the first segment of Strickland Ave

Yurt corner: the first of two steep pinches

Smooth road, out of suburbia at last

Big Bend

The final straight

Just about at the top of the climb now

Other posts in this series: